Tooling Plate: Difference between revisions
(→Build) |
(→Build) |
||
| Line 53: | Line 53: | ||
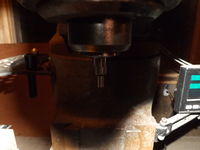
[[File: edgefinder.jpg|200px]] | [[File: edgefinder.jpg|200px]] | ||
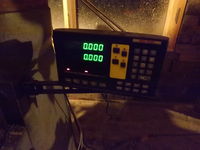
[[File: zeroed.jpg|200px]] | [[File: zeroed.jpg|200px]] | ||
---- | |||
Use [[Roughing Endmill]] on [[Mill]] (1/2" dia 4 flute); make slots; firmly lock the height for this entire step. | Use [[Roughing Endmill]] on [[Mill]] (1/2" dia 4 flute); make slots; firmly lock the height for this entire step. | ||
Revision as of 19:08, 16 November 2012
Introduction
Design
Holes
Mounting interface to machine? Assuming screw-down.
Tools
Roughing Endmill - 1/2" dia - Mcmaster Carr 8817A52
T-slot Cutter - for 1/2" bolts - Mcmaster Carr 8789A12
Materials
Grey Iron - 1.25" x 6.25" x 12" - Mcmaster Carr 8923K671 OR Speedymetals
Build
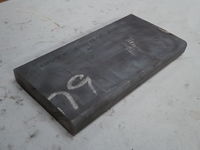
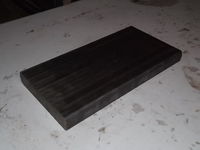
Start with 1.25" x 6.25" x 12" cast grey iron plate
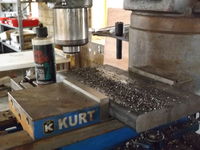
Use Roughing Endmill on Mill (1/2" dia 4 flute); even out the top and bottom surfaces; firmly lock the height for this entire step.
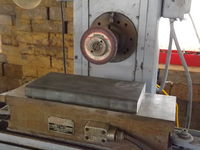
Use Surface Grinder to surface grind top and bottom faces to be parallel.
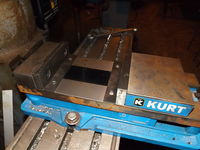
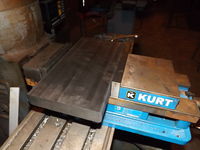
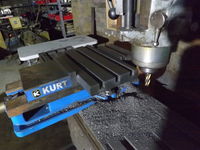
Mount the iron plate on the Mill's Vise with Parallel Bars.
Use Edge Finder to zero the y axis at the edge of the iron plate
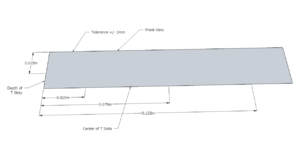
Use Roughing Endmill on Mill (1/2" dia 4 flute); make slots; firmly lock the height for this entire step.
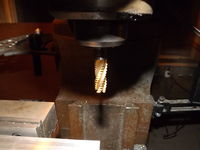
Use T-slot cutter on mill. (31/32" Cutter Dia, 25/64" W Face)
Match or be a bit less than the depth of the slot; firmly lock the height for this entire step.
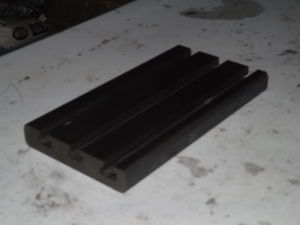
File:Tslottedgreyironplate.jpg
Drill? Tap?
