Tooling Plate: Difference between revisions
(→Tools) |
|||
| (24 intermediate revisions by the same user not shown) | |||
| Line 1: | Line 1: | ||
=Introduction= | =Introduction= | ||
[[File: | [[File: toolingplate1.jpg|300px]] | ||
=Design= | =Design= | ||
[[File: toolingplate.png|300px]] | |||
Holes | Holes | ||
| Line 15: | Line 15: | ||
[[Roughing Endmill]] - 1/2" dia - [[Mcmaster Carr]] 8817A52 | [[Roughing Endmill]] - 1/2" dia - [[Mcmaster Carr]] 8817A52 | ||
[[T-slot Cutter]] - | [[T-slot Cutter]] - 19.8mm dia - [[Mcmaster Carr]] 8789A11 | ||
=Materials= | =Materials= | ||
[[Grey Iron]] - 1" x | [[Grey Iron]] - 1.25" x 4.25" x 12" - [[Speedymetals]] | ||
---- | |||
From BoltDepot: | |||
M12x1.75, 40mm lg Hex SS Bolt x2 | |||
M12x1.75 Hex SS Nut x2 | |||
12mm Washer x2 | |||
=Build= | =Build= | ||
Use | Start with the grey iron plate. | ||
[[File: greyironplate.jpg|200px]] | |||
---- | |||
Use [[Roughing Endmill]] on [[Mill]] (1/2" dia 4 flute); even out the top and bottom surfaces; firmly lock the height for this entire step; 330rpm used. | |||
[[File: roughplaningironplate.jpg|200px]] | |||
---- | ---- | ||
Use | Use [[Surface Grinder]] to surface grind top and bottom faces to be parallel. | ||
[[File: groundironplate.jpg|200px]] | |||
[[File: parallelironplate.jpg|200px]] | |||
---- | |||
Mount the iron plate on the [[Mill]]'s [[Vise]] with [[Parallel Bars]]. | |||
[[File: parallelbars.jpg|200px]] | |||
[[File: ironplatemounted.jpg|200px]] | |||
---- | |||
Use [[Edge Finder]] to zero the y axis at the edge of the iron plate | |||
[[File: edgefinder.jpg|200px]] | |||
[[File: zeroed.jpg|200px]] | |||
---- | ---- | ||
Use | Use [[Roughing Endmill]] on [[Mill]] (1/2" dia 4 flute); make slots; firmly lock the height for this entire step; 330rpm used. | ||
[[File: roughingendmill.jpg|200px]] | |||
[[File: roughedironplate.jpg|200px]] | |||
---- | |||
Use T-slot cutter on mill. (25/32" Cutter Dia, 21/64" W Face) | |||
Match or be a bit less than the depth of the slot; firmly lock the height for this entire step; 80rpm used. | |||
[[File: tslotcutter.jpg|200px]] | |||
[[File: toolingplate1.jpg|200px]] | |||
---- | ---- | ||
Drill? Tap? | Drill? Tap? | ||
Latest revision as of 00:47, 1 December 2012
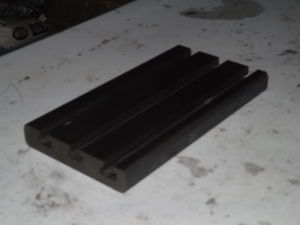
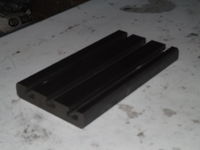
Introduction
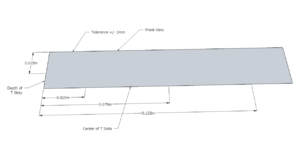
Design
Holes
Mounting interface to machine? Assuming screw-down.
Tools
Roughing Endmill - 1/2" dia - Mcmaster Carr 8817A52
T-slot Cutter - 19.8mm dia - Mcmaster Carr 8789A11
Materials
Grey Iron - 1.25" x 4.25" x 12" - Speedymetals
From BoltDepot:
M12x1.75, 40mm lg Hex SS Bolt x2
M12x1.75 Hex SS Nut x2
12mm Washer x2
Build
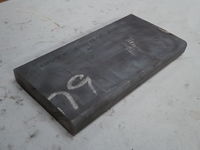
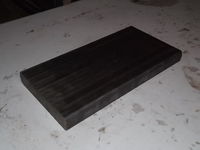
Start with the grey iron plate.
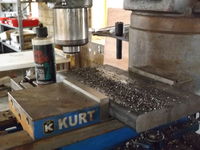
Use Roughing Endmill on Mill (1/2" dia 4 flute); even out the top and bottom surfaces; firmly lock the height for this entire step; 330rpm used.
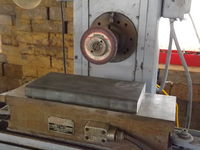
Use Surface Grinder to surface grind top and bottom faces to be parallel.
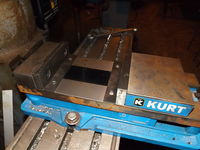
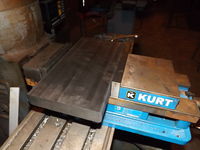
Mount the iron plate on the Mill's Vise with Parallel Bars.
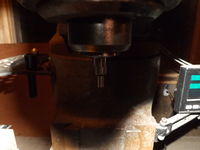
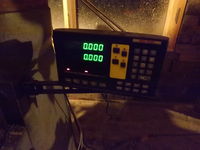
Use Edge Finder to zero the y axis at the edge of the iron plate
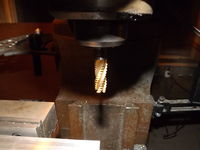
Use Roughing Endmill on Mill (1/2" dia 4 flute); make slots; firmly lock the height for this entire step; 330rpm used.
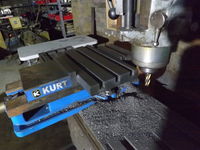
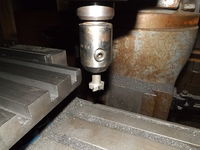
Use T-slot cutter on mill. (25/32" Cutter Dia, 21/64" W Face)
Match or be a bit less than the depth of the slot; firmly lock the height for this entire step; 80rpm used.
Drill? Tap?
