Aidan Williamson Log: Difference between revisions
(→10/3) |
|||
| Line 4: | Line 4: | ||
=October 2013= | =October 2013= | ||
==10/3== | ==10/3== | ||
Important notes about my build: | |||
*I am using inexpensive linear ball bearings | |||
*My z-drive lead screws are just threaded rod from mcmaster | |||
*My printed parts are B grade (B+ precisely) | |||
**40% Infill on most parts | |||
*My heated bed will be [http://www.thingiverse.com/thing:12727/#instructions ghetto]. | |||
**The large PCBs i got from eBay are 18x30cm so I will use two. I don't know yet what their resistance will be. They should arrive in the next two weeks (Hong Kong Pony Express) | |||
*I am using scrounged electronics | |||
**ATX PSU | |||
**Scrounged Connectors & Those that came with RAMBO | |||
<br/> | |||
Article about facets and normals: [http://3dprinters.biz/?p=88 3dprinters.biz]. | Article about facets and normals: [http://3dprinters.biz/?p=88 3dprinters.biz]. | ||
<br/> | <br/> | ||
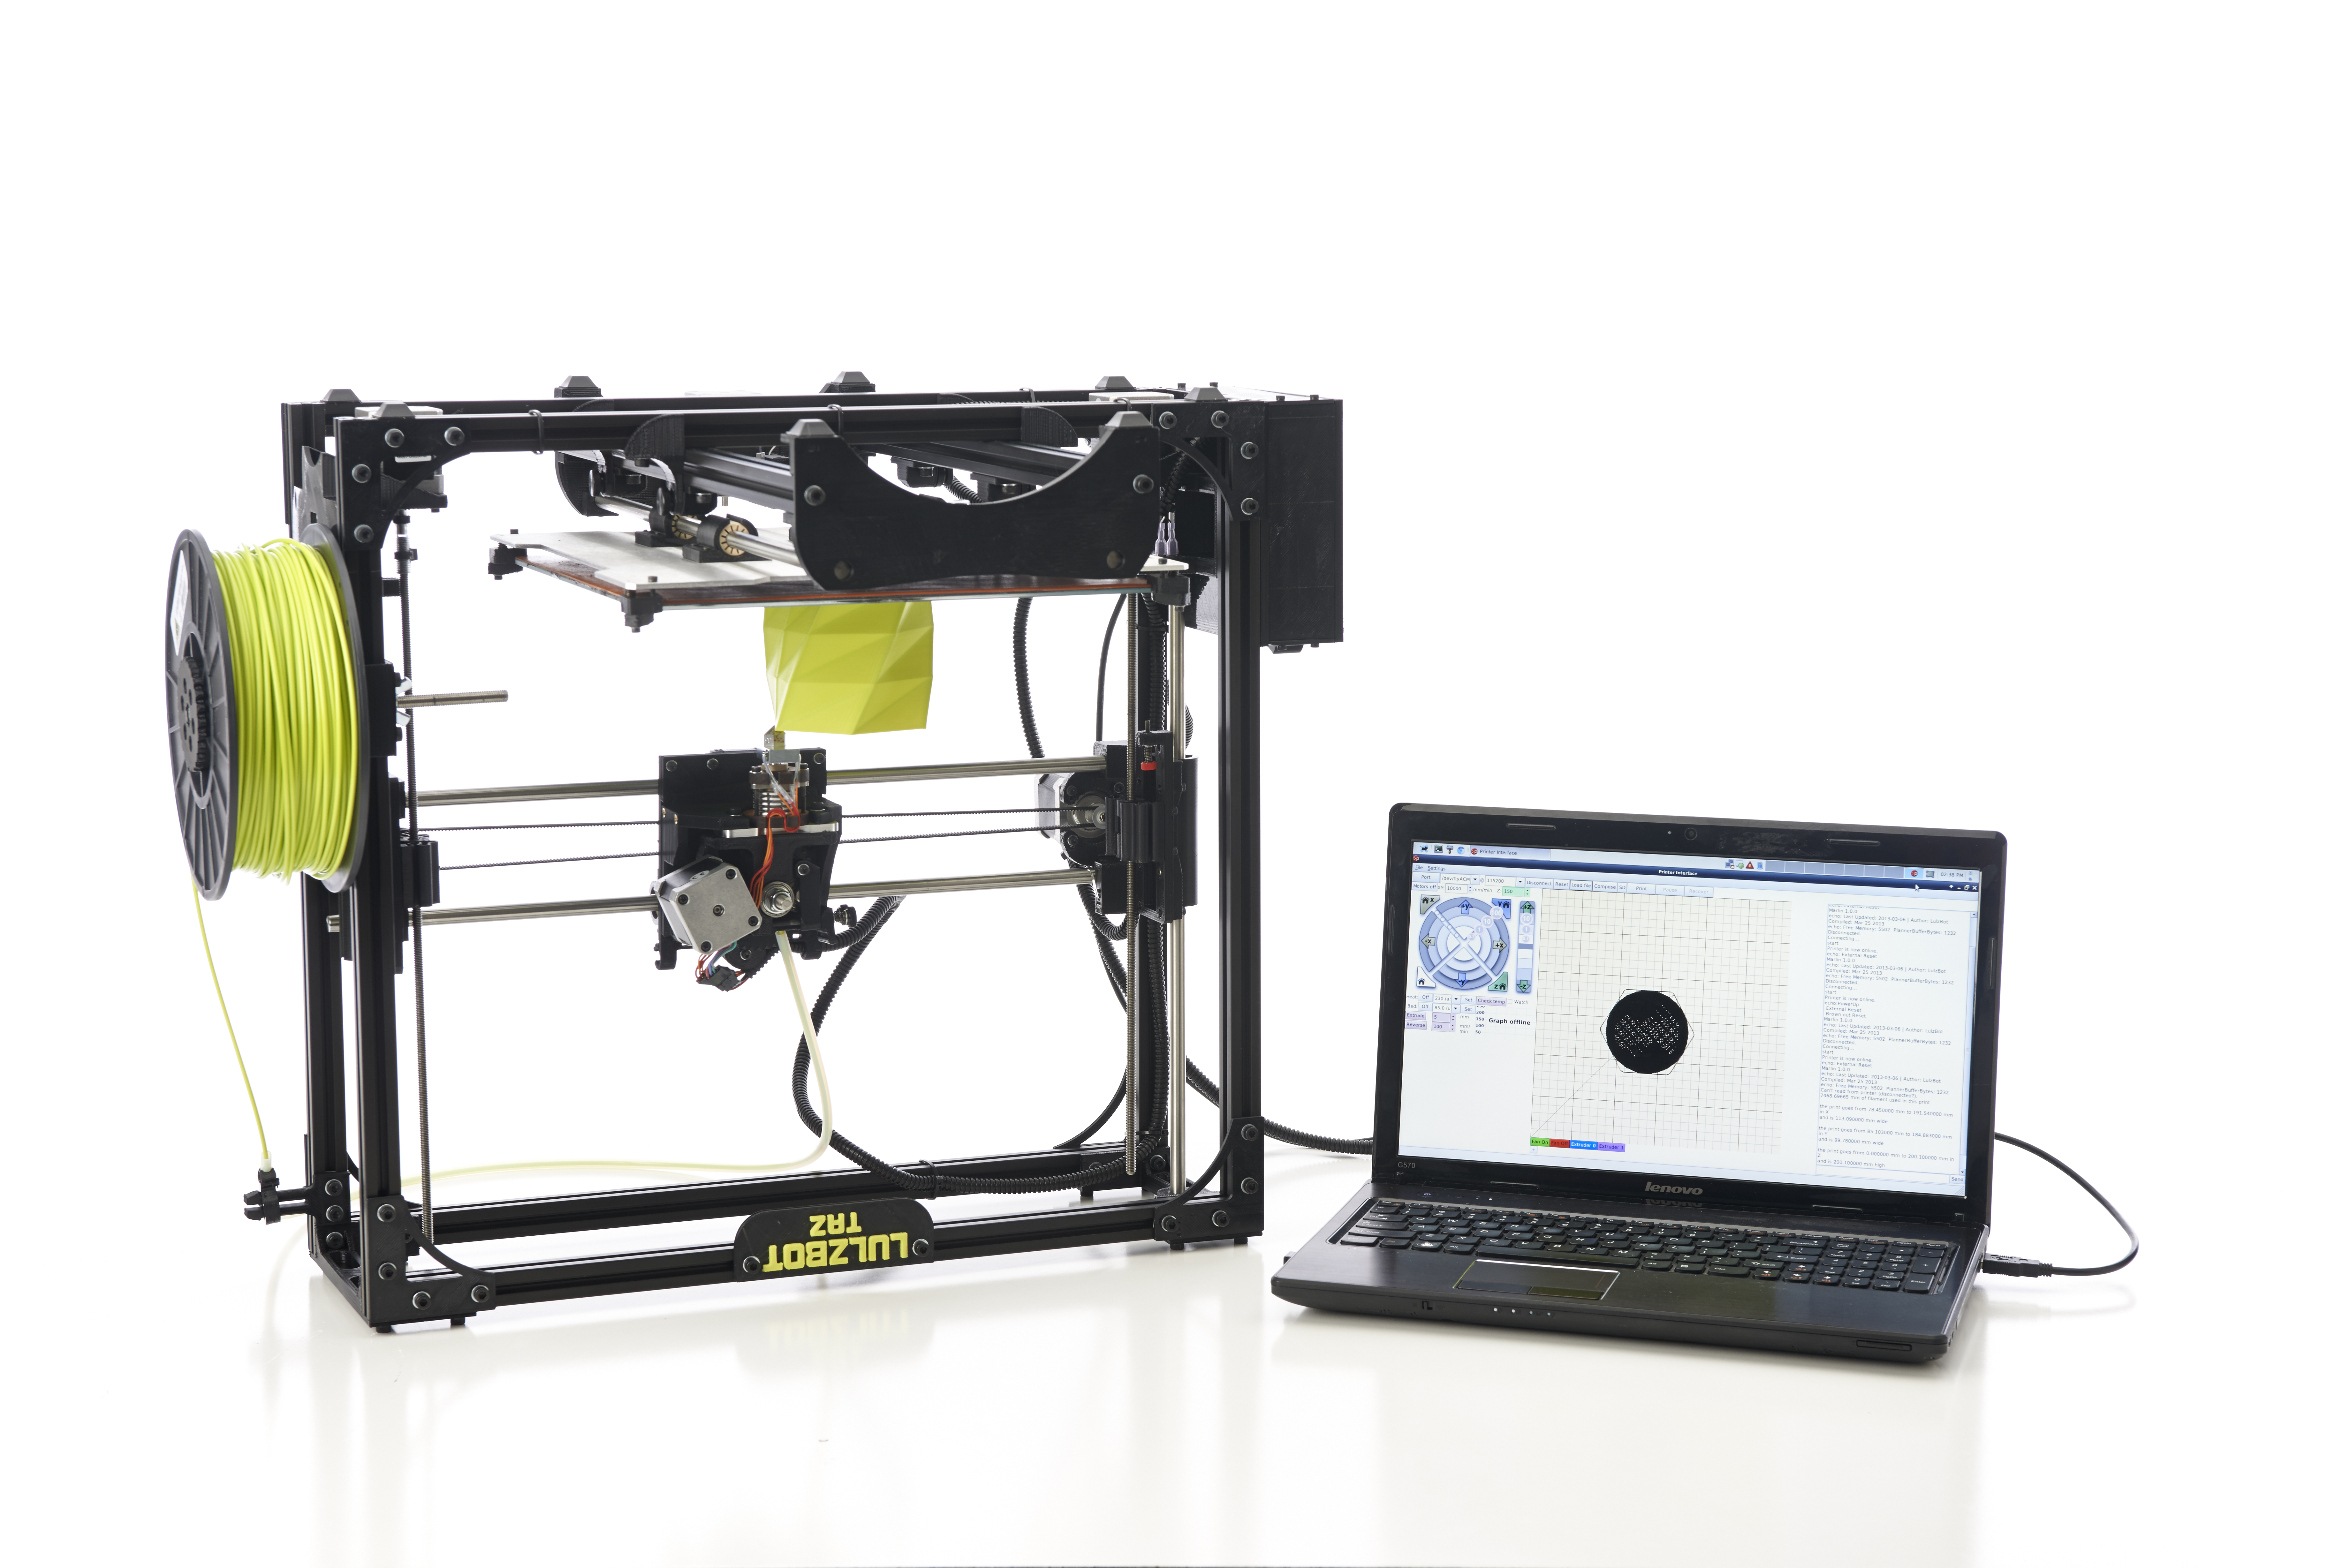
Good reference image. Right click -> view image for high resolution. [http://devel.lulzbot.com Source] | <br/> | ||
Good reference image below. Right click -> view image for high resolution. [http://devel.lulzbot.com Source] | |||
<br/> | <br/> | ||
<html> | <html> | ||
<img src="http://download.lulzbot.com/TAZ/photos/upside_down/Lulzbot_product_4-8-131323.jpg" alt="This is how I know the Y bearing inserts get brass inserts." width="420"height="250"> | <img src="http://download.lulzbot.com/TAZ/photos/upside_down/Lulzbot_product_4-8-131323.jpg" alt="This is how I know the Y bearing inserts get brass inserts." width="420"height="250" align="left"> | ||
<iframe width="420" height="315" src="//www.youtube.com/embed/S21VrH4VHAA" frameborder="0" align="right" allowfullscreen></iframe> | |||
<iframe width="420" height="315" src="//www.youtube.com/embed/S21VrH4VHAA" frameborder="0" allowfullscreen></iframe> | |||
</html> | </html> | ||
Revision as of 23:45, 3 October 2013
Old Logs:
October 2013
10/3
Important notes about my build:
- I am using inexpensive linear ball bearings
- My z-drive lead screws are just threaded rod from mcmaster
- My printed parts are B grade (B+ precisely)
- 40% Infill on most parts
- My heated bed will be ghetto.
- The large PCBs i got from eBay are 18x30cm so I will use two. I don't know yet what their resistance will be. They should arrive in the next two weeks (Hong Kong Pony Express)
- I am using scrounged electronics
- ATX PSU
- Scrounged Connectors & Those that came with RAMBO
Article about facets and normals: 3dprinters.biz.
Good reference image below. Right click -> view image for high resolution. Source
10/2
10/1

The frame is very straightforward so I'm not going to document it extensively.
September 2013
9/26
UPDATE: My holes are the right size after all!!!! I was putting the 3mm inserts where they don't belong! Glad I figured that one out... I realized when Marty told me that the problem is usually holes that are too small. I scratched my head, looked at some pictures of the taz, and realized my mistake. Full steam ahead
 |
| I have too much free time |
Some of my holes are too wide for the heatset inserts. I could buy new inserts of a larger size and get larger bolts but I would rather just do some PLA welding and use the stuff I already have. I asked Marty to print me some of those rods. This pushes me back a bit because I need to wait for those PLA rods to get here.
Now for the good news. I'm going to make my own Budaschnozzle! My milling professor said we can do some things on the CNC at school and I can do the other parts on the bridgeport. I have to convert everything to imperial for him and buy my own material. It looks like it will be about $15 for all the materials but I can't find an online supplier that doesn't double the price for shipping.
9/25
The final shipment arrives tomorrow. Then the real work begins on the frame.
9/23
The Z-Axis motors (there are two of them) spin threaded rod. To couple the threaded rod to the motor you can use air tube hosing. You buy both diameters of hose (1-2 inches of it) and then you put the big one in the small one and put them on the rods and use zip ties or hose clamps to secure them in. Source
9/22
If you want to see how this thing is built you can look at the FreeCad Model for a general idea or you can:
- Go to images.google.com
- Search for lulzbot taz
- Search Tools: Show images larger than 12MP
There you can find decent, revealing shots. There are also some in the download.lulzbot.com directory
9/16
Budaschnozzle is still unavailable. Lulzbot sales contacted me 2 weeks ago saying that it would be available by the end of last week but I guess they were wrong. I started Assembling some of the frame components starting with the Y axis. I am finding that my parts need to be filed/sandpapered and sometimes cut to accommodate the aluminum and steel parts.
- Start with sandpaper
- If that is not enough, use a file
- For really bad areas, use a utility knife
- Finish with sandpaper or a fine file
I found that the corners of the Y motor mount where the aluminum extrusions sit require special attention.
Two videos: First one is the frame assembly in fast motion that I found on youtube and the second one is a video I made about the aluminum extrusions.
9/1
99% of components have been ordered. Preliminary BOM has been posted to google docs:
https://docs.google.com/spreadsheet/ccc?key=0ApW9XrarWCKmdHVWNFZiSllGV2Y5YVpDTEZKN3B1LWc&usp=sharing
Greyed components I have not bought yet. The first sheet is the original BOM found here. The second, third, and fourth sheets are the components I bought. The fifth sheet is the total cost. This does not include shipping. I estimate I spent about $50 on shipping alone.
Misumi will not deliver my components until 9 September so I have some time to do some documentation. I stard TIG and Milling tomorrow so time will be less freely available.
I put some parts on [1] for a DIY budaschnozzle but my lowest quote is $205 which is still twice the price of the hot end from lulzbot store...

August 2013
8/28
Funding running out so I'll have to cheap out on the heated bed. I am going to go with this design to save around $75. I've compiled an updated master BOM spreadsheet for anyone interested. I think I found the best deals on most things - except for the blasted heat-set inserts. It will be uploaded when I finish the electronics order. Misumi is taking a long time to ship me the aluminium extrusions...
The Budashnozzle 2.0 from Lulzbot is $95. It's a simple design that you can see at [2]. I am looking for a machine shop to quote me on the aluminum and steel parts. Hopefully I can save some money and make it myself...
8/20
My order from mcmaster carr
8/19
Printed Parts Final Cost: $95.47 incl. shipping
My Order From Bolt Depot:
My Order From Misumi USA
8/13
Back from Vacation. Bolt Depot has good deals on individual units of hardware. Often cheaper than McMaster, too. Sourcing hardware today.
8/6
Inspired by work on Hydrafabber to build my own LulzBot. Taz documentation can be found here : download.lulzbot.com. A full build documentation in forum style by rsilvers can be found here: matter-replicator.com. Contact eBay merchant mjrice for affordable printed parts prices ($87 + shipping for all taz components) in case you don't have a 3d printer at hand.
Prelilminary Schedule:
- August: Research and Sourcing
- September: Frame
- October: Electronics
- November: Extrusion, software, testing -> printer ready