KiCAD Guide5: Difference between revisions
No edit summary |
|||
| Line 18: | Line 18: | ||
On the schematic editor window, click Preferences>Library then click "Default Library File Path" then navigate to your custom library folder then "Open", then exit the library configuration window. | On the schematic editor window, click Preferences>Library then click "Default Library File Path" then navigate to your custom library folder then "Open", then exit the library configuration window. | ||
Note: if you wish to use the default kicad libraries, you will need to copy/paste the default kicad libraries from "/usr/share/kicad/library". You may need to enter the following command in Applications>Terminal to gain permission to copy/paste from your root folders. | |||
sudo nautilus | |||
=Temporarily Including the New Library in the Library Configuration= | =Temporarily Including the New Library in the Library Configuration= | ||
Revision as of 22:02, 2 July 2012
Saving Components into a New Library
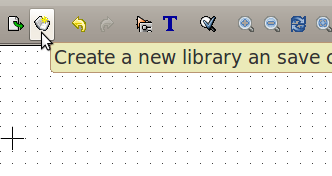
On the top toolbar, click the "Create new library and save current component into..." button:
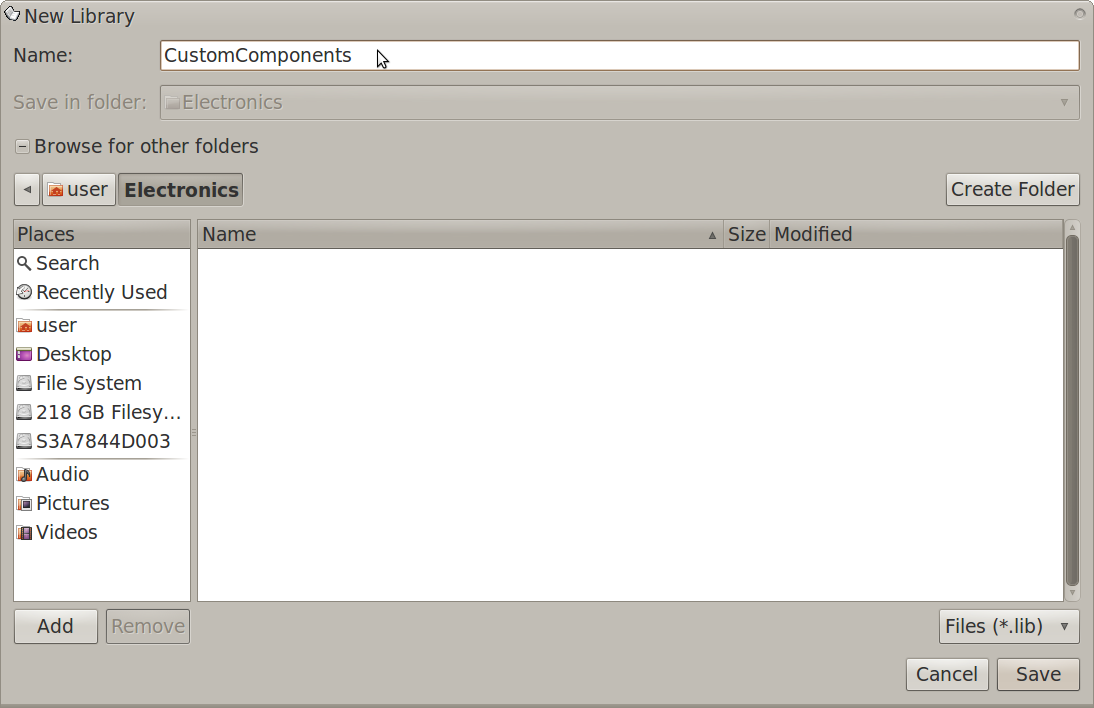
A new library window should appear.
Name your library then navigate to the folder you want the new library to be saved in:
Now click "Save".
Changing your Default Library Folder
This is better than temporarily including the new library for the current kicad session only.
On the schematic editor window, click Preferences>Library then click "Default Library File Path" then navigate to your custom library folder then "Open", then exit the library configuration window.
Note: if you wish to use the default kicad libraries, you will need to copy/paste the default kicad libraries from "/usr/share/kicad/library". You may need to enter the following command in Applications>Terminal to gain permission to copy/paste from your root folders.
sudo nautilus
Temporarily Including the New Library in the Library Configuration
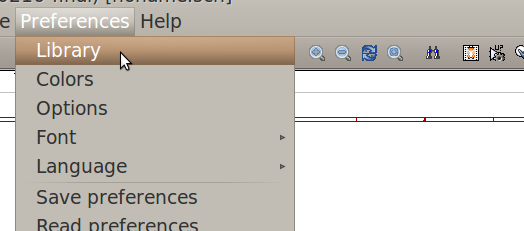
On the schematic editor window, on the top toolbar, click "Preferences" then "Library":
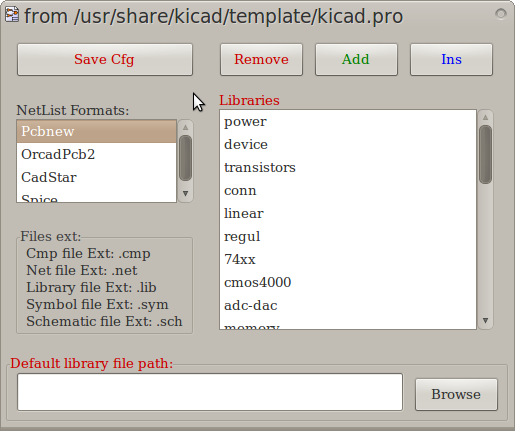
The library configuration window should appear:
Click "Add" to include a new library in the configuration.
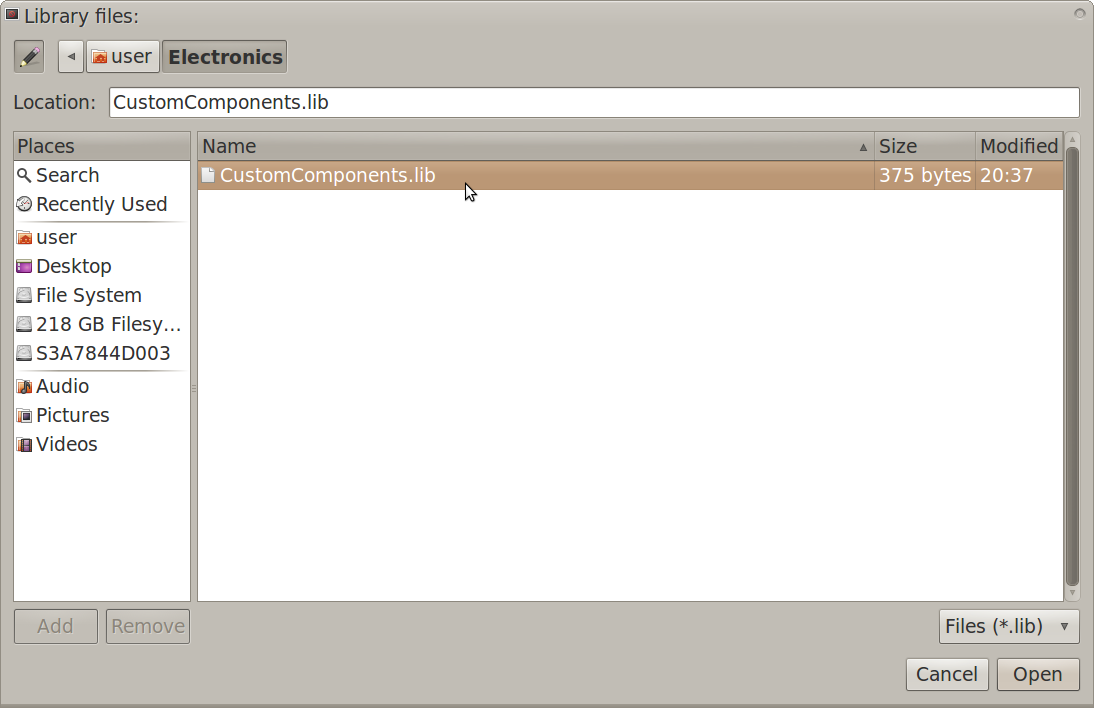
A library files window should appear. Navigate to and select your new library:
Now click "Open".
On the library configuration window, click "Save Cfg":
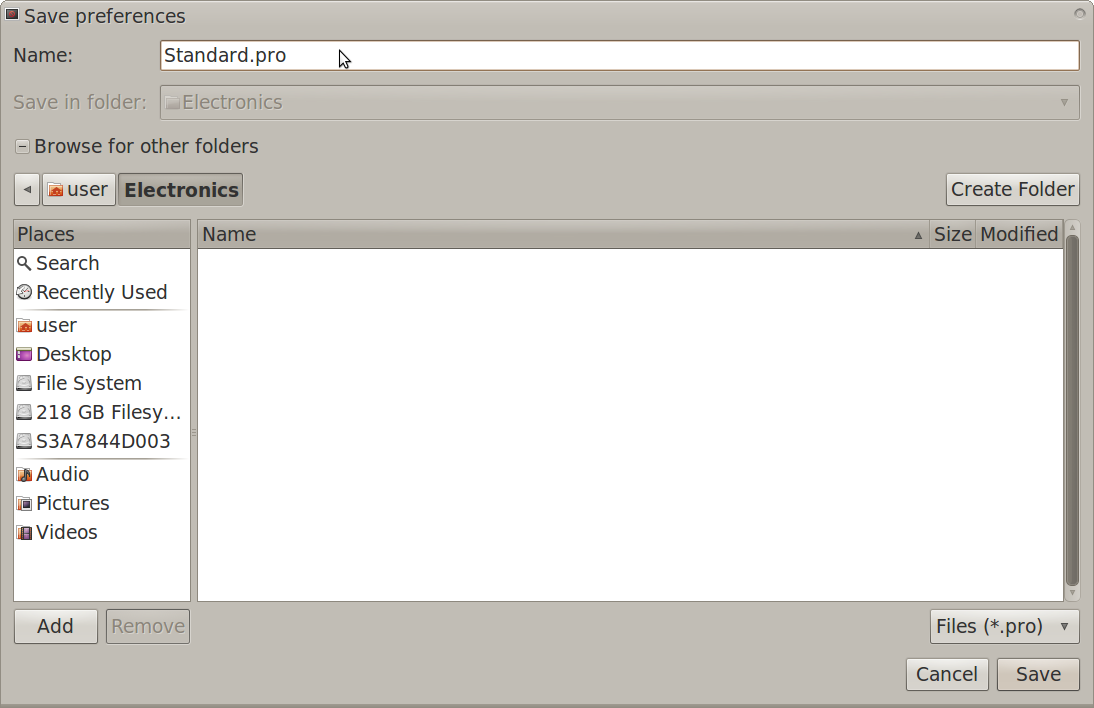
A save preferences window should appear. Name your project file, then navigate to the folder you want to save your project file in:
Adding a New Component to an Existing Library
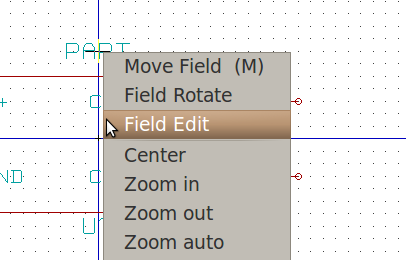
On the library editor window, rename your component by right-clicking the part name field then selecting "Field Edit":
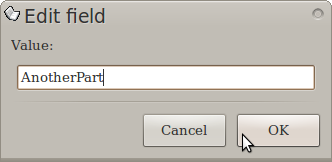
The edit field window should appear. Change the value to another part name:
Now click "Ok".
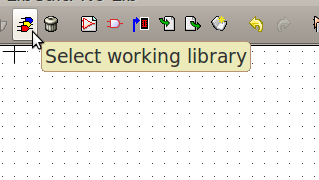
On the top toolbar, click the "Select Working Library" button:
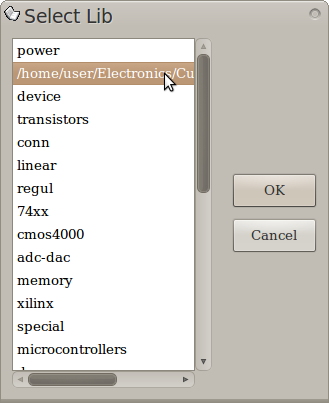
The select lib window should appear.
Select the new library you made and configured:
Click "Ok".
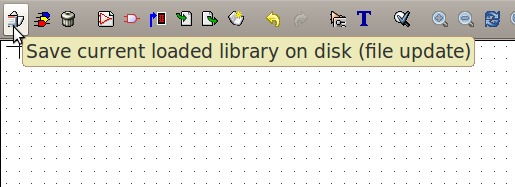
On the top toolbar, click "Save current loaded library on disk." This will save your new component into the library that you created before.
