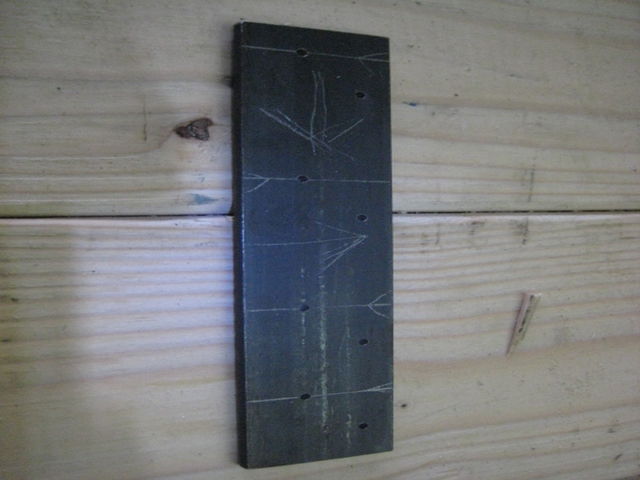
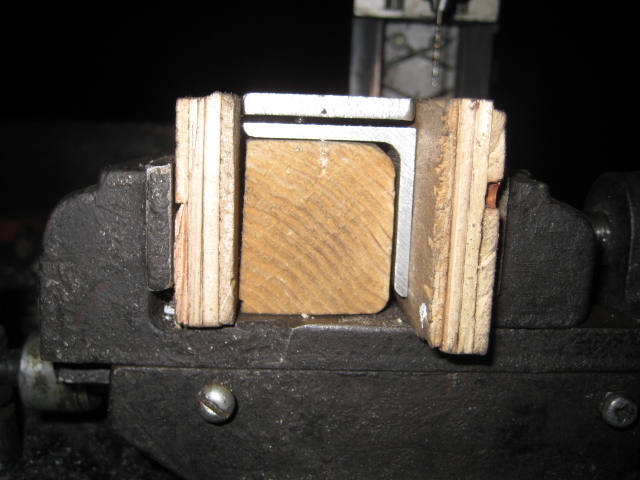
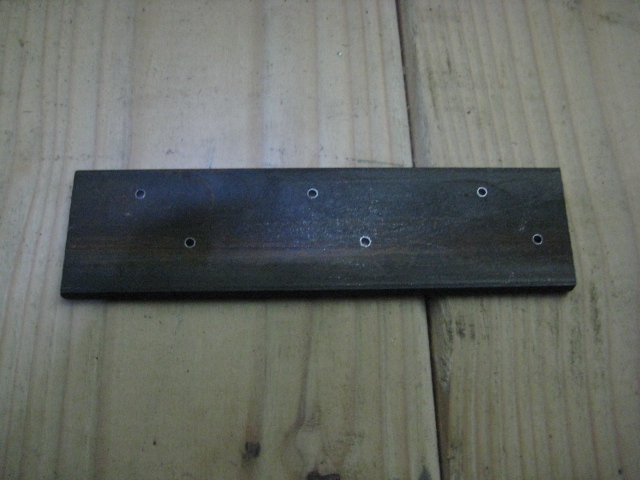
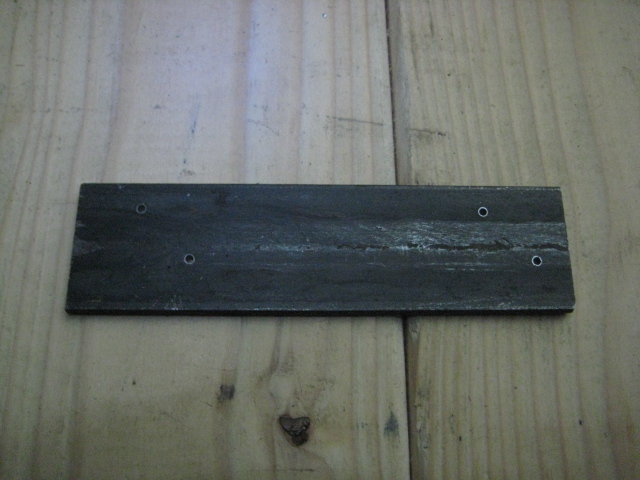
CNC Circuit Mill/Manufacturing Instructions
1 Categorization Key
- The numbers left of each category refer to category strength, low-high being strong-weak. For example, 1 is stronger than 2.
- Stronger categories cover all weaker categories below it until a stronger or equally strong category is established. Examine the following.
1 Tools
2 Drill Bits
1 Materials
2 Bolts
2 Nuts
- The category Drill Bits is contained within Tools; the categories Bolts and Nuts are contained within Materials. Note that neither Materials nor Bolts nor Nuts are a part of Tools; Nuts is not a part of Bolts.
1 Replication
- Information resources required to construct different versions of the CNC Circuit Mill are saved in this section.
- Version 1 (near-complete spreadsheet, poor instructions on webpage)
http://opensourceecology.org/wiki/CNCCMV1
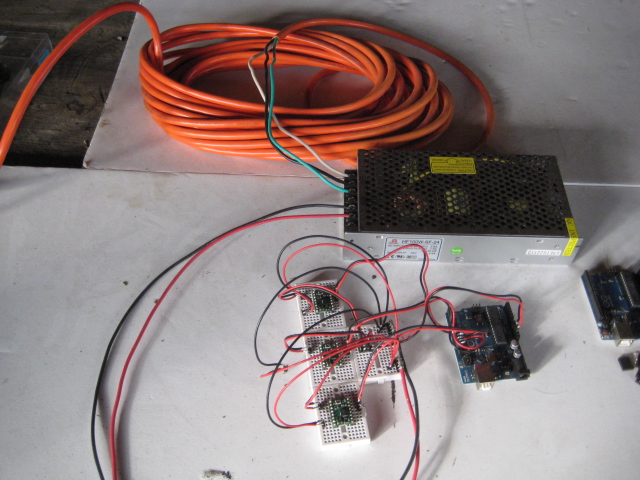
Notes: Using the same template in a given axis for alignment and shortening the spindle shaft for stability are important. Sleeve bearing mounting method needs improvement. Separation of cubeframe and axes structure ideal. High thermal energy draw from overvolting raises concerns.
1 Prototyping
2 Preparation
- The following active spreadsheet is for prototyping purposes only.
- To edit or download the spreadsheet, click on the following link.
https://docs.google.com/spreadsheet/ccc?key=0AlpsBarfpPkzdFk5aDY3dHM0eEhfZHNkWVppdV9EelE
2 Process
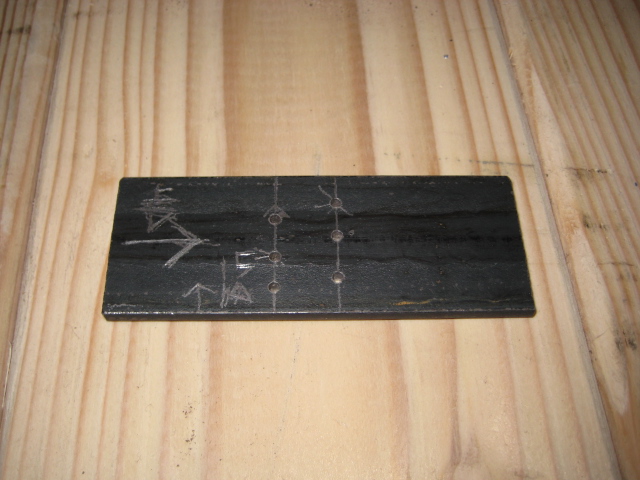
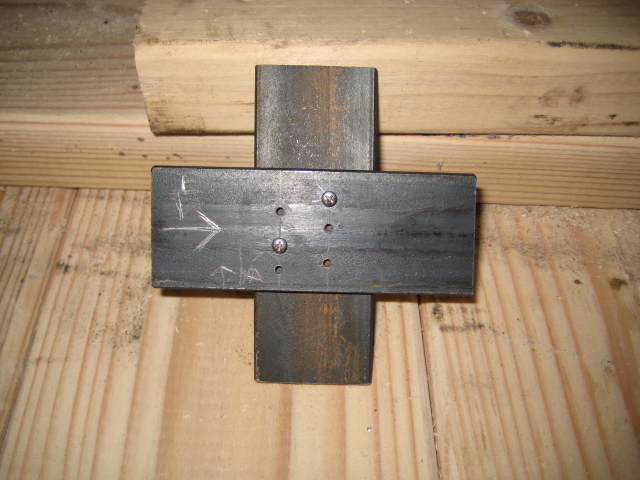
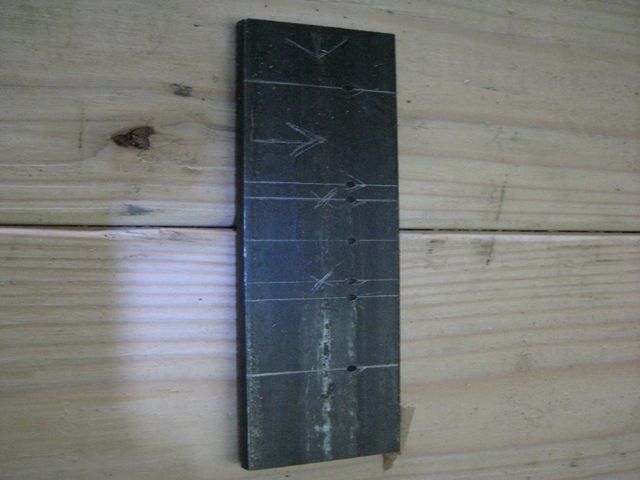
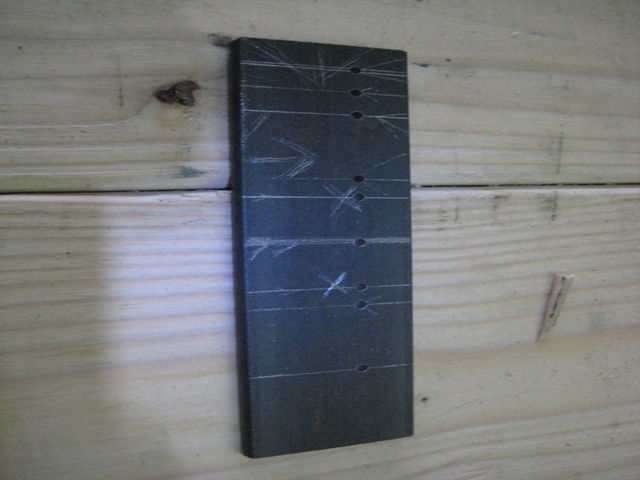
3 Picture Repository
2 Electronics
2 Detailed Software Guide
3 Ubuntu 10.04 LTS 32-Bit
4 Getting Git
- Open Terminal and type:
sudo apt-get install git-core
4 Getting Arduino Integrated Development Environment
- Go to this webpage:
http://arduino.cc/hu/Main/Software
- Download the Linux 32-bit version of Arduino IDE to a directory of your choosing
4 Compatibilizing Arduino IDE
- The following steps are a summary of the information in this webpage:
http://www.pluggy.me.uk/arduino-ubuntu/
- Open System>Administration>Synaptic Package Manager, then type your password
- In Synaptic Package Manager, search for jre, then mark for installation the item with the following name:
Openjdk-6-jre
- Note: marking these items will bring up other packages also to be marked. Click "mark" during these times.
- In Synaptic Package Manager, search for gcc-avr, then mark for installation the item with the following name:
gcc-avr
- In Synaptic Package Manager, search for avr-libc, then mark for installation the item with the following name:
avr-libc
- In Synaptic Package Manager, click "Apply"
- Restart your computer
4 Getting RUBY Programming Language
- Open Terminal and type:
sudo apt-get install ruby1.9.1
- Restart the computer for the changes to take place
4 Getting GRBL Files
- Open Terminal and type:
git clone https://github.com/damellis/grbl.git grbl
4 Getting Gctrl
- Open Terminal and type:
git clone https://github.com/damellis/gctrl.git gctrl
4 Getting Processing
- Go to this webpage:
http://processing.org/download/
- Download the latest version of Processing to a directory of your choosing
4 Moving RXTX files
- Navigate to the Arduino IDE folder>lib.
- Copy RXTXcomm.jar
- Navigate to the Processing folder>modes>java>libraries>serial>library
- Paste RXTXcomm.jar, replacing the existing version
- Navigate to the Arduino IDE folder>lib
- Copy librxtxSerial.so
- Navigate to the Processing folder>modes>java>libraries>serial>library>Linux32
- Paste librxtxSerial.so, replacing the existing version
4 Modifying Gctrl
- Open the Gctrl folder
- Open gctrl.pde in gedit
- Change a part of the code as annotated in the following:
Serial port = null; //change starts
String portname = "/dev/ttyACM0"; // Linux, Arduino Uno
//change ends
boolean streaming = false;
4 Modifying GRBL Files
- Navigate to the GRBL folder
- Open "Makefile" in gedit
- Edit the PROGRAMMER line as:
PROGRAMMER = -c stk500v1 -P /dev/ttyACM0 -b 115200
4 Flashing GRBL
- Open Terminal and navigate to the GRBL folder (ex. by using the "ls" and "cd" commands)
- In Terminal, type:
make clean
make
- Connect the Arduino Uno to the computer via USB cable
- In Terminal, type:
make flash
- Disconnect the Arduino Uno
4 Running GRBL
- Navigate to the Processing folder
- Open and run Processing, setting the sketchbook folder as the folder in which the gctrl folder exists
- In Processing, open gctrl using File>Sketchbook>
- Connect the Arduino Uno to the computer via USB cable
- In Processing, run gctrl using Sketch>Run
- Note: For certain functions of gctrl, press and hold down the key for the popup windows to populate.
4 Determining GRBL Configuration Changes Required
- Go to the following webpage:
http://dank.bengler.no/-/page/show/5474_configuringgrbl?ref=mst
4 Modifying GRBL Settings
- Navigate to the Arduino IDE folder
- Double-click "Arduino" then click "run" in the popup window
- Note: you may want to create a quick launcher for the Arduino IDE
- Connect the Arduino Uno to the computer via USB cable
- In Arduino IDE, open Tools>Serial Monitor
- Note: the Serial Monitor window should pop up and you should see the following:
Grbl 0.6b
'$' to dump current settings
- In the Serial Monitor, change the left drop-down setting to the following:
Both NL & CR
- In the Serial Monitor, type the following in the command line:
$
- Note: you should now see the following:
$0 = 157.480 (steps/mm x)
$1 = 157.480 (steps/mm y)
$2 = 157.480 (steps/mm z)
$3 = 10 (microseconds step pulse)
$4 = 500.0 (mm/min default feed rate)
$5 = 600.0 (mm/min default seek rate)
$6 = 0.100 (mm/arc segment)
$7 = 0 (step port invert mask. binary = 0)
$8 = 25.0 (acceleration in mm/sec^2)
$9 = 225.0 (max instant cornering speed change in delta mm/min)
'$x=value' to set parameter or just '$' to dump current settings
- In the Serial Monitor, type commands as necessary in the following format, where "X" and "Y" are numbers:
$X = Y
