How to TIG Weld
TIG Welding Aluminum
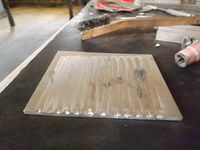
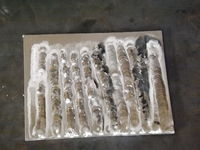
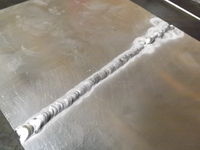
Start with 1/8" (3mm) thick 6061 aluminum plate. Just weld some beads and gain experience making and sustaining a puddle as well. Be steady with the hand and keep the tungsten point as close as possible without touching the tip to the puddle. If the tip touches the puddle too much the tungsten will become contaminated- cut or grind off the tip and regrind to a sharp point.
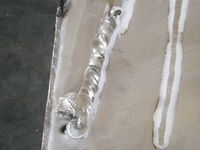
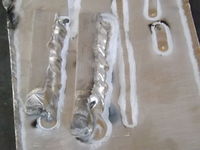
Once you gain steadiness and puddle-mastery, move onto adding 4043 aluminum filler rod. Filler rod should come from the opposite direction of the welding. Make sure that the filler rod touches the front of the puddle- if it touches anywhere else you will get tungsten contamination (if you touch the tungsten) or get a big ball of aluminum filler (if you touch the hot aluminum near the weld) that is either useless or will cause contamination .
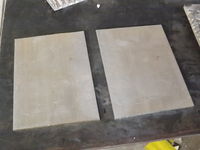
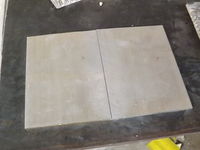
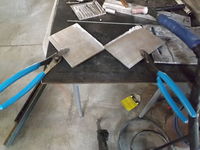
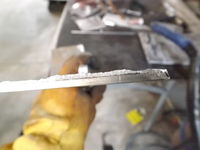
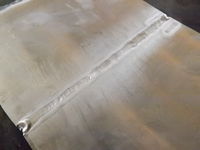
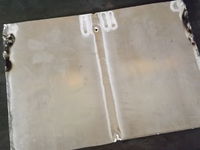
Now try some actual welds, starting off with a simple butt weld. Take 2 aluminum plates and fit them side by side. Try welding the gap with filler rod. If the current is too low you will just amass filler rod without any welding done on the plates. Increase the current and you will find that butt welding with filler becomes much easier. Use pliers to bend and break the 2 plates and examine your weld's penetration.
Try increasing the current so that you can butt weld without filler rod. With high current you might blow holes between the plates but just keep welding on.
Finally, try doing some fillet welds with filler rod- note that these welds need a lot of current because the puddle has a hard time gravity-filling the vertical-horizontal gap as opposed to the butt weld's horizontal-horizontal gap. Then go for fillet welds without filler rod (these need even higher current).
These are the core techniques that should be learned with varying aluminum shapes from square to round, orientations from offset to upside-down, and thicknesses from thin to thick. Eventually you will gain TIG welding aluminum mastery!
