Blender
Blender is an open source multi platform 3d modeling program. http://www.blender.org
Quick start guide
Quicker Start Guide
Here is a quick procedure for using Blender in design work for Factor e Farm.
- Start by opening up 4 windows. First is the work window in Object Mode, in solid draw type:
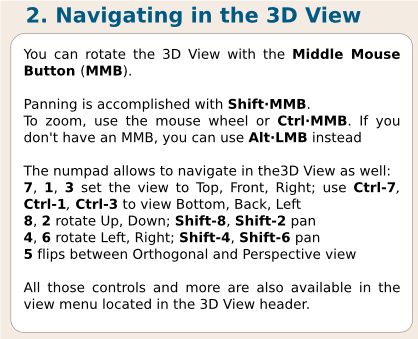
 . The next 3 windows are in the x, y, z face views, with Object Mode, in wire frame draw type
  - so you can see how an object changes clearly along 3 axes.
 - Mouse roller to zoom in and out
- Press mouse roller to move image
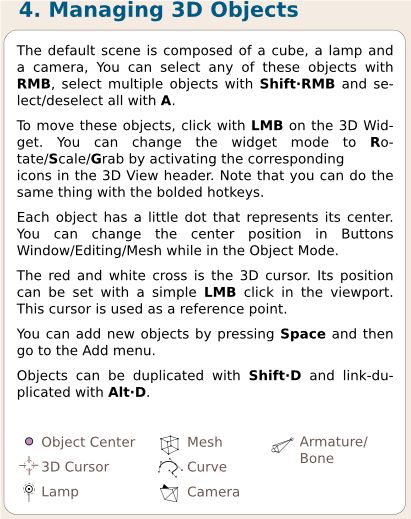
- Right click to select object
- Control-z to undo an action
- Pan with shift-middle mouse button
Blender Interface
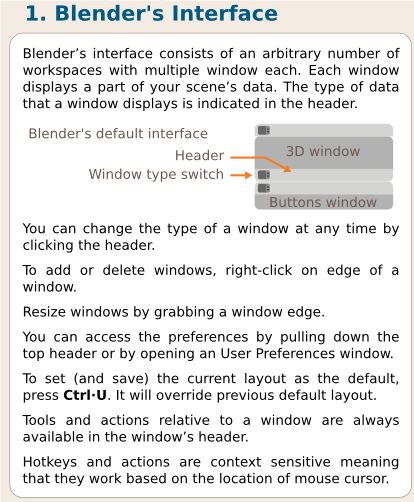 Press middle mouse button to scroll menus/headers.
Manipulating Objects
Selecting objects:
- Right click to select an object.
- You select multiple elements down an axis with control and left click to drag a lasso around the area to be selected.
To move an object:
- Left click or right click, move and release. This will start to move objects. Left click to finish moving.
- Hold down control while moving to snap the object to the grid.
- CAUTION: The object's center is snapped relative to it's position to the grid. To align the object to the grid use the 'Transform Window' with the N key.
- Hold down control while moving to snap the object to the grid.
To rotate an object:
- Press the R key. Hold control to snap to 5 degree movements. Left click to finish.
To scale an object:
- Press the S key. Hold control to snap to tenths of a percent. Left click to finish.
More operations, like select, duplicate:
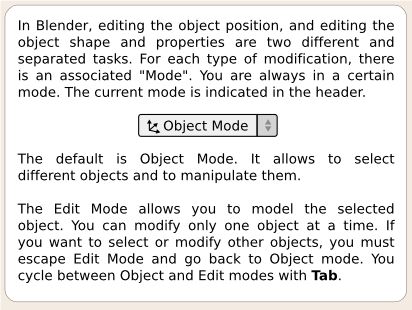
Object Mode and Mesh Edit Mode
Object mode allows you to select and move objects, in any way desired. Mesh edit allows you to work on only the selected object.
- Control-Tab in edit mode allows you to select vertex, edge, or face.
Useful Hotkeys
Extrude: E
Merge vertexes: ALT-M
Detach part of mesh: P
W: "Specials" in mesh editing
ctrl=L: Select contiguous vertexes in mesh edit
Ctrl-J: join two objects
P: Detach parts in mesh edit mode
Inserting Objects
Left mouse gets the pointer to where new objects will be inserted.
Go to add menu, in upper left, add mesh - start with cube.
Transform Window
Press N. You can center an object to the grid by setting the position to a whole number.
Displaying and using measurements in models
For making models to be used as reference for CNC manufacturing, precise dimensioning is important. Blender can be configured to display the measurements of a model, [1] explains how to do this.
Exam #1
- How do you select an object?
- Right click
- How do you move an object?
- Right or left click + drag + release
- Trick question: how do you insert an object?
- Go to add menu, in upper left, add mesh - start with cube
Questions
Say you have parts on a screen. How do you align them?
Day 2
Add a camera. Turn on the lights. Render.
To delete objects, use function-delete
Integrated Set of Actions
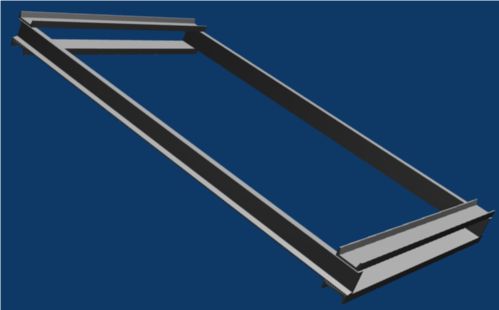
Take a u-channel profile. Duplicate it (shift D), scale it (N), rotate it (R), and then align it in the appropriate window. Add a camera. Add lights. Blender.
Copy Objects - Duplicate
Shift-D
Split a Window
MMB on border, and select Split. Good tutorial:
http://www.blender.org/education-help/tutorials/tutorial-folder/blender-user-interface-tutorial/
Exercise
Split a Blender window into 4 windows. First is a 3D view window, and the next 3 windows are the 3 other planes: xy, yz, xz - to view the object from 3 different sides. Draw a cube. turn the cube into a 12x1 unit object (extended cube). Then draw a cubic lattice of 12 unit sides.
After all these steps are done, set up lighting and Render.
Links
- Blender Precision MOdelling
- Blender3D, Noob to Pro on Wikibooks
