CEB Press/Manufacturing Instructions/Controller Box/FeF Liberator Controller: Difference between revisions
Jump to navigation
Jump to search
(→Step 2) |
(→Step 2) |
||
| Line 9: | Line 9: | ||
=Step 2= | =Step 2= | ||
Source the electronics. Here is a diagram of the controller box | Source the electronics. Here is a diagram of the controller box | ||
[[Image:controllerbox.jpg|400px]] | [[Image:controllerbox.jpg|400px]] | ||
Here is the complete controller installed: | |||
[[Image:controllerboxinstalled.jpg|400px]] | |||
[[Image:cutlerhammerbox.jpg|thumb|Electronics Box]] | [[Image:cutlerhammerbox.jpg|thumb|Electronics Box]] | ||
[[Image:elctronicsbox.jpg|thumb|Electronics Box]] | [[Image:elctronicsbox.jpg|thumb|Electronics Box]] | ||
Revision as of 20:51, 16 October 2010
Step 1
- Source 7/16" thick, 6" wide u-channel: 20 feet of it.
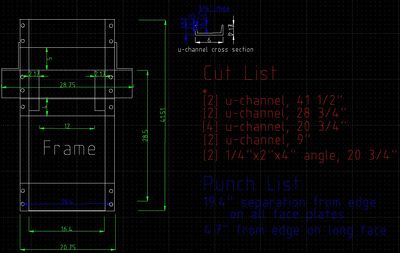
- Pieces needed: (click on image to enlarge)
- Torch or cold-cut channel to size
- Punch holes
Step 2
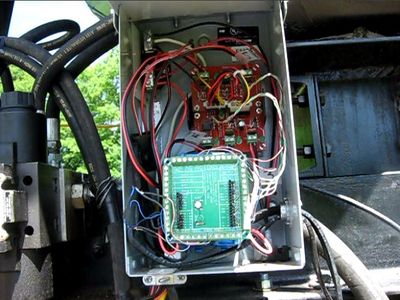
Source the electronics. Here is a diagram of the controller box
Here is the complete controller installed:
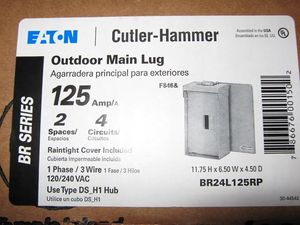
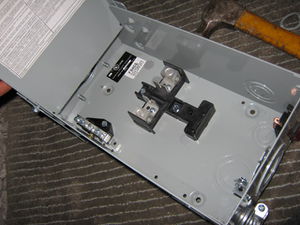
- Electronics Box - local hardware store
- Extension Cord
- Or house wiring with Female Plug and Male Plug.
- House wiring box - hardware store


