DXF to G-code Conversion Tutorial: Difference between revisions
Jump to navigation
Jump to search
No edit summary |
|||
| Line 19: | Line 19: | ||
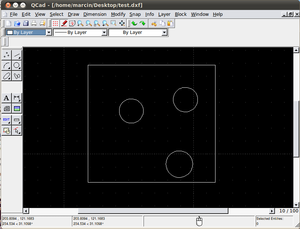
In other words: Generate your CAD in QCAd like in this example: | In other words: Generate your CAD in QCAd like in this example: | ||
[[Image:sampleqcad.png| | |||
[[Image:sampleqcad.png|300px|Sample toolpath in QCad.]] | |||
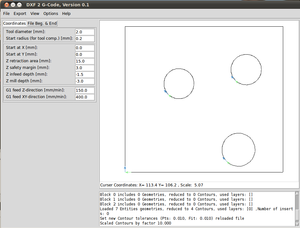
Import the QCad image into ''DXF 2 G-Code'': | Import the QCad image into ''DXF 2 G-Code'': | ||
[[Image:sampled2g.png| | |||
[[Image:sampled2g.png|300px|Sample import into ''DXF 2 G-Cod''e]] | |||
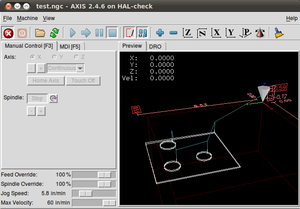
Import the g-code file into EMC2: | Import the g-code file into EMC2: | ||
[[Image:sampleemc2.png| | |||
[[Image:sampleemc2.png|300px|Sample toolpath in EMC2]] | |||
Revision as of 23:50, 10 May 2011
Start with an Overview Video
In the video, DXF2Gcode is used. Installation Instructions for Linux.
- Note: forget about the installation instructions. Just download the python script, run it, import the DXF, export the g-code file (.ngc). The instructions complicate the issue for novices.
=Generate G-Code from
- Download python DXF2gcode conversion script onto your desktop.
- Go in to Terminal
- Navigate to the directory where you downloaded the script.
- Run the script from within the directory where the script is located: python scriptname.py
- Bingo. The GUI for DXF2gcode runs.
- Read the DXF from the File menu in the DXF 2 G-Code script.
- Export the DXF into .ngc (G-Code) format.
- The .ngc file is readable by EMC2
In other words: Generate your CAD in QCAd like in this example:
Import the QCad image into DXF 2 G-Code:
Import the g-code file into EMC2:


