PowerCube Frame: Difference between revisions
Jump to navigation
Jump to search
Tom Griffing (talk | contribs) (Created page with "===Power Cube Frame=== *Position two ¼” x 2” x 2” x 29” pieces angle iron on top of two 27” angle pieces as shown below. Check that all joints are square, then tack a...") |
No edit summary |
||
| Line 14: | Line 14: | ||
*When finished, you'll have frames as shown in the following video: | *When finished, you'll have frames as shown in the following video: | ||
::{{YoutubePopup|fkxypc0sC4I|big|powercube-window}} | ::{{YoutubePopup|fkxypc0sC4I|big|powercube-window}} | ||
[[category:Power Cube]] | |||
Latest revision as of 22:35, 27 December 2013
Power Cube Frame
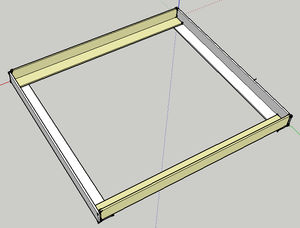
- Position two ¼” x 2” x 2” x 29” pieces angle iron on top of two 27” angle pieces as shown below. Check that all joints are square, then tack and weld joints.
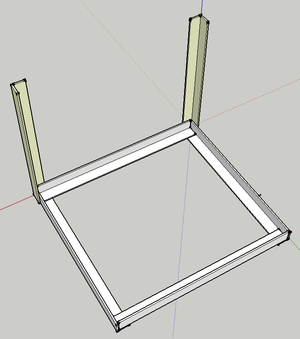
- With one welded rectangle on the bottom, position two 24” pieces outside corner joints as shown below. Check that the angles are square, then tack and weld. Note: The optional jig makes this much easier and accurate. Repeat the prior procedure and this one for another half of the frame assembly.
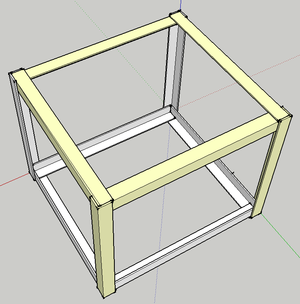
- Position the two half cubes together, then tack and weld. Inspect all corners to verify secure welds.
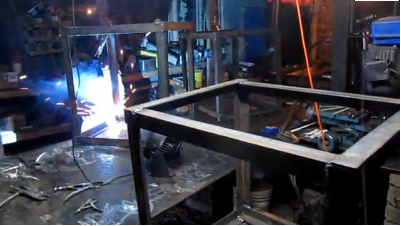
- Video of frame welding in progress:
- When finished, you'll have frames as shown in the following video:


