Modular Stove Fabrication Procedure: Difference between revisions
Jump to navigation
Jump to search
(→Step 3) |
(→Step 3) |
||
| Line 34: | Line 34: | ||
==Step 3== | ==Step 3== | ||
*Weld frame as this: | *Weld frame - all 1/4"x2" angle - as this: | ||
<html><img src="https://docs.google.com/drawings/pub?id=1kdaehammY8qdTZvjXzBVCgR8YxFVGlhZzbcQoxZVK0Q&w=700&h=500"> | <html><img src="https://docs.google.com/drawings/pub?id=1kdaehammY8qdTZvjXzBVCgR8YxFVGlhZzbcQoxZVK0Q&w=700&h=500"> | ||
</html> | </html> | ||
**Mitered corners welded, ground flat | |||
**Rails for flame deflector and ash tray are not mitered | |||
Revision as of 00:18, 17 October 2012
BOM
Start with BOM.
- [12] - 4' long
- [18] - 2' long
- [6] - 1' long
Mild Steel
- 1/4"x2"x2" angle - $2.41/ft
- 1/8"x1/2"x1/2" angle - $0.66/ft
- 1/8"x4'x8' sheet - $100
Build
Step 1
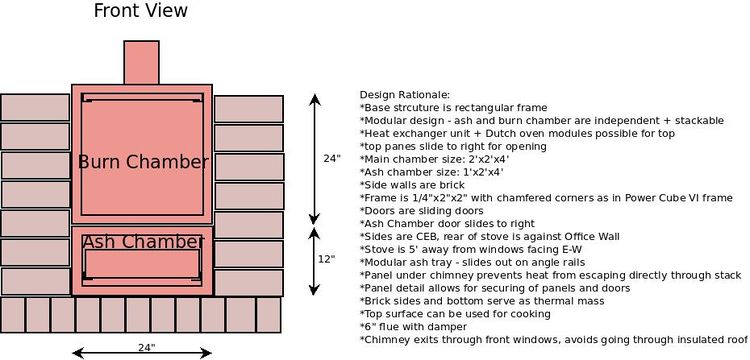
Study Concept: 2 boxes with slideable cover plates clamped down. Ash tray and flame deflector plates side in similar fashion.

Step 2
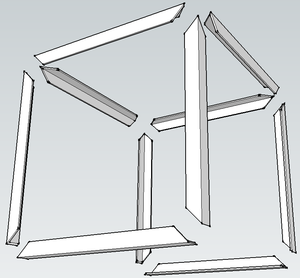
- Cut angle for 2 mitered frames, just like for Power Cube 6. 1/4"x2"x2" angle BOM:
- Use Ironworker for mitered cuts:
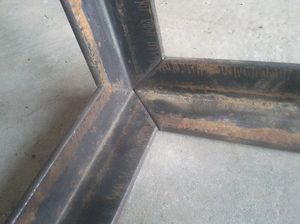
- Result: corners fit together such that all metal angle form flat planes
Quality Control
- 3 corners fit so there is no more than 1/8" space anywhere
- length of members within 1/4" tolerance
Then, the build:
Step 3
- Weld frame - all 1/4"x2" angle - as this:
- Mitered corners welded, ground flat
- Rails for flame deflector and ash tray are not mitered

