RepRap Build: Difference between revisions
Jump to navigation
Jump to search
No edit summary |
(→Parts) |
||
| Line 2: | Line 2: | ||
=Parts= | =Parts= | ||
[[Image:rrpartscorners.jpg|thumb|Cartesian frame corners.]] | |||
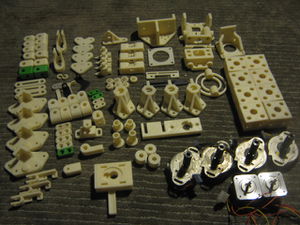
[[Image:rrparts.jpg|thumb|Part set from Chris Palmer of [http://hydraraptor.blogspot.com/2009/07/hydraraptors-second-child.html HydraRaptor]]] | [[Image:rrparts.jpg|thumb|Part set from Chris Palmer of [http://hydraraptor.blogspot.com/2009/07/hydraraptors-second-child.html HydraRaptor]]] | ||
[[Image:rrpartsendstops.jpg|thumb|Opto End Stops v2.1. There are three sets of these.]] | [[Image:rrpartsendstops.jpg|thumb|Opto End Stops v2.1. There are three sets of these.]] | ||
Revision as of 06:42, 19 July 2010

Parts


Part set from Chris Palmer of HydraRaptor


- Frame corners and rods - using 5/16" rod.
- Extruder controller - [1]
Assembly

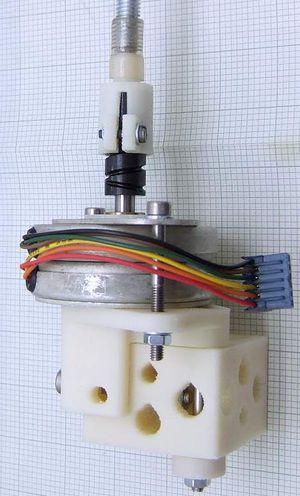
From HydraRaptor
- $8 z axis from HydraRaptor
Notes
On Frame Rods
From Erik:
As long as they're about 8mm in diameter you're good. Everything is designed such that tight tolerances are not required. Part of assembling a machine is taking a series of measurement. You can get away with threaded rods for most of the structural parts, except for the elements that other parts should be able to slide over. Several parts of the frame double as a guide for an axis.
You can also use cheap rod for most of the frame, the sliding ones should be maximally stiff (hardened rod) and chrome coated is nice and shiny. I'm using only the cheap type of ground bars for my own second Darwin, currently. It works fine. You don't need a heavy CNC grade frame when doing additive manufacturing, it's just very inefficient.