Tobbens Folgertech Kit Assembly Log
Introduction
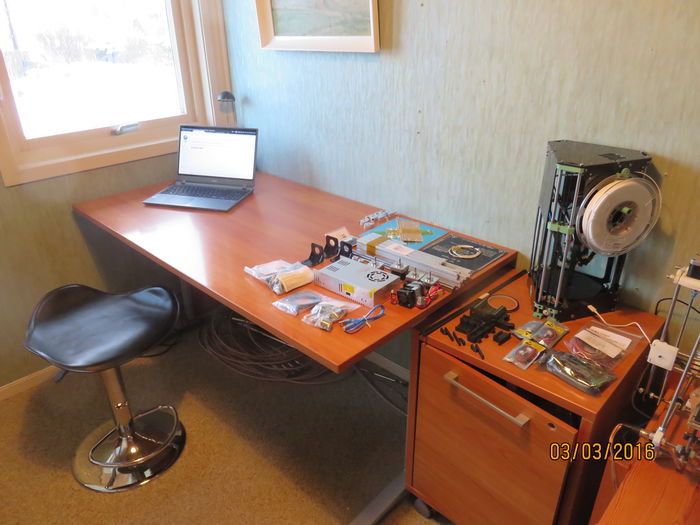
This document is created to try to document a 3D printer build as detailed as possible, to facilitate the development of D3D Workshops. The starting point is an unboxed Folgertech Prusa i3 (see Tobbens_Folgertech_Kit_Unboxing_Log) and the instructions located at Prusa_i3_Modular_Build_Video containing script, Module Assembly Oder 3 module videos module 1, module 2, module 3, as well as time lapses of overall assembly, frame build and extruder slide build. The Folgertech build manual is also used.
Reliability Of Recorded Numbers
Tobben has assembled many RepRaps before, and also read the Module Assembly Order document prior to this logged assembly. Reading took ~10 minutes. Quantifying the relative advantage of previous RepRap experience is very hard, but recorded times should be at least be doubled for novices.
Build steps are performed calmly with no hurry.
No tools are prepared or planned beforehand, so time consumption for getting tools is included.
Stop watch is stopped while logging.
Log
| Time order | Module | Activity | Time consumed | Time consumed, accumulative | Instruction Resources Used | Comment | Image |
|---|---|---|---|---|---|---|---|
| 1 | Bottom Frame 1 | Removing tape from 2020s | 5 min 46 s | 5 min 46 s | None | Fiddly | |
| 2 | Bottom Frame 2 | Identifying which beams to use | 4 min 55 s | 10 min 41 s | Folgertech's Build Manual | Unable to find this info on OSE wiki | |
| 3 | Bottom Frame 3 | Watching Module 1 Video | 1 min 30 s | 12 min 11 s | module 1 video | Good video | |
| 4 | Bottom Frame 4 | Very roughly sorting Hardware Bag contents | 2 min 20 s | 14 min 31 s | |||
| 5 | Bottom Frame 5 | Assembly of 8 first L-brackets | 16 min 1 s | 30 min 32 s | module 1 video | Assembly manual: Fill all L-bracket holes with mount screws before inserting into 2020s. Don't use L-shaped hex-key since mounting relies on 2020s lying down flat. | |
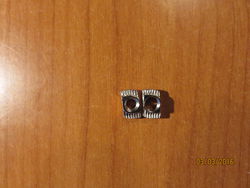
| 6 | Bottom Frame 6 | Confusion regarding the T-nut and screw sizes. | 16 min 54 s | 47 min 26 s | module 1 video, Folgertech's Build Manual | M4 and M5 T-nuts look very similar. | |
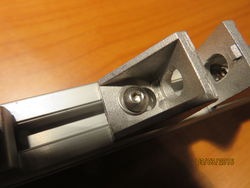
| 7 | Bottom Frame 7 | Assembly of left Y-rod bushings and corner brackets in middle of front beam | 9 min 1 s | 56 min 27 s | module 1 video | Say in assembly manual: Corner bracket hole sizes are big enough to be able to put T-nut through. Kit comment: M4 screw heads should have been bigger. T-nut and washer fiddling took lots of time. | |
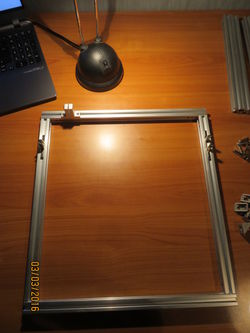
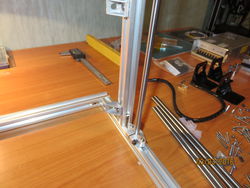
| 8 | Vertical Frame 1 | Assembly and Mounting on Base Frame | 33 min 33 s | 1 h 30 min 0 s | module 1 video | Because of poor corner bracket quality, M4x8 screws are _almost_ too short, and power supply mounting gets very fiddly. | |
| 9 | X-axis 1 | Faulty Assembly of X-carriage Linear Bearings | 9 min 41 s | 1 h 39 min 41 s | module 2 video | Linear bearings mounted with smooth rod running through. This did not alone prevent the faulty mounting. Kit comment: This error possible because of bad print quality. | |
| 10 | X-axis 2 | Faulty Assembly of X-carriage Linear Bearings 2 | 10 min 25 s | 1 h 50 min 6 s | Space for Linear Bearing is too short. Cut out more space by hand with knife. This is weak design since bearing fixation along X-axis is unimportant, so making a tight fit serves no purpose. Process made harder by smooth rods being very far from straight. [Video showing bad gliding] | ||
| 11 | X-axis 3 | Assembly of X-carriage Linear Bearings | 4 min 59 s | 1 h 55 min 5 s | More manual cutting needed to get Linear Bearings into their tracks. | ||
| 12 | X-axis 4 | Mount Linear Bearings Into X-idlers | 3 min 2 s | 1h 58 min 7 s | module 2 video | Use paper to wipe off linear bearings, the stuff they're soaked in is not healthy to get on fingers. | |
| 13 | X-axis 5 | Mounting X idler bearings | 2 min 47 s | 2 h 0 min 54 s | module 2 video | Took a guess at which screw to use. | |
| 14 | X-axis 6 | Mounting X Belt pulley and X-motor | 8 min 43 s | 2 h 9 min 37 s | module 2 video | A fair amount of guesswork to find the correct screw length. | |
| 15 | X-axis 7 | Fitting together idlers, carriage and linear rods | 1 m 48 s | 2 h 11 m 25 s | module 2 video | ||
| 16 | X-axis 8 | Thread X-belt | 4 min 29 s | 2 h 15 min 54 s | module 2 video | Slight print error in X-carriage made fastening belt harder. Pushed in place with flat screwdriver. | |
| 17 | Z-axis 1 | Preparing Z-motors | 6 min 50 s | 2 h 22 min 44 s | module 3 video | M3x11 screws... | |
| 18 | Z-axis 2 | Preparing filament guide | 2 min 3 s | 2 h 24 min 47 s | module 3 video | 1 min extra from tool change hex key -> previously unused screw driver -> hex key | |
| 19 | Z-axis 3 | Preparing Z-motors' T-nuts | 3 min 14 s | 2 h 28 min 1 s | module 3 video | ||
| timeorder | module | activity | timeconsumed | timeconsumed_acc | instructionsused | comment | image |
