CNCCMV1
Assessment
- Jogging: Success on all 3 axes. Press-and-hold function does not work well after a time due to exponential rate command repeat mechanism.
- GRBL Setting Changes: Success. All settings changeable through Arduino IDE.
- CNC Control: Partial Success. Sample gcode file tested; resulted in movement of 3 axes, independent and together. Gcode generation toolchain and its usage documentation required. Timing: est. 2 weeks, task managed by Daniel. Settings and gcode-gctrl integration require shakedown. Timing: est. 3 days.
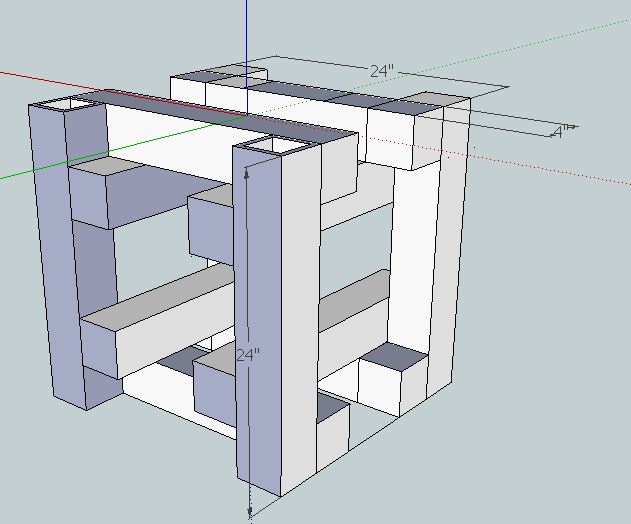
- Frame: Success. Rigid. Ease of manufacturing. Next steps: redesign as separate from axes components. Timing: est. 1 day.
- Axes: Partial Success. Half-way redesign prompted two-template usage, leading to misalignment. Next steps: redesign with datum edge template, single template per axis. Timing: est. 1 day.
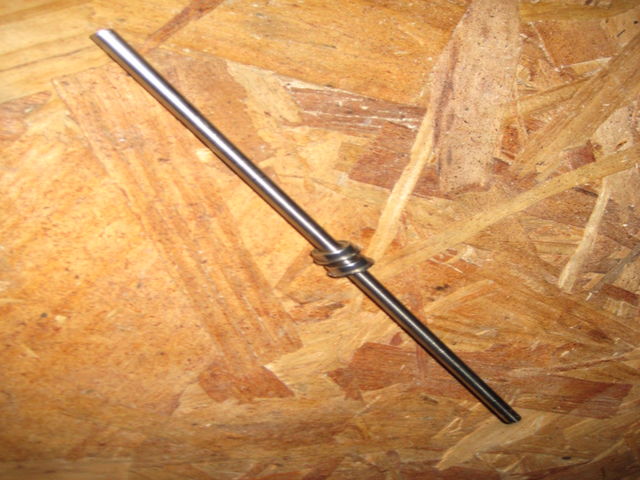
- Spindle: Partial Success. Spindle shaft too long. Stable rotation with milling bit tested. Motor shaft misaligned upon coupling-only testing. Next steps: source new motor, cut spindle shaft to shorter length and ensure stability of ball bearing mounting.
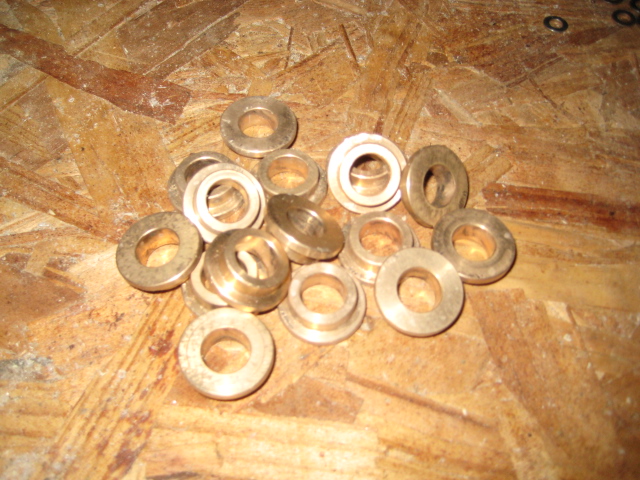
- Bearing Mounting Method: Partial Success. Lopsided fastening. Next steps: use redesigned mounting mechanism with small and large washers for rigid fastening with near-full contact of head on surfaces.
- Platform: Partial Success. Holding requires tape and non-full stability of workpiece due to narrow flat bar. Next steps: redesign platform for stability and with non-consumable holding mechanism. Timing: est. 2 days.
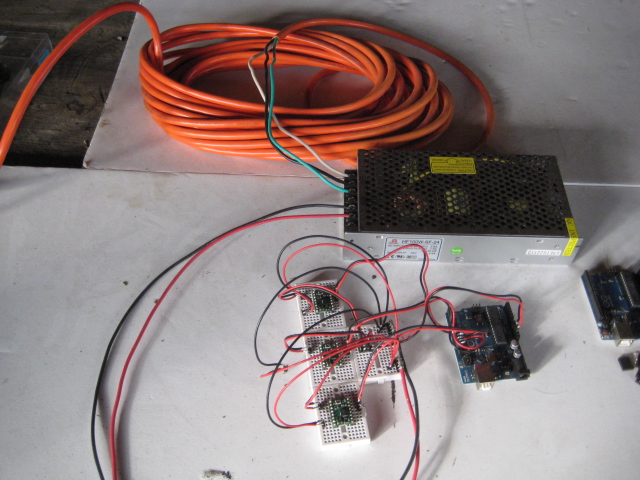
- Electronics: Partial Success. Step motors get hot as overvolted from 12 to 24V. Step driver or GRBL'd Arduino having issues with high step rates. Step rates configurable to avoid this issue. Next steps: troubleshoot issues during gcode-gctrl shakedown.
- Software: Success. GRBL and gctrl compatibility established. Integration with hardware established. Next steps: establish and document circuit-to-gcode toolchain.
- Sourcing: Partial Success. Bearing-shaft incompatibilities existed. Reaming/turning necessary. Fasteners ran out. Next steps and timing: P2 Sourcing 1 week (est cost <300)
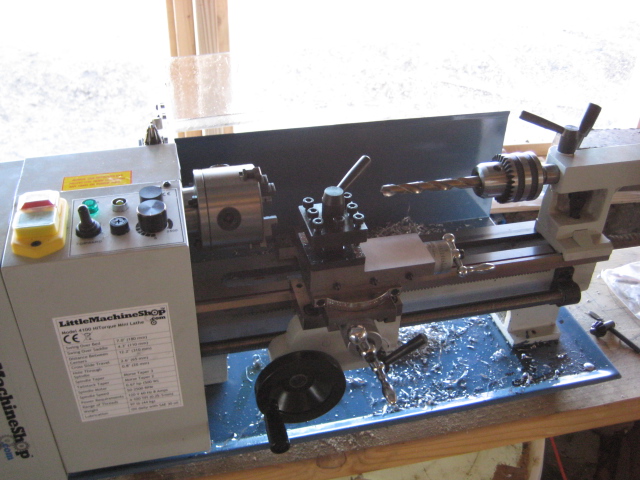
- Manufacturing: Success. Templates work well for precision. Minilathe-made couplings suffice. Bandsaw cuts are fast and accurate enough. Timing: P2 Build 2 weeks
- Systematic Shakedown: Partial success. No gcode generation toolchain. Misalignment and spindle instability. Timing: P2 Shakedown 1 week.
Development Information
2 Process
3 Picture Repository
3 Structure
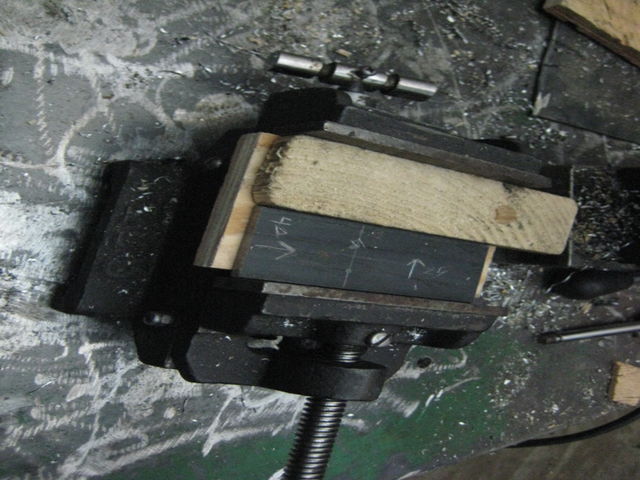
4 Cutting Metal
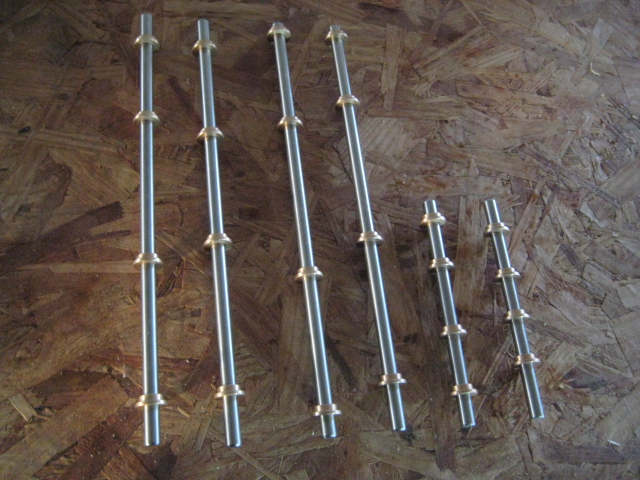
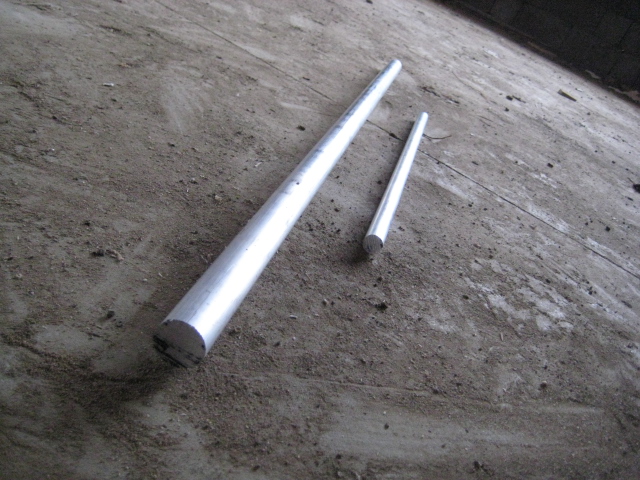
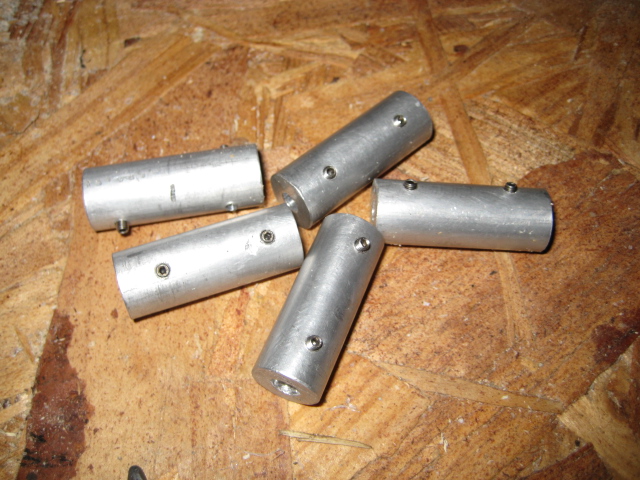
4 6061 Aluminum Round Bar 15mm OD
- 40mm (x5 total quantity = 200mm total length)
5 Quantity Organization
- 3: Step Motor-to-Leadscrew Couplings
- 1: Spindle Motor-to-Spindle Shaft Coupling
- 1: Spindle Shaft-to-Milling Bit Coupling
4 6061 Aluminum Round Bar 25mm OD
15mm (x12 total quantity = 180mm total length)
5 Quantity Organization
- 4: X Axis Shaft Collars
- 4: Y Axis Shaft Collars
- 4: Z Axis Shaft Collars
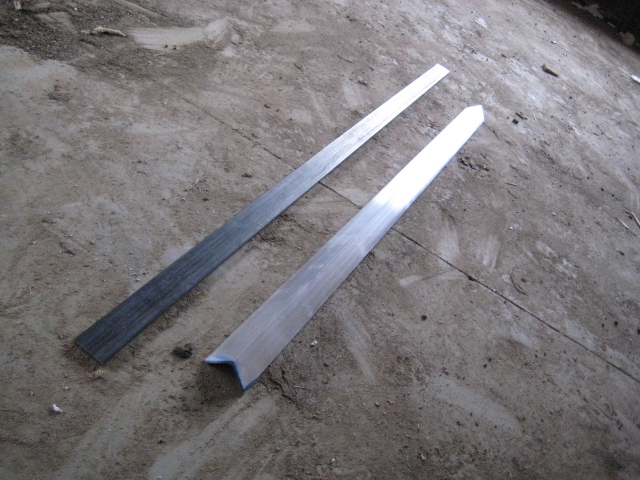
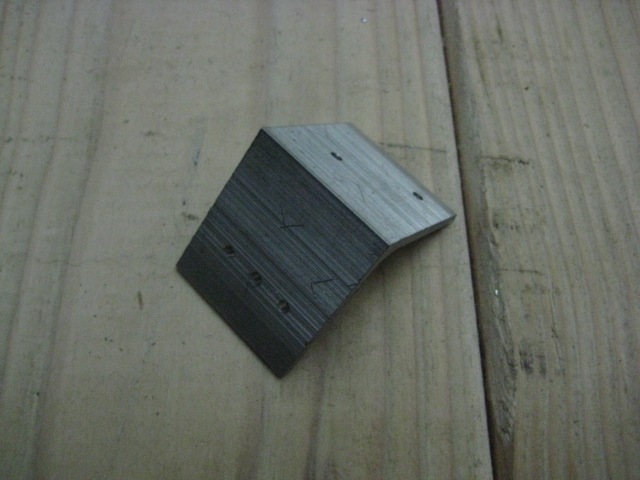
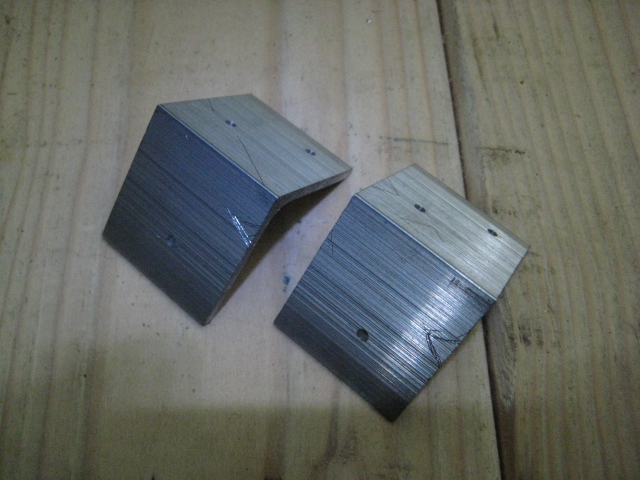
4 Steel Equal Angle 1.5"AB, 0.125" thick
400mm (x14 total quantity = 5600mm total length)
Quantity Organization
- 6: Simple Cube Angles
- 4: Y Mounting Angles
- 1: X Axis Step Angle
- 1: X Axis End Angle
- 1: Y Axis Step Angle
- 1: Y Axis End Angle
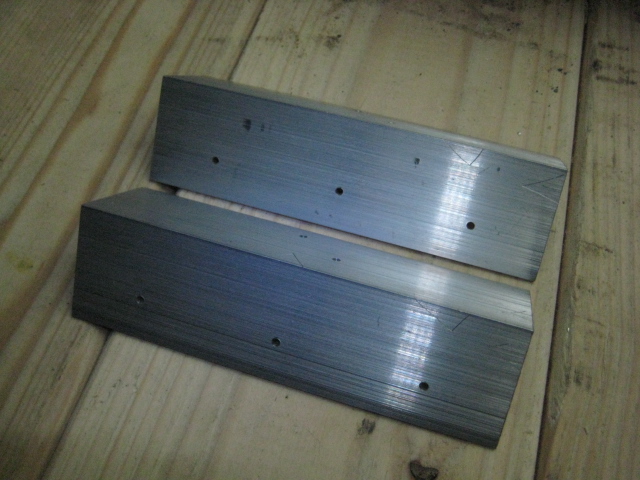
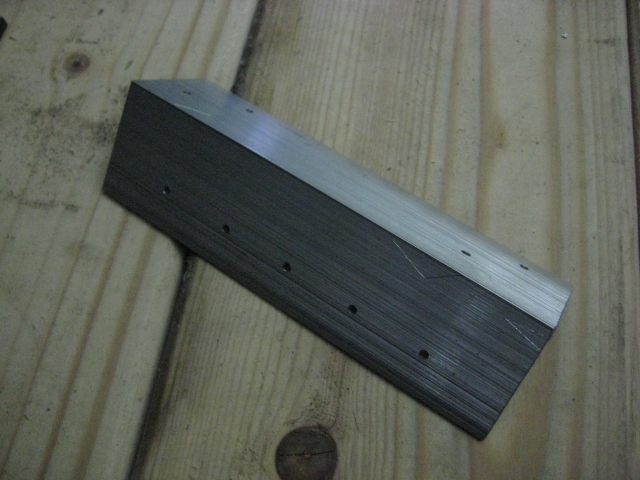
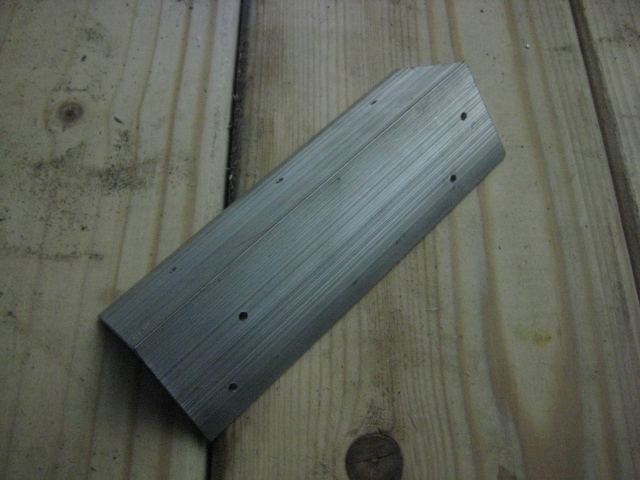
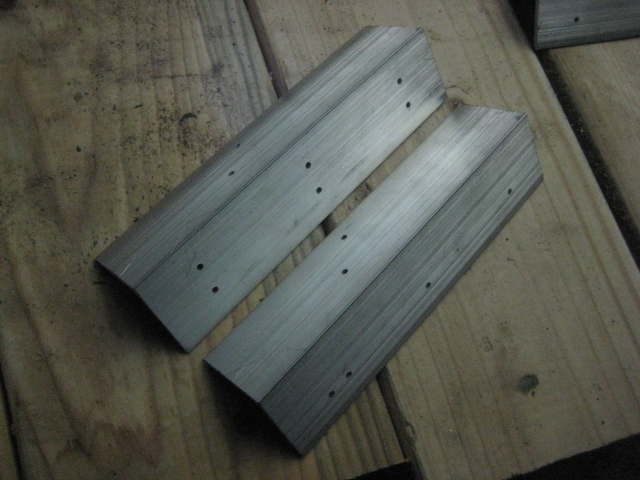
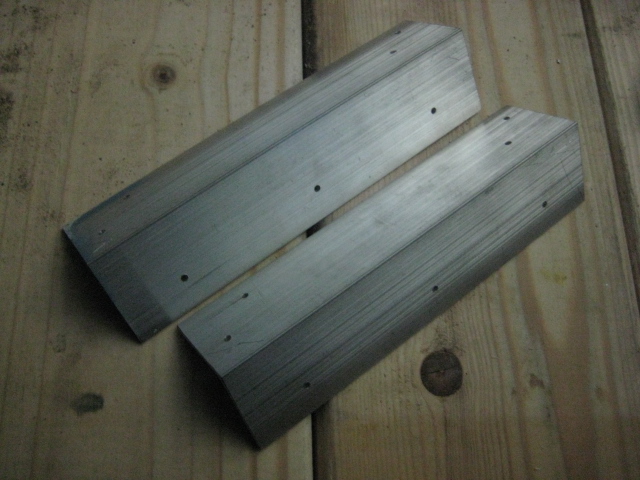
4 6061 Aluminum Alloy Equal Angle 1.5"AB, 0.125" thk,
- 35mm (x3 total quantity = 105mm total length)
5 Quantity Organization
4
- 140mm (x4 total quantity = 560mm total length)
5 Quantity Organization
4
- 170mm (x4 total quantity = 680mm total length)
5 Quantity Organization
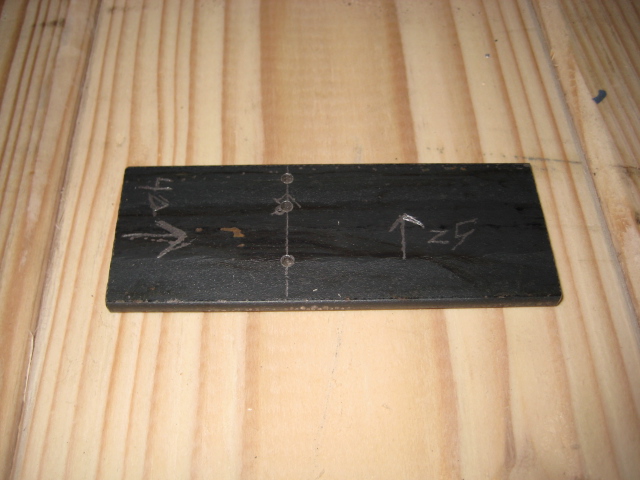
4 Steel Flat Bar 0.125" x 1.5"
- 100mm (x3 total quantity = 300mm total length)
5 Quantity Organization
- 140mm (x2 total quantity = 280mm total length)
5 Quantity Organization
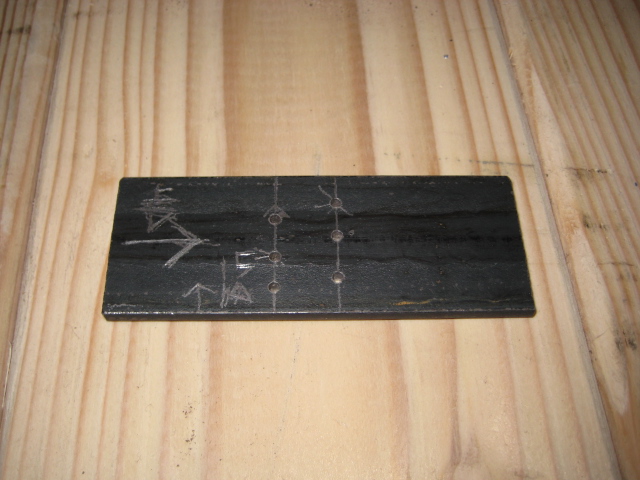
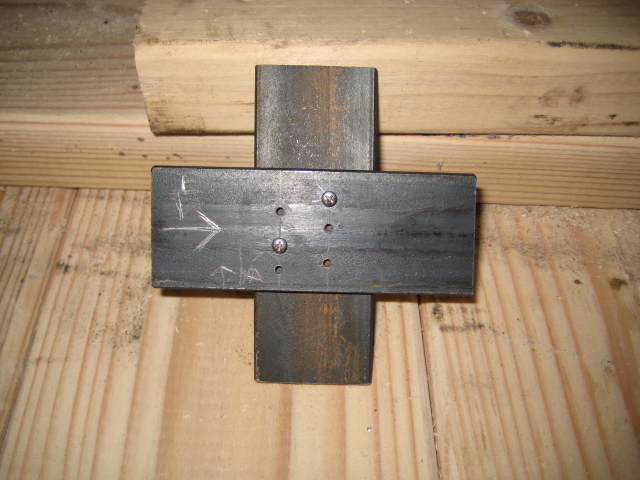
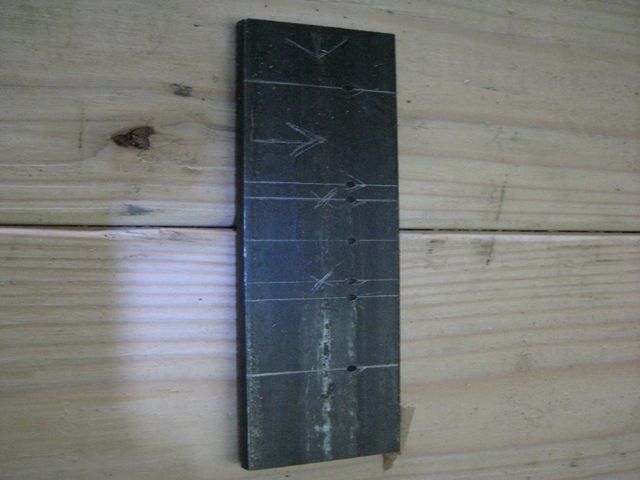
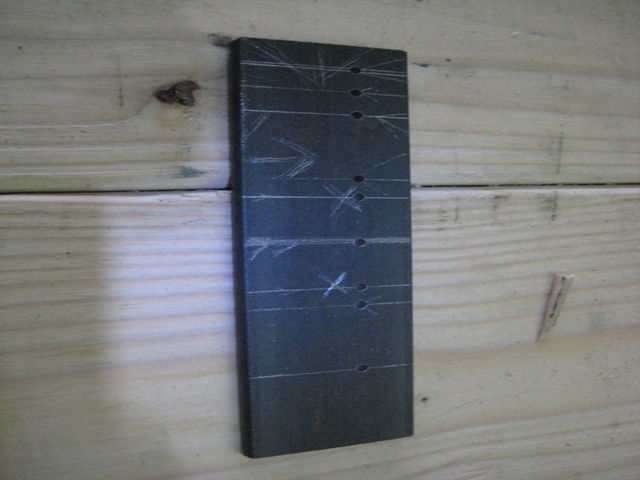
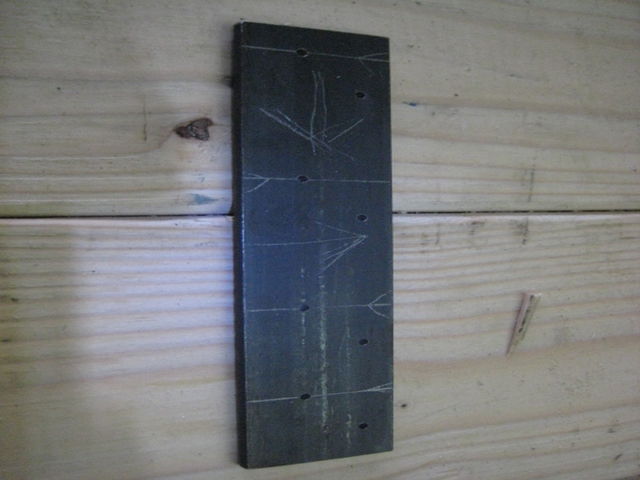
3 Perpendicular Alignment Template
3 Rigidity Alignment Template
3 Wide Axis Template
3 Narrow Axis Template
3 Rigidity Template
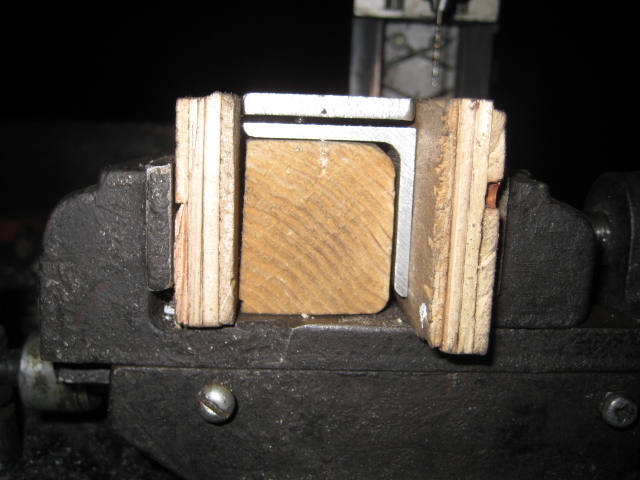
3 Cube Angles
3 Platform Angles
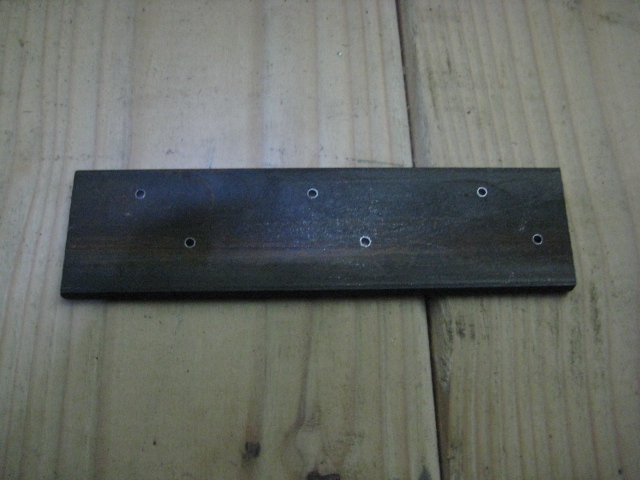
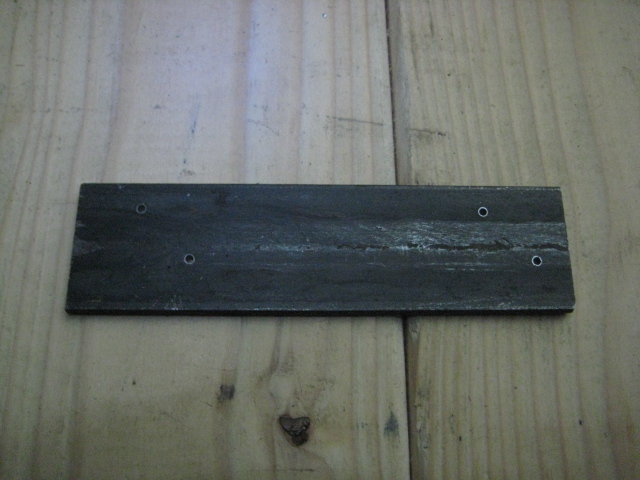
3 Platform Flat Bar
3 Y-Z Wide Axis Angles
3 Y-Z Narrow Axis Angles + Z-Spindle Narrow Axis Angles
3 Z-Spindle Flat Bar
3 Z-Spindle Holding Angles
3 Cube Assembly
3 Y-Z Assembly
3 Z-Spindle Assembly
2 Electronics
2 Detailed Software Guide
3 Ubuntu 10.04 LTS 32-Bit
4 Getting Git
- Open Terminal and type:
sudo apt-get install git-core
4 Getting Arduino Integrated Development Environment
- Go to this webpage:
http://arduino.cc/hu/Main/Software
- Download the Linux 32-bit version of Arduino IDE to a directory of your choosing
4 Compatibilizing Arduino IDE
- The following steps are a summary of the information in this webpage:
http://www.pluggy.me.uk/arduino-ubuntu/
- Open System>Administration>Synaptic Package Manager, then type your password
- In Synaptic Package Manager, search for jre, then mark for installation the item with the following name:
Openjdk-6-jre
- Note: marking these items will bring up other packages also to be marked. Click "mark" during these times.
- In Synaptic Package Manager, search for gcc-avr, then mark for installation the item with the following name:
gcc-avr
- In Synaptic Package Manager, search for avr-libc, then mark for installation the item with the following name:
avr-libc
- In Synaptic Package Manager, click "Apply"
- Restart your computer
4 Getting RUBY Programming Language
- Open Terminal and type:
sudo apt-get install ruby1.9.1
- Restart the computer for the changes to take place
4 Getting GRBL Files
- Open Terminal and type:
git clone https://github.com/damellis/grbl.git grbl
4 Getting Gctrl
- Open Terminal and type:
git clone https://github.com/damellis/gctrl.git gctrl
4 Getting Processing
- Go to this webpage:
http://processing.org/download/
- Download the latest version of Processing to a directory of your choosing
4 Moving RXTX files
- Navigate to the Arduino IDE folder>lib.
- Copy RXTXcomm.jar
- Navigate to the Processing folder>modes>java>libraries>serial>library
- Paste RXTXcomm.jar, replacing the existing version
- Navigate to the Arduino IDE folder>lib
- Copy librxtxSerial.so
- Navigate to the Processing folder>modes>java>libraries>serial>library>Linux32
- Paste librxtxSerial.so, replacing the existing version
4 Modifying Gctrl
- Open the Gctrl folder
- Open gctrl.pde in gedit
- Change a part of the code as annotated in the following:
Serial port = null; //change starts
String portname = "/dev/ttyACM0"; // Linux, Arduino Uno
//change ends
boolean streaming = false;
4 Modifying GRBL Files
- Navigate to the GRBL folder
- Open "Makefile" in gedit
- Edit the PROGRAMMER line as:
PROGRAMMER = -c stk500v1 -P /dev/ttyACM0 -b 115200
4 Flashing GRBL
- Open Terminal and navigate to the GRBL folder (ex. by using the "ls" and "cd" commands)
- In Terminal, type:
make clean
make
- Connect the Arduino Uno to the computer via USB cable
- In Terminal, type:
make flash
- Disconnect the Arduino Uno
4 Running GRBL
- Navigate to the Processing folder
- Open and run Processing, setting the sketchbook folder as the folder in which the gctrl folder exists
- In Processing, open gctrl using File>Sketchbook>
- Connect the Arduino Uno to the computer via USB cable
- In Processing, run gctrl using Sketch>Run
- Note: For certain functions of gctrl, press and hold down the key for the popup windows to populate.
4 Determining GRBL Configuration Changes Required
- Go to the following webpage:
http://dank.bengler.no/-/page/show/5474_configuringgrbl?ref=mst
4 Modifying GRBL Settings
- Navigate to the Arduino IDE folder
- Double-click "Arduino" then click "run" in the popup window
- Note: you may want to create a quick launcher for the Arduino IDE
- Connect the Arduino Uno to the computer via USB cable
- In Arduino IDE, open Tools>Serial Monitor
- Note: the Serial Monitor window should pop up and you should see the following:
Grbl 0.6b
'$' to dump current settings
- In the Serial Monitor, change the left drop-down setting to the following:
Both NL & CR
- In the Serial Monitor, type the following in the command line:
$
- Note: you should now see the following:
$0 = 157.480 (steps/mm x)
$1 = 157.480 (steps/mm y)
$2 = 157.480 (steps/mm z)
$3 = 10 (microseconds step pulse)
$4 = 500.0 (mm/min default feed rate)
$5 = 600.0 (mm/min default seek rate)
$6 = 0.100 (mm/arc segment)
$7 = 0 (step port invert mask. binary = 0)
$8 = 25.0 (acceleration in mm/sec^2)
$9 = 225.0 (max instant cornering speed change in delta mm/min)
'$x=value' to set parameter or just '$' to dump current settings
- In the Serial Monitor, type commands as necessary in the following format, where "X" and "Y" are numbers:
$X = Y
