CEB Press/Manufacturing Instructions/Controller Box/FeF Liberator Controller
Jump to navigation
Jump to search
Step 1
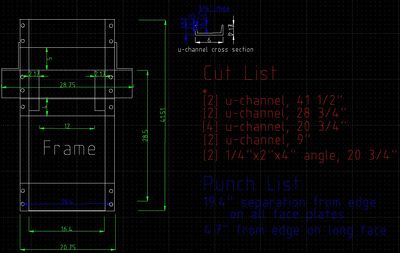
- Source 7/16" thick, 6" wide u-channel: 20 feet of it.
- Pieces needed: (click on image to enlarge)
- Torch or cold-cut channel to size
- Punch holes
Step 2
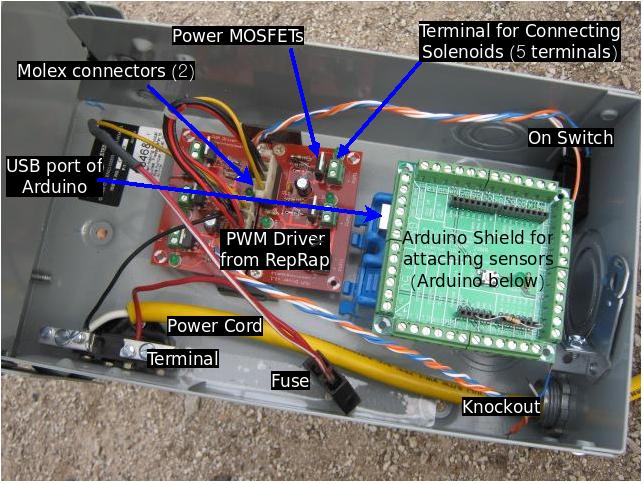
Source the electronics. Here is a diagram of the controller box
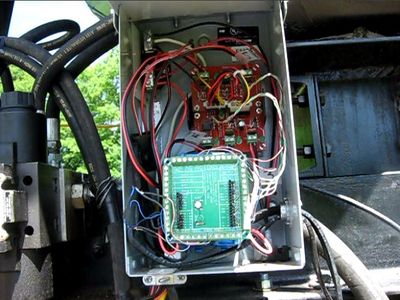
Here is the complete controller installed:
Gross Electronics:
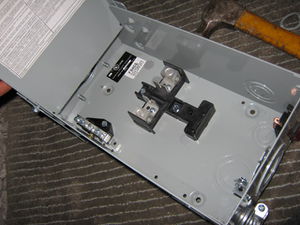
- Electronics Box - local hardware store
- Extension Cord
- Or house wiring with Female Plug and Male Plug.
- 2 alligator clips for battery connection - auto parts store
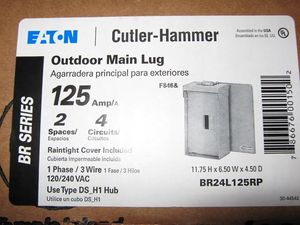
- House wiring box (blue box in picture above below the Arduino Shield - hardware store
- Fuse holder - car parts store
- 12v quick connect plugs - 5 pairs - for quick-coupling to solenoids out of controller box - car parts store
- Stranded 5A wire for solenoid connections
- Spade terminals (10) for connection to solenoid terminals
- Underground phone cable - makes very tough connectors for sensors
- Potting compound
- PVC pipe - with 1 end capped
- Stranded Cat 5 wire for sensor connections
- [5] Supermagnets -
Microelectronics:
- [2] Hall Effect Sensors - Sparkfun
- [1] Arduino shield kit - Makerbot
- [1] Arduino - Makerbot
- [2] RepRap PWM Driver Boards
Components for PWM Driver Boards
- [1] Replacement MOSFETS -
- []
Step 3
Shopping list for items which are shipped:
- [1] Arduino breakout shield - $25, Makerbot
- [1] Arduino (Duemilanove) - $30, Makerbot
- [2] Solenoid drivers -$13 ea., Makerbot
- [5] MOSFET replacements, VNP35N07-E - $3.34, Future Electronics (if not available, search at Octopart)
- [2] Hall Effect sensors - $0.95 ea, Sparkfun
- [4] 3/8" V-groove bearings - $7.77 ea, VXB
- [6] Supermagnets - $0.48, Gaussboys
- [1] Potting Compound - $22 for 48 oz, Polymer Composites
