PowerCube Hydraulic reservoir
Jump to navigation
Jump to search
Hydraulic reservoir
- [2] ¼” x 6” x 12”
- 6” x 12” x 27 ½” Tube
- 2” x 2 ¼” x 1/8” Tube
Clean tank components prior to welding
- Clean tank edges
- Clean inside of tank
- Clean-grind tank bungs
Welding Plates to Tube
- All welds assembling the reservoir must be quality welds that do not leak. Be careful not to “over weld” the reservoir.
- Tack and weld the 6” x 12” plates to both ends of the 6” x 12” tube.
Welding extension and flange
- Suction strainer
- Weld-in flange
- 2” x 2 ¼” x 1/8” tube

- Tack and weld the strainer extension tube to the tank, centered around the strainer hole.
- Insert the strainer into the flange and insert it into the strainer extension tube – verify that it slides without binding or bottoming and that the flange is flush with the end of the tube. Remove the strainer from the flange, then tack and weld the flange to the tank.
CAUTION: Keep the strainer away from the welding and flames, as its thin wires burn easily.

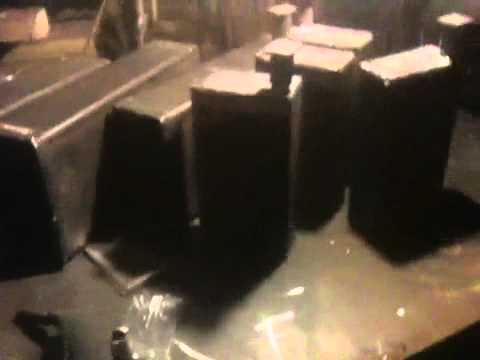
- Video of reservoirs after welding:
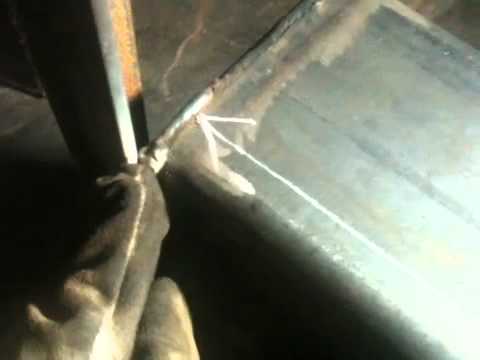
- After tack welding - measure location of engine mount 8 inches from inner edge of frame (not hydraulic tank) and 3 inches down from top of hydraulic tank: