PowerCube Hydraulic reservoir
Jump to navigation
Jump to search
Hydraulic reservoir
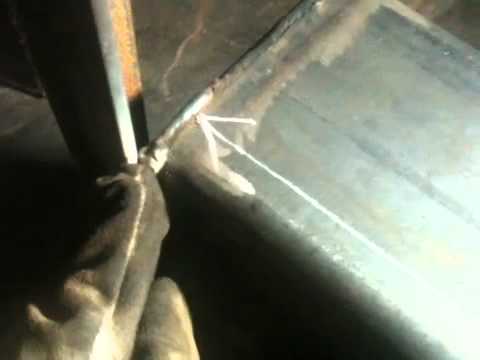
This is the assembly for welding the hydraulic reservoir. Keep the strainer away from welding sparks, as its fine metal mesh melts easily.
- [2] ¼” x 6” x 12” Steel Flat Plate
- 6” x 12” x 27 ½” Tube
- 2” x 2” x 1/8” Tube
- [2] 3/4" Forged Weld-in Flange
- 1 1/2" Forged Weld-in Flange
- Suction strainer
- Cut two 1 7/16" holes and one 2" hole in the tube as in the diagram below.
- Tack and weld the 3/4" flanges to the smaller holes with smooth, consistent welds to insure no leaks.
- Tack and weld the 2" x 2" diameter pipe to the reservoir, insuring that it is centered over the reservoir hole. Once welded, perform a "dry fit" by inserting the strainer into the extension tube to verify no binding when centered.
- Tack and weld the larger flange to the end of the extension pipe. Again, perform the "dry fit" to insure no binding on the strainer.
- Use a wire brush to thoroughly clean the inside of the tube.
- Tack and weld the two end plates to the tube, again with smooth consistent weld to insure no leaks.
- Perform a “soap bubble” test on the tank by securely covering the larger hole (use something like strong tape), pressurizing the tank using the smaller hole and cover the tank surface with soapy water. Mark any leaks and re-weld securely. Repeat soap bubble test if re-welded.
Welding extension and flange


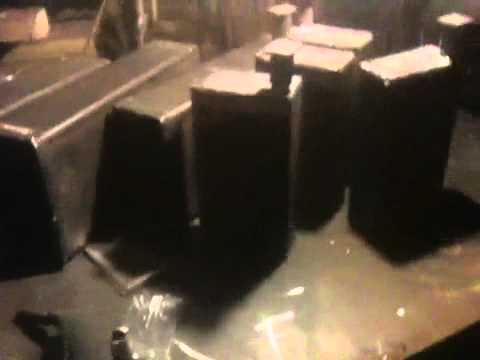
- Video of reservoirs after welding:
- After tack welding - measure location of engine mount 8 inches from inner edge of frame (not hydraulic tank) and 3 inches down from top of hydraulic tank: