CEB Press/Manufacturing Instructions/Mount Solenoid Valve Set And Controller Box
Jump to navigation
Jump to search
1 Video
1 Tools
- Various Wrenches
1 Materials
- 3/4" Quick Coupler Set (1)
- SAE 12M to 3/4" Swivel (2)
- SAE 6M to 1/2" Swivel (6)
- Bolts and nuts for mounting on valve mount and controller
- 3/4"x1.5" Bolts (4)
- 3/4" Nuts (4)
- Prepared Controller Box
- Prepared Controller Mount
- Prepared Valve Mount
1 Steps
2 Install Controller=
- Bolt Controller Box to Controller Mount
- Bolt controller mount to CEB.
2 Mount Sensors
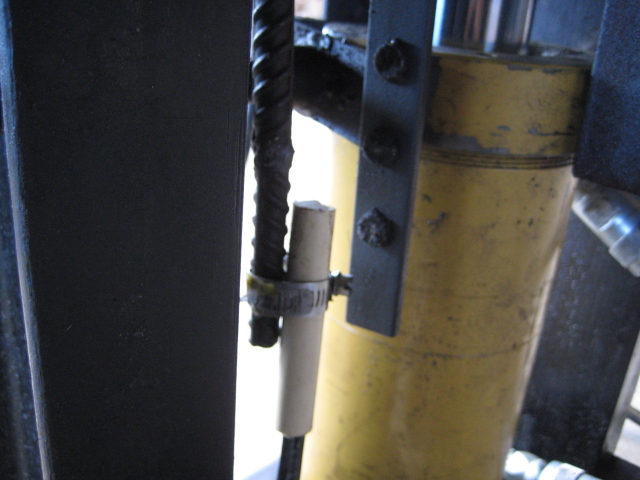
- The sensor that has its orange (signal) wire in Arduino pin A0 (aka pin 14) powerclamps next to the primary cylinder bar.
- The sensor that has its orange (signal) wire in Arduino pin A1 (aka pin 15) powerclamps next to the secondary cylinder and soil loading drawer.
2 Prepare Solenoid
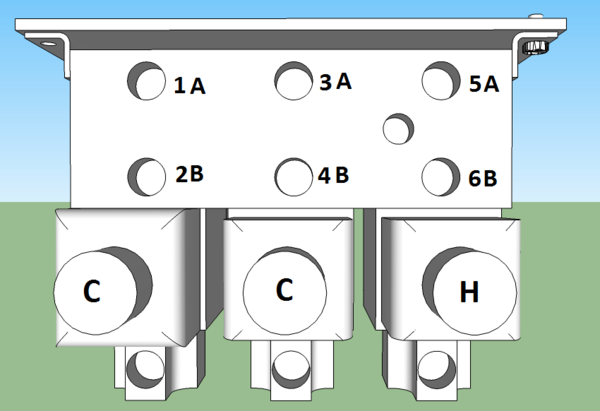
- Install the solenoid valves on the manifold in the order C-C-H, going from left to right, with the ports at the top.
- Install the quick connect inlet and outlet in the side ports on the manifold. DON'T use thread tape for any connections to the manifold.
- Onto the top of the manifold, install the 6 compression fittings into the A and B.
2 Install Solenoid on machine
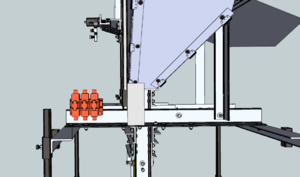
- Bolt the solenoid to the valve mount.
- Bolt the solenoid and valve mount to the primary arms on the assembled CEB.
- Attach hoses from cylinders and shaker to manifold. See illustration for number locations.
- 1=Main Cylinder Top
- 2=Main Cylinder Bottom
- 3=Secondary Cylinder Tee
- 4=Secondary Cylinder Control Valve
- 5=Shaker Non Return Line
- 6=Shaker Return Line (Side with Needle Valve and Tee)


