HabLab Build
HabLab Plans
see related Microhouse_Architectural_Details
Wall Strategy
Update 1/27/12 showing double outside walls and single inner walls.
Moving pallets of bricks inside for access:
Wall Detail
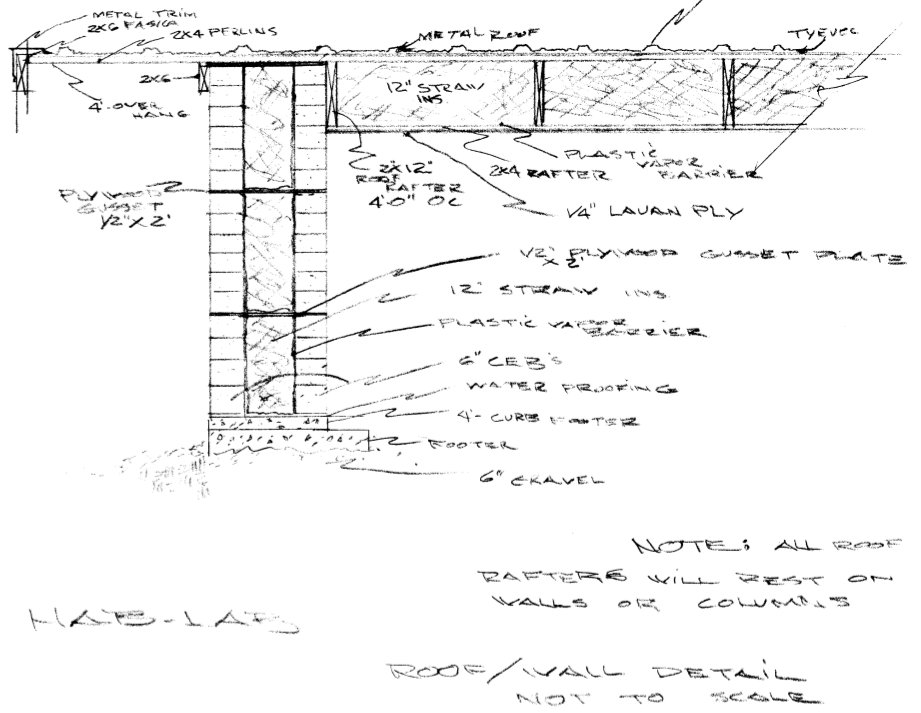
Superinsulated walls and roof using straw bales:
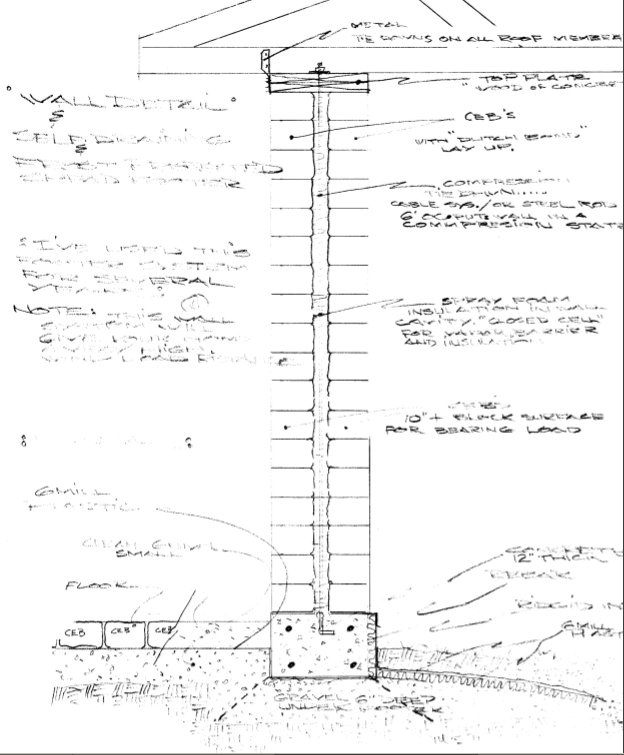
General wall and foundation detail with insulation on top of earth:
Floyd Hagerman has used this for years with success. I don't know of anyone who does this. It involves horizontal insulation, not vertical. It involves gravel below the footer under the wall, not concrete. It is for heated structures only.
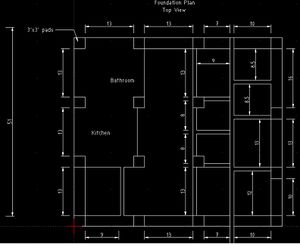
Foundation
Enclosure
Source (dxf): File:Enclosure.zip
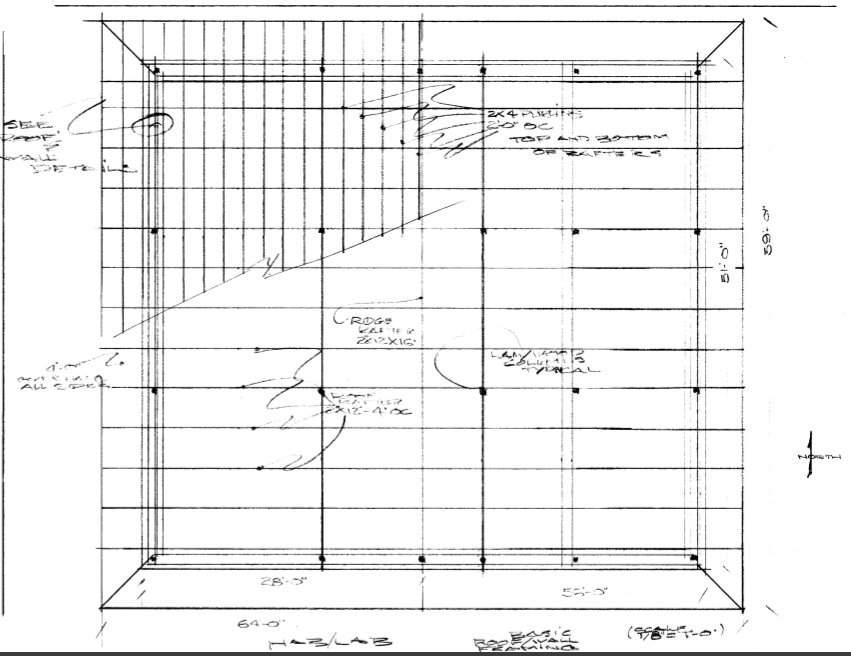
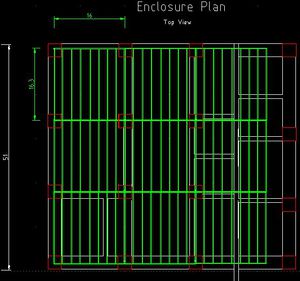
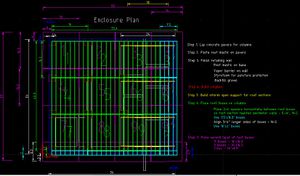
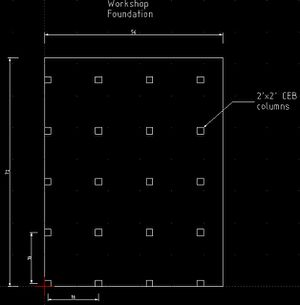
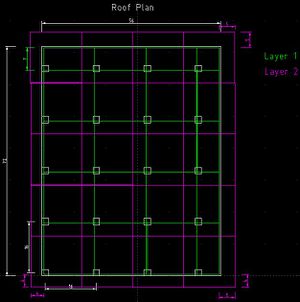
The current strategy for enclosure is to build the columns, upon each of the 3x3' foundation pads, painting the pads with roof mastic for moisture protection, and laying unstabilized brick straight on. Once columns are made, 'bond beams' of soil cement are formed on top to match the roof slope. Currently, we have the simplest possible roof option: shed from west to east, based on time constraints, so we can put the roof on in one day with 10 people, including straw insulation and roof metal. The roof is 16'x16' boxes with 2x12 lumber (2 boxes of 2x6s gusset plated to each other with OSB gussets). These boxes lay right on top of the columns. Thus we have the columns covered.
That's where the diagram leaves off. Note that the east box is not supported by a column, since the column spacing is greater than the 16' box size. So we will attach 2x12 interim supports underneath the roof box (24' long, between the tops of the corresponding columns). We will leave them in place until the walls are built up underneath the roof boxes.
Please comment.
If you have time, please continue on the DXF to include the remaining boxes on the east side and upload the result here or email me at opensourceecology at gmail dot com. Note that the second layer of boxes (to make the 2x12 box) should be staggered by 4 or 6 feet, to yield 2.75 or 4.75 foot overhangs on each side of the building. If you have time and know qcad, please help out. Qcad is a free download for the low edition.
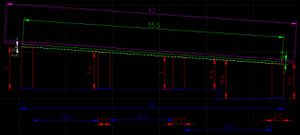
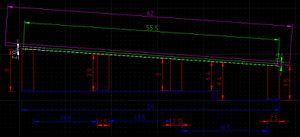
Enclosure with Side View
The concept is to build columns and supports as needed to put on square roof sections, 2 layers of roof sections.
The green and turquoise is the first layer. It is primarily 16'x16.3' square boxes supported by the red columns. Once columns are up, boxes could be put up, and we have a roof overhead to work under – laying a CEB perimeter wall with bricks protected thereunder.
Here are the technical details I'd like you to verify:
- Put on box 1 (green) through 3, screwing or nailing adjacent boxes to each other.
- Put on narrower turquoise box.
- Continue to 4-6, and 7-9, just as above
- Put up short 2' turquoise box
- Then start on layer 2, using OSB gusset plates to connect the boxes together.
Note that N-S boxes are actually 16.3' in length.
Do you see anything that I missed in terms of feasibility of lining boxes up, or any other issues? First box layer is dimensioned to sit on a 1' wide perimeter wall once that wall is up.
Otherwise, a supporting 2x12 under the columns holds up the l8' span.
Download
This dxf file includes the top view of foundations, top view of roof, and side view of columns and roof.
Download: File:Enclosure side.dxf
Workshop
Shop Foundation
Shop Roof
Shop Side
Download
Foundation Plan download:
Sourcing
- Roof/foundation cement, petroleum based - [1]
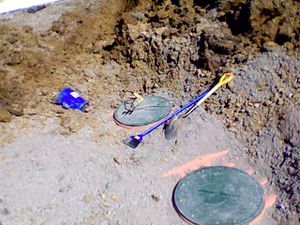
Septic Tank
Water Lines
