KiCAD Guide4
Creating Parts
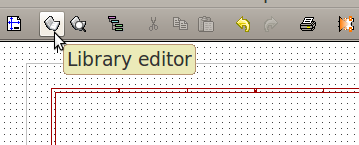
On the top symbol toolbar, click "Library Editor":
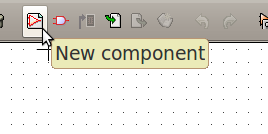
The library editor window should appear. On the top symbol toolbar, click "New Component":
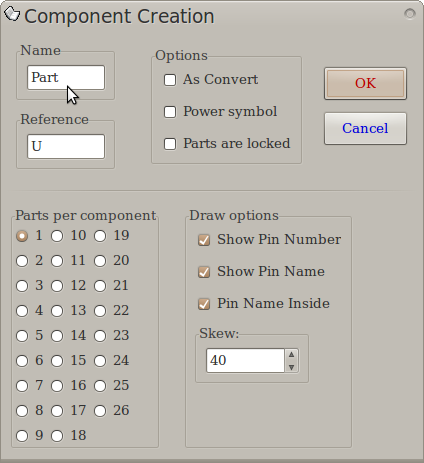
The component creation window should appear. Type in the name of your new component:
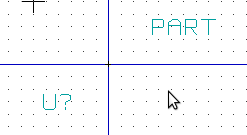
Now click "Ok". Now you should see your part name and part reference name at the center:
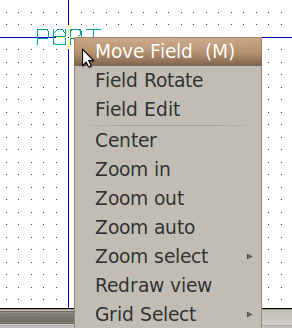
Right-click the part name and select "Move Field".
Move your part name then click again to place it. Repeat this for the part reference name also:
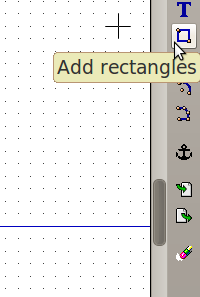
On the right toolbar, click the "add rectangles" button:
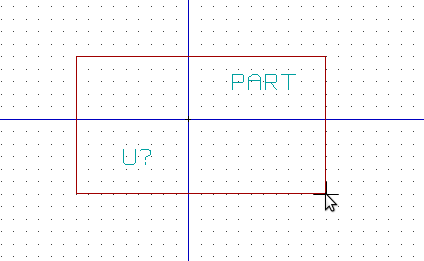
Click somewhere on the component editor background then move the cursor to form a rectangle. Click again to fix the rectangle size:
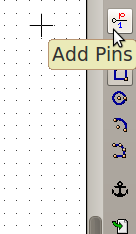
On the right toolbar, click "add pins".
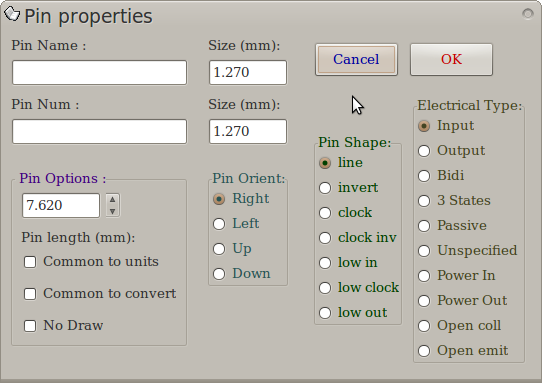
Now click somewhere on the component editor background. The pin properties window should appear:
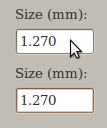
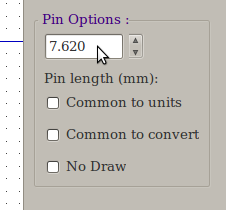
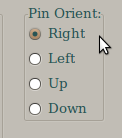
Fill in the "Pin Name", then set your pin's "Size", the "Pin Length", and the "Pin Orientation":
Now click "Ok".
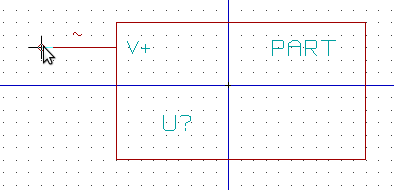
You should be able to move your pin on the component editor window. Click to place the pin:
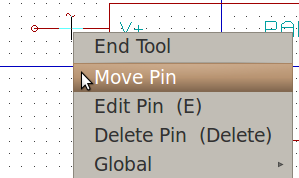
To reposition a pin, right-click the pin then select "Move Pin":
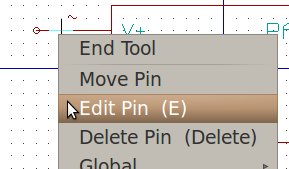
To reconfigure a pin, right-click the pin then select "Edit Pin":
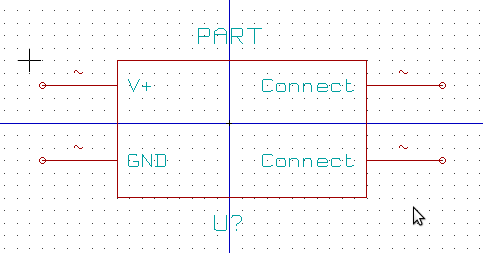
Repeat the pin creation and positioning process for 3 more pins. Reposition the fields and pins for a readable 4-pin component:
