Modular Stove Fabrication Procedure
Linked from Stove. Produced by  with adherence to
See build below and installation here:
BOM
Master BOM - only 5 unique stock materials + fasteners. edit
Frame
- [12] - 4' long
- [18] - 2' long
- [6] - 1' long
- Total - 90', $217
Panels
Note: undersize red panels slightly so they fit within 2'x2' or 1'x2' panel areas.
- [1] 1'x2' (front door of ash chamber)
- [3] 2'x2' (front, top, and flue panel)
- [1] 19"x2' (flame deflector)
- [1] 19"x42" (ash tray)
- [2] 3"x42" (ash tray)
- [2] 3"x19" (ash tray)
- Total: one sheet; $100
Mild Steel Prices
- 1/4"x2"x2" angle - $2.41/ft
- 1/8"x1/2"x1/2" angle - $0.66/ft (or 1/8"x3/4"x3/4" angle)
- 1/8"x4'x8' sheet - $100
Build
Fabrication Diagram Master Index
Fabrication Diagram
Annotation: Angle cutting and plasma cutting can occur in parallel. Start with angle holders for welding. As soon as frame members are cut and mitered - begin on frames. 2 people can work on frame. Start with ash tray panels, weld them. Weld door handles. 4 people on welding total - 2 on main and 2 on ash chamber. 1 person marks the metal - 4' sections - which can't be fed with stop. 2' and shorter pieces are fed with stop on ironworker.
Intro to Fabrication Diagram and process:
Step 1
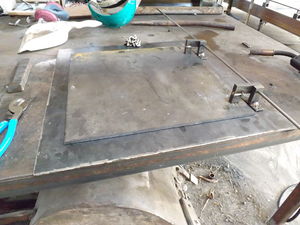
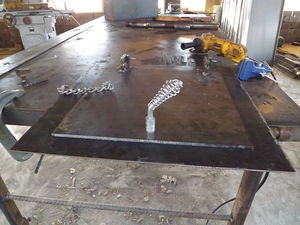
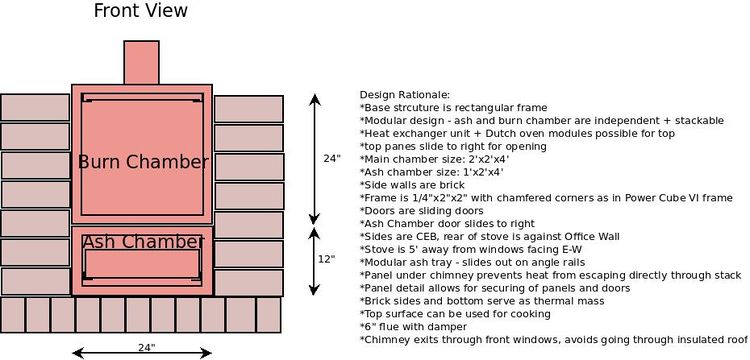
Study Concept: 2 boxes with slideable cover plates clamped down. Ash tray and flame deflector plates side in similar fashion.
Step 2
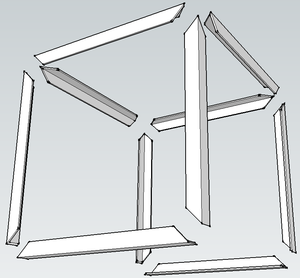
- Cut angle for 2 mitered frames, just like for Power Cube 6. 1/4"x2"x2" angle BOM:
- Use Ironworker for mitered cuts:
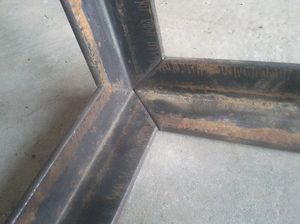
- Result: corners fit together such that all metal angle form flat planes
Angle cutting time lapse:
Quality Control
- 3 corners fit so there is no more than 1/8" space anywhere
- length of members within 1/4" tolerance
Then, the build:
Step 3
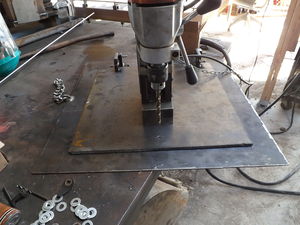
- Plasma Cut all panels
- Do not cut out hole in flue panel. Mark Exact location of this hole in situ once the roof hole has been made to make sure the flue is perfectly vertical.
- Includes ash tray and flame deflector panels
Step 4
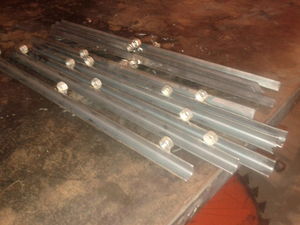
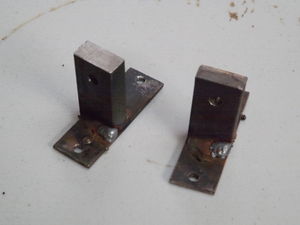
- Cut panel holders - [10] pices of 1/8"x1/2"x1/2" angle - 2' long
- Data point: with stop in place, ironworker does these in about 10 seconds each. Stop setup: 2 minutes. Pieces held by hand.
Step 5
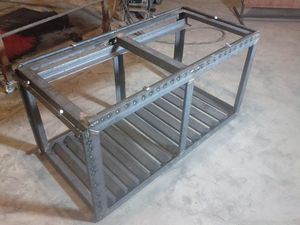
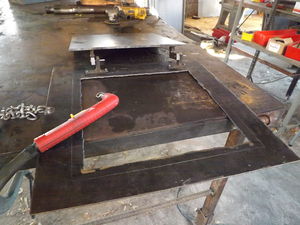
- Weld frame - all 1/4"x2" angle - as this:
- Mitered corners welded, ground flat
- Rails for flame deflector and ash tray are not mitered
Frame time lapse:
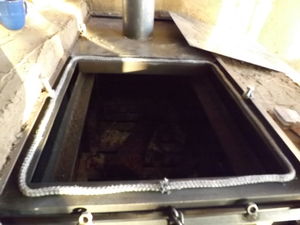
Start with Raw Stove Frame, add Stove Rails, then weld on Stove Grate. This is all 1/4"x2"x2" angle. Completedf fire chamber frame:
- Grate data point: cutting is 20 seconds per piece for angle with stops. Clamp not used for cutting 1/4"x2"2" angle - can be held by hand, but springless clamp would be good.
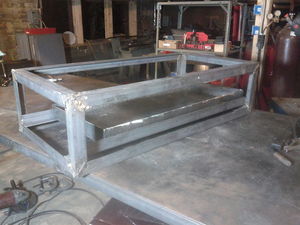
Ash tray frame:
Step 6
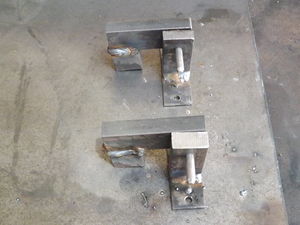
- Weld all panel holder nuts to holders, and holders to frame
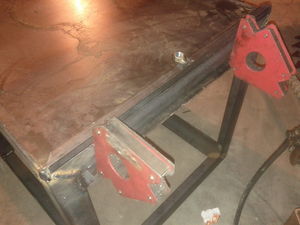
- Weld on holding nuts - technique:
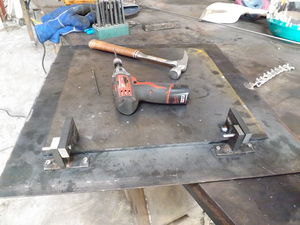
- Weld holders to frame. Use a magnetic holder to align the two.
- Mount panels
Step 7
- Weld ash tray
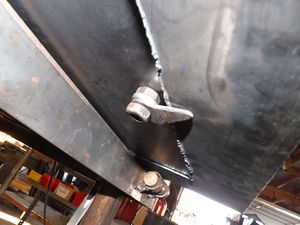
- Weld handles to doors
- Weld 12 grate pieces to frame (23" long angle, 1/4", like rest of frame
Step 8
- Plasma cut flue panel
- Plasma cut flue sections, including damper section
- Plasma cut flue section joints
- Fabricate damper
Step 9
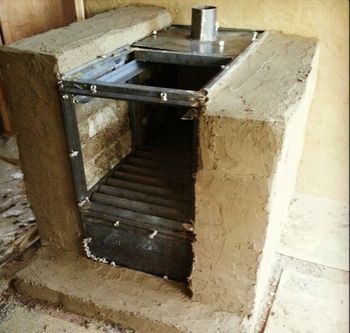
- Lay brick foundation for stove as in Concept Drawing - 4' wide by 5' long, length facing E-W
- A bench can we retrofitted to north side of stove
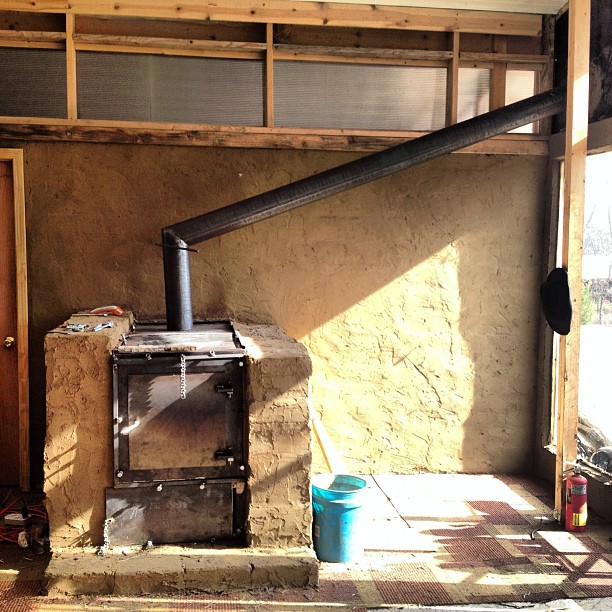
- Stack ash chamber and burn chamber sections, against rear brick wall in HabLab, stove door facing west, 4 feet from window
- Mount panels and doors
- Insert flame deflector and ash tray
Step 10
- Build up Bricks on 2 sides of Stove
- Install flue
http://instagram.com/p/RBahyvQvon/
Step 11
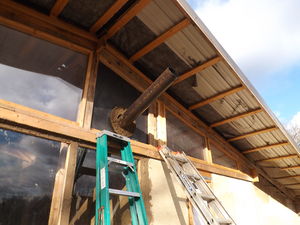
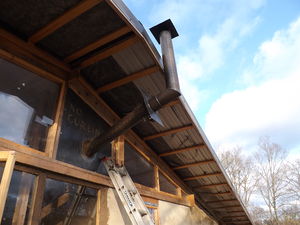
- Break flue exit out of glazed door side or through roof
Design Rationale for Roof vs Side Window
Fabrication Considerations
- 2 additional angle joints and 2 additional pipe sections compared to flue pipe straight out the top
Performance Considerations:
- Additional 4.5 square feet of heat exchange from 3' longer flue pipe, or 18% increase in heat output
- $215 materials cost + roof insulation + labor
- 20 sf of 1/8" sheet - $60 at $3/sf
- $155 for 20' of flue pipe cf $93 for 12' of flue pipe, 6", 14 gauge, cf $350 for Insulated Chimney Pipe
Modify Front Interface
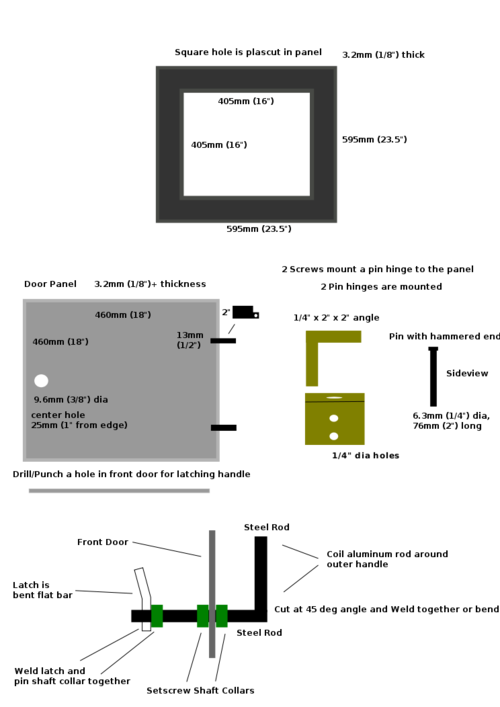
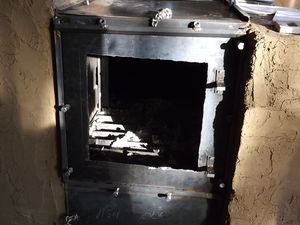
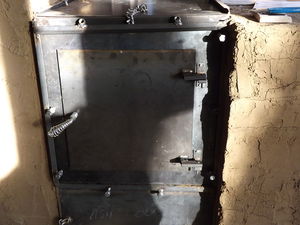
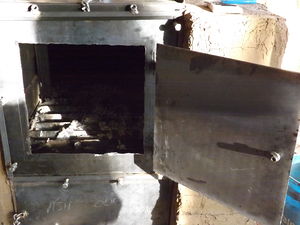
The front sliding door expands non-uniformly when the stove heats up, preventing the door from being moved easily.
A hinged door design is warranted. See Hinge
