Trusses
Jump to navigation
Jump to search
2008
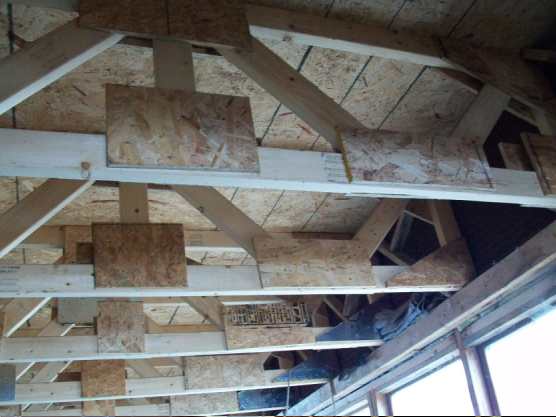
Truss:
- 2x4 lumber (3.5x1.5" in the USA).
- 7/16" oriented strand board (OSB) plates
- Plates are 7x16", and the small squares are 7x7" typical
- 22 inch high
- Vertical after every 2 diagonals
- Total diagonal length of members from left to righ - 22"
- Verticals are 15" high
- Our trusses are 32 feet long
Learnings:
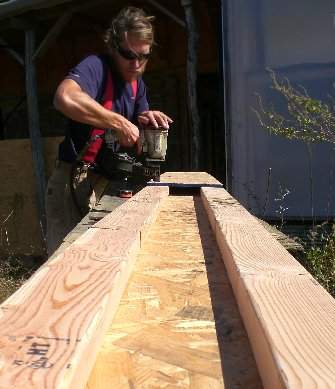
- If I were to do it again, I would just do the top and bottom parallels, and cover with 24" OSB from 4x8' sheets, on both sides. This is DIY 'engineered lumber'. I call it the wood-OSB sandwich.
- Total cost of truss shown is about $50 for 32' including nails for nail gun
- Total cost for new version is about $40 for the same, and I guess that the strength is much higher for the simple wood-OSB sandwich. Just stagger the joints properly. The weak point in the former is the large number of small pieces. The more monolithic, the better.
2010
Specs:
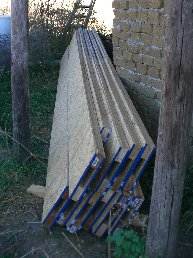
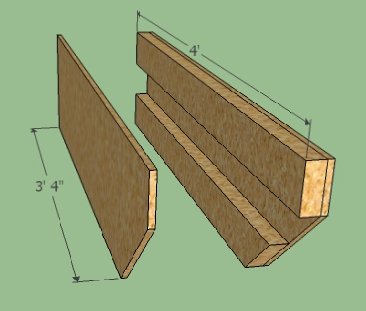
- Each individual truss is 16ft long x 1ft high x 2.5in wide.
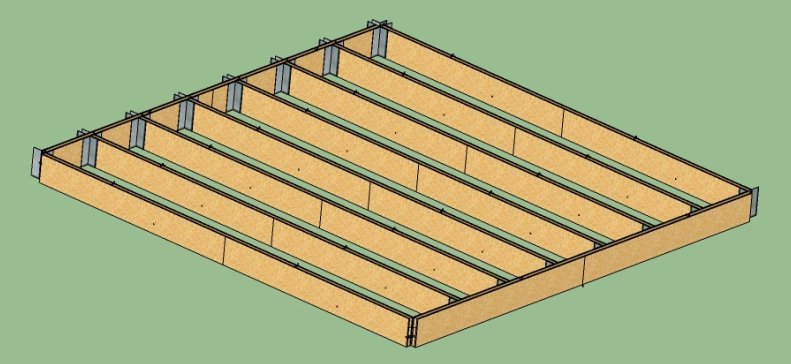
- We will use 11 trusses to support the roof.
- They will be held together with 1/8in thick steel angle brackets spanning the entire 1ft of each truss.
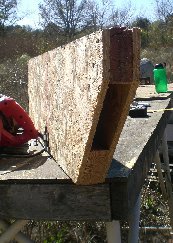
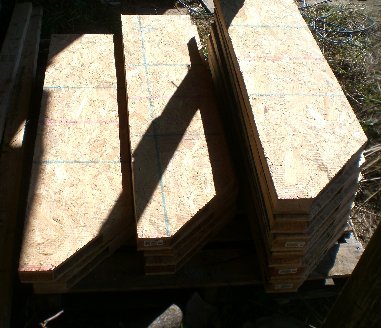
- The overhang trusses are 4ft at the top and 3ft 4in at the bottom. They are cut at an angle just below the first 2x4. This allows us to attach a gutter to the top 2x4 and discourages water from running down the face of the truss.
Materials used per Truss:
- 1 4ft x 8ft x 7/16in OSB Sheets
- 4 8ft 2x4s
- Approximately 1 roll (120 nails) of 1 3/4in nails
Design:
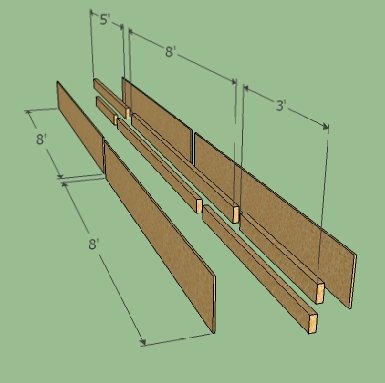
- We cut the OSB into 4 1ft strips, and we cut two of the 2x4s into 3ft and 5ft sections.
- We laid two OSB strips down end to end, spanning a total of 16ft.
- On top of these we placed the 2x4s, aligning them with the top and bottom edges and staggering them by their lengths.
- Therefore end to end on the top edge of the truss the 2x4s measure 3ft, 8ft, and finally 5ft, and on the bottom edge they measure 5ft, 8ft, and 3ft. This lay out prevents any pieces needing to be joined together from aligning vertically with each other, thereby increasing our strength.
Tools used:
- Skil Saw
- Chop Saw
- Nail Gun
- Air Compressor
- Nails
- Pencil
- Measuring Tape
- Carpenters Square
- Chalk Line
Why have we chosen this design?:
- It costs us approximately $16 per truss, much cheaper than the 2008 design.
- It is fast and easy to build. Anyone with basic carpentry skills and a few common tools can put these together fast, and with two people all 11 trusses could be built in a day.
- We do not believe we are compromising any strength compared to the previous design, as we have fewer weak spots and no small pieces.
- It is modular: it can easily be replicated and expanded upon. Which happens to be exactly what we plan to do, until we have 15 16ft x 16ft roof supporting structures all interconnected.
- We also believe it will be easy to insulate the roof by attaching OSB to the bottom and filling the space in between with shopped straw.
Concerns:
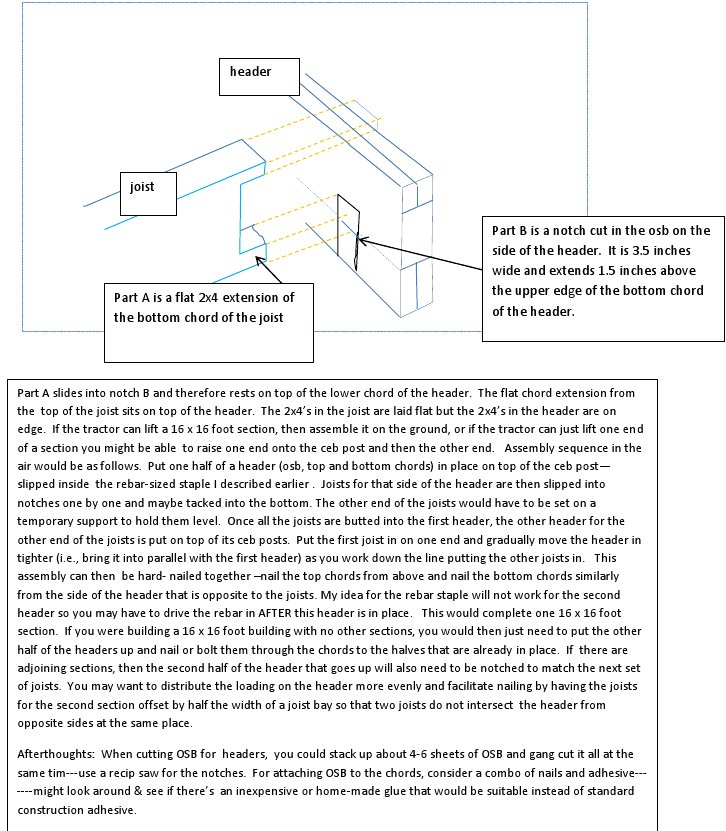
- Our primary concerns at this moment are how to connect the trusses to the CEB columns. To get a better idea of our model check out the Google Sketchup file in our weblog. Our plan is to pound rebar into the columns and use a large steel washer to cap the trusses on top of the columns. Any solutions and/or thoughts are always appreciated.
