Surveying 101: Difference between revisions
Jump to navigation
Jump to search
No edit summary |
|||
| Line 35: | Line 35: | ||
*Google Earth | *Google Earth | ||
*Sketchup | *Sketchup | ||
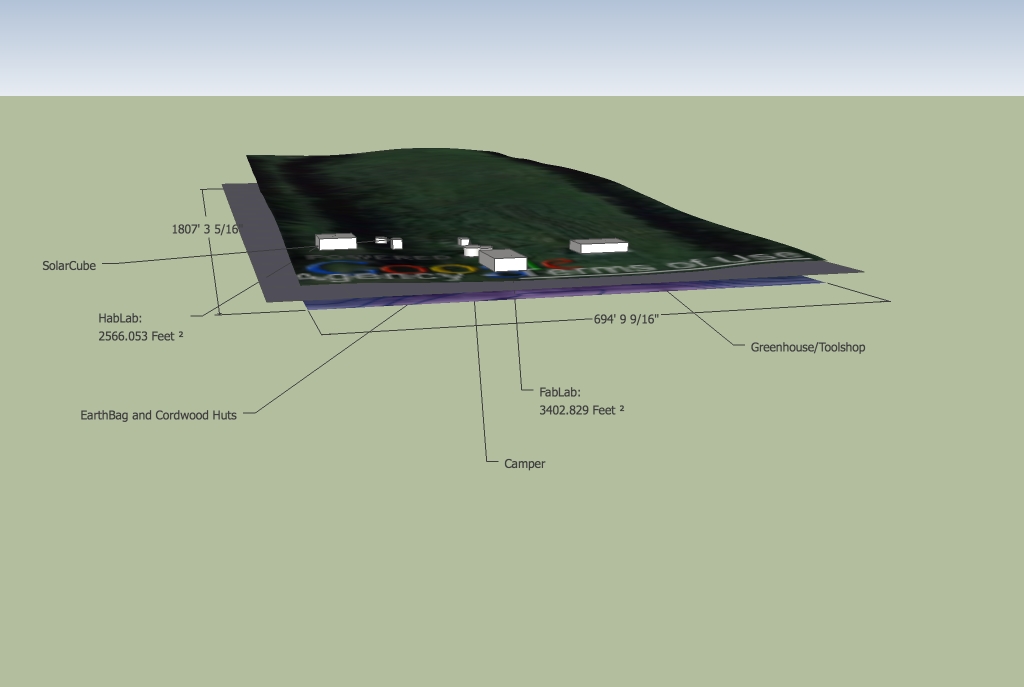
[[File:Site Map 2D.jpg]] | |||
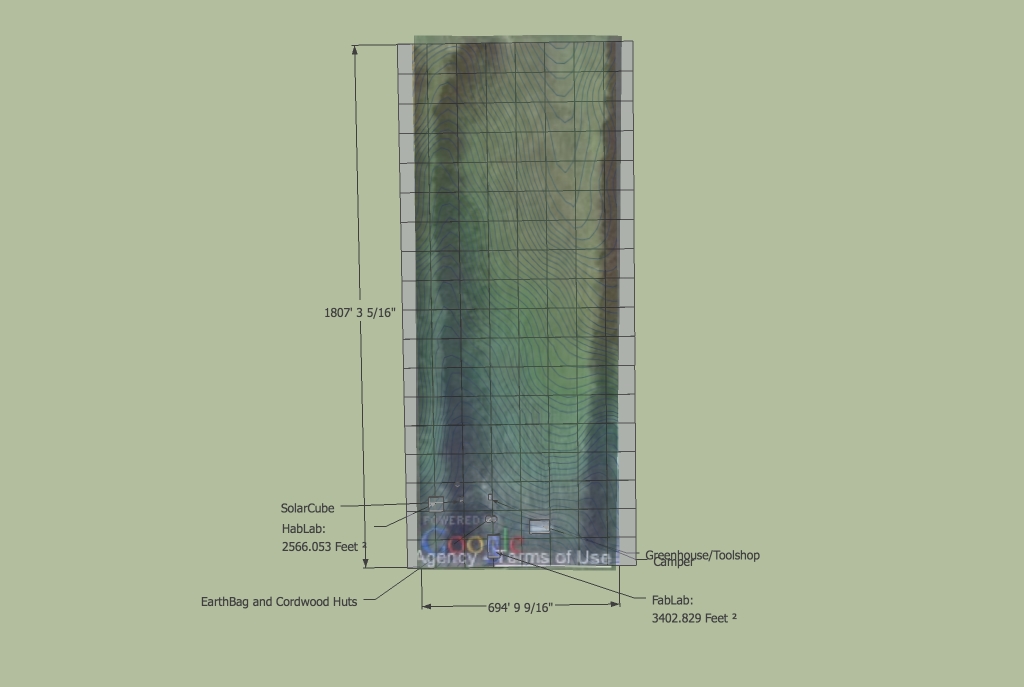
[[File:Site Map Grid & Contours.jpg]] | |||
=Design at FeF= | =Design at FeF= | ||
Revision as of 23:30, 26 July 2012
Tools
- Contractor's site level - shoots vertical intervals - drop in stairstep. Vertical intervals are equal unless there is huge variation in slope. Contractor's level is by Berger at Home Depot.
- Laser level - online - quickest is Forestry Supply has good options. Robust. No hassle. Self-leveling laser - where you don't have to do a bubble to level. Must have 360 deg compass on it. Laser shoots 360 degrees. Shoots lo less than 1000 feet in shooting length. TopCon brand.
- Stick - Forestry Supply - 16' stick. Reads in 10ths of inch. Read the back of it, so distance from ground rather than absolute.
- Weedwhacker + chainsaw. Offset 10' from trees if trees are in the way
- Always go in one direction
- Need a scale map of property
Procedure for Contour Survey
Summary: Shoot vertical intervals first (to help you find slope). Set up horizontal intervals (following contours, creates aspect).
- Find the steepest slope in your survey area
- Mark a 2' drop standard: use the rotating laser level and flags, mark 2' intervals (decreases in elevation) down the slope
- If the slope is too steep for a 2' drop standard, may need to be 3' or 4' at high slopes (for example, on a 10% slope)
- Marking contours: From your original line, follow contours (lines level with your starting point) to each side. Mark contours with a flag every 20'
- Objective: create 25' terraces. 25' is the guiding criteria, but if it's very steep terrain the terraces might have to be as narrow as 10'
- Result: smooth arcs of 100' marked by flags, distinguishing terraces with the narrowest point of the terrace on the steepest slope
Mapping Procedure
- Making Grid With a Transit
- Objective: map a 100' grid, using transit level and 2 compasses (because one might be corrupted)
- Number/label squares on grid, write on a map
- For each square you will be able to tell slope, aspect, and decide how you want to use that square (distinguish zoning)
- Map will be used to triangulate any location necessary in the future
Mapping Resources
- ArcGIS
- Google Earth
- Sketchup
Design at FeF
Design: 5% slope not good for animals, west face not good.
Initial thoughts:
West strip
- more water, shade
- less erosion
- more established creeks
- proposed use: homesteads, collective gardens, ponds, water storage
East strip from S to N end
- Workshops
- large-scale storage (pole barns, tractor garages)
- greenhouses
- orchard/food forest (swales, trees, vines, edible groundcover)
- Ponds where there is good catchment (directly NW of orchard looks practical, as well as just N of the old workshop)
- pasture (organic shapes with edible fence following swales on contour)
- grazeland rotated by species, with cover crop and grain rotated seasonally
- rain catchment on animal shelters
- some shade trees planted
- water storage at top of slope, gravity-fed water troughs for animals
Native Trees
- remove ones with less utility, to be turned into biochar, lumber
- remove deadwood, leaving some logs to be inoculated with mushrooms
- Forested center space:
- Pond at north end, continuing into creek with ponds coming down the slope
- Pigs fenced in with pallets, left to forage and free range, fed the byproducts of civilization (whey, food wastes, fallen nut crop)
- Keepers: mulberry, elder, walnut, oak
Ask Parker on full soil report.
Resources
- Surveying Fundamentals and Practices - J. Nathansan et al.
- Dan Schellenberg;
- Site Survey

