Mike Hill Modular Wheel Units Order: Difference between revisions
Jump to navigation
Jump to search
No edit summary |
No edit summary |
||
| Line 14: | Line 14: | ||
=Images= | =Images= | ||
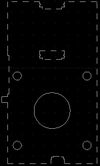
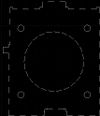
*[4] Part 1 - [[Image:wheelpart1dxf.jpg|100px]] | |||
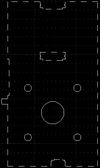
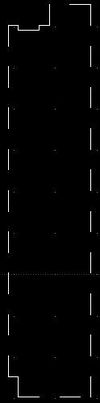
*[8] Part 2 - [[Image:wheelpart2dxf.jpg|100px]] | |||
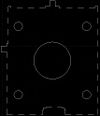
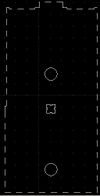
*[4] Part 3 - [[Image:wheelpart3dxf.jpg|100px]] | |||
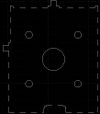
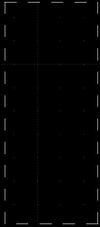
*[8] Part 4 - [[Image:wheelpart4dxf.jpg|100px]] | |||
*[10] Part 5 - [[Image:wheelpart5dxf.jpg|100px]] | |||
*[2] Part 6 - [[Image:wheelpart6dxf.jpg|100px]] | |||
*[10] Part 7 - [[Image:wheelpart7dxf.jpg|100px]] | |||
*[14] Part 8 - [[Image:wheelpart8dxf.jpg|100px]] | |||
*[2] Part 9 - [[Image:wheelpart9dxf.jpg|100px]] | |||
*[10] Part 10 - [[Image:wheelpart10dxf.jpg|100px]] | |||
*[10] Part 11 - [[Image:wheelpart11dxf.jpg|100px]] | |||
Revision as of 02:53, 20 June 2013
- [4] Part 1 - File:Wheel Mounts Part 1.dxf -
- [8] Part 2 - File:Wheel Mounts Part 2.dxf -
- [4] Part 3 - File:Wheel Mounts Part 3.dxf -
- [8] Part 4 - File:Wheel Mounts Part 4.dxf -
- [10] Part 5 - File:Wheel Mounts Part 5.dxf -
- [2] Part 6 - File:Wheel Mounts Part 6.dxf -
- [10] Part 7 - File:Wheel Mounts Part 7.dxf -

- [14] Part 8 - File:Wheel Mounts Part 8.dxf -
- [2] Part 9 - File:Wheel Mounts Part 9.dxf -
- [10] Part 10 - File:Wheel mounts Part 10.dxf -
- [10] Part 11 - File:Wheel Mounts Part 11.dxf -


Images
- [4] Part 1 -
- [8] Part 2 -
- [4] Part 3 -
- [8] Part 4 -
- [10] Part 5 -
- [2] Part 6 -
- [10] Part 7 -
- [14] Part 8 -
- [2] Part 9 -
- [10] Part 10 -
- [10] Part 11 -