LifeTrac II Build: Difference between revisions
No edit summary |
No edit summary |
||
| Line 1: | Line 1: | ||
Start with a [http://openfarmtech.org/weblog/2010/07/open-source-tractor-update/ design]. Then, [http://openfarmtech.org/weblog/2010/07/lifetrac-ii-frame-2/ build the frame]. | =Design= | ||
Start with a [http://openfarmtech.org/weblog/2010/07/open-source-tractor-update/ design]. | |||
=Frame= | |||
Then, [http://openfarmtech.org/weblog/2010/07/lifetrac-ii-frame-2/ build the frame]. | |||
<html> | <html> | ||
| Line 5: | Line 10: | ||
</html> | </html> | ||
=Wheels= | |||
Then, [http://openfarmtech.org/weblog/2010/08/lifetrac-ii-update/ prepare all the wheel mounting materials.] | Then, [http://openfarmtech.org/weblog/2010/08/lifetrac-ii-update/ prepare all the wheel mounting materials.] | ||
| Line 17: | Line 23: | ||
</html> | </html> | ||
=Wheel Tracks= | |||
Then, [[http://openfarmtech.org/weblog/2010/09/extreme-traction/ build the wheel tracks.]] | Then, [[http://openfarmtech.org/weblog/2010/09/extreme-traction/ build the wheel tracks.]] | ||
| Line 23: | Line 30: | ||
</html> | </html> | ||
=Loader Arms= | |||
Then, build the loader arms - both front and rear. | Then, build the loader arms - both front and rear. | ||
| Line 183: | Line 191: | ||
52. Finish weld top cylinder. | 52. Finish weld top cylinder. | ||
[[Image:LTfab53.jpg]] | [[Image:LTfab53.jpg]] | ||
=Quick Attach Plate= | |||
60. Prep QA plate materials. | 60. Prep QA plate materials. | ||
Revision as of 15:44, 4 October 2010
Design
Start with a design.
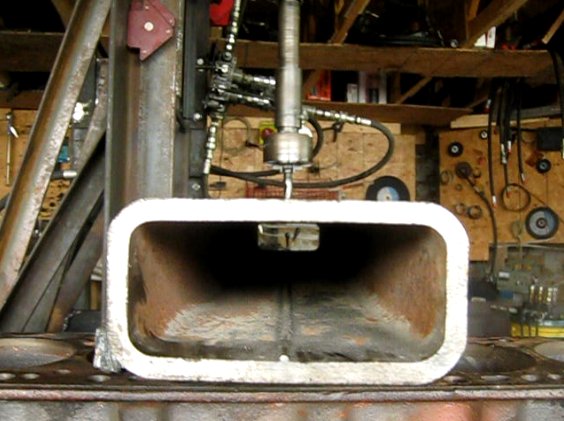
Frame
Then, build the frame.
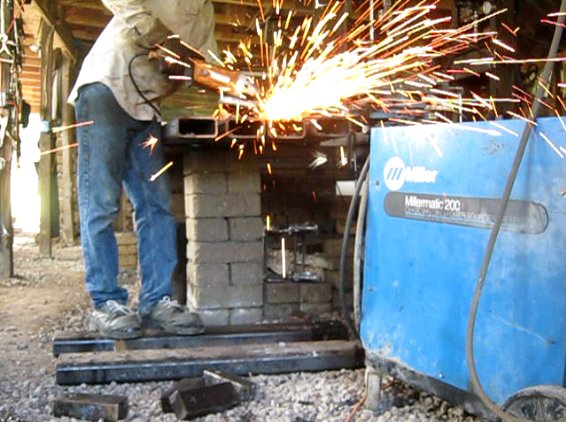
Wheels
Then, prepare all the wheel mounting materials.
Then add the wheels, and go for the first test drive.
LifeTrac II Test Drive from Marcin Jakubowski on Vimeo.
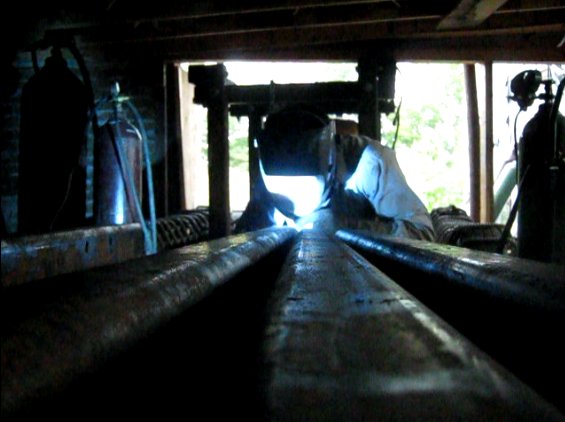
Wheel Tracks
Then, [build the wheel tracks.]
Extreme Traction from Marcin Jakubowski on Vimeo.
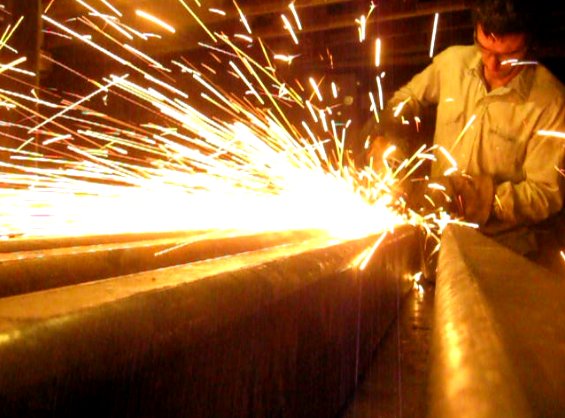
Loader Arms
Then, build the loader arms - both front and rear.
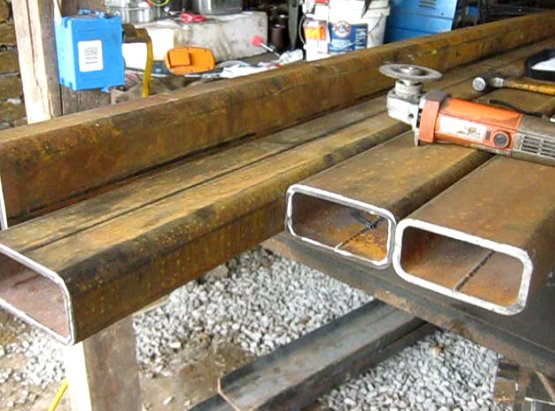
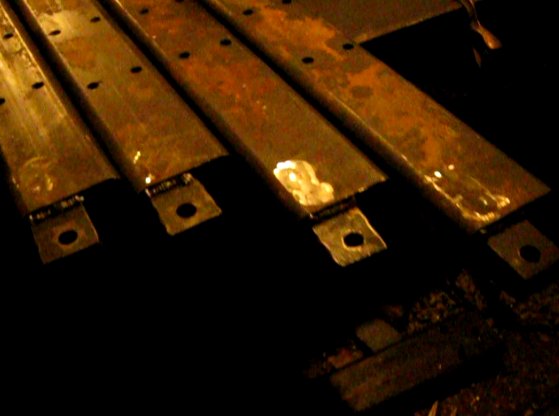
2. Mark loader attach plates for hole locations.
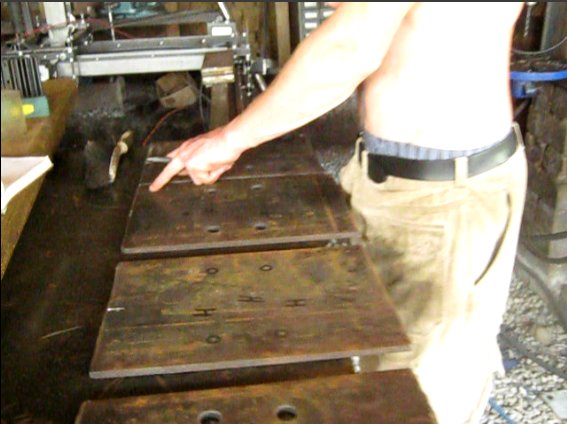
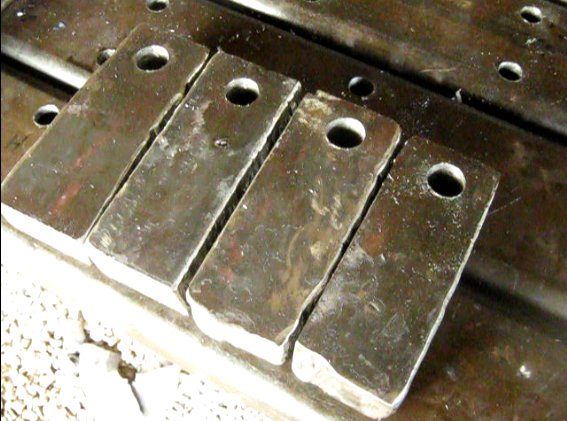
3. Punch or drill mount plate holes.
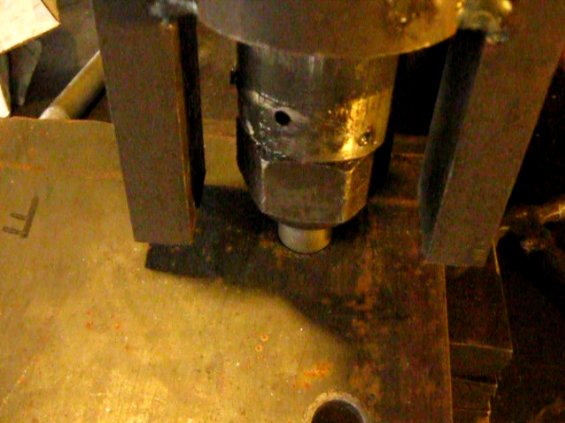
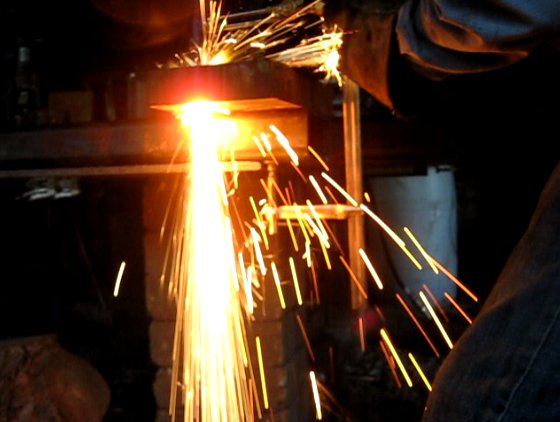
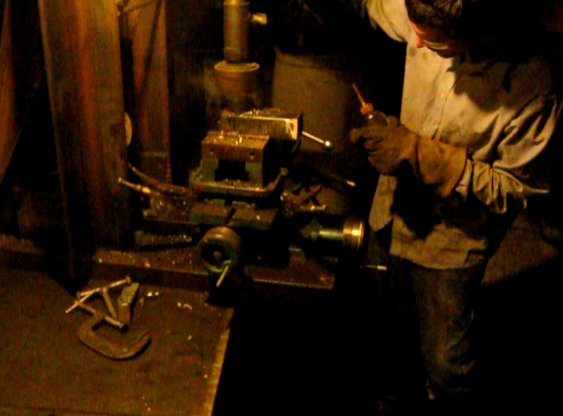
4. Drill holes in loader arms.
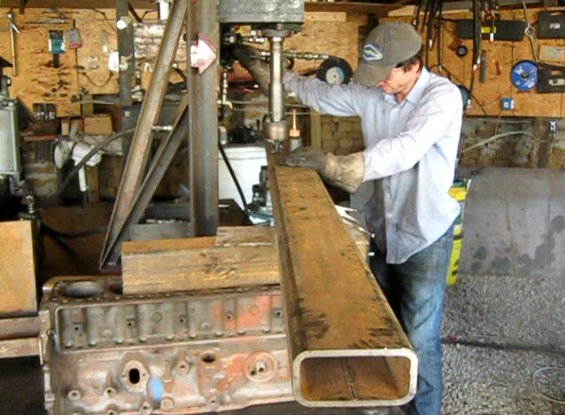
7. Drill or punch 1" holes for cylinder mount bottoms.
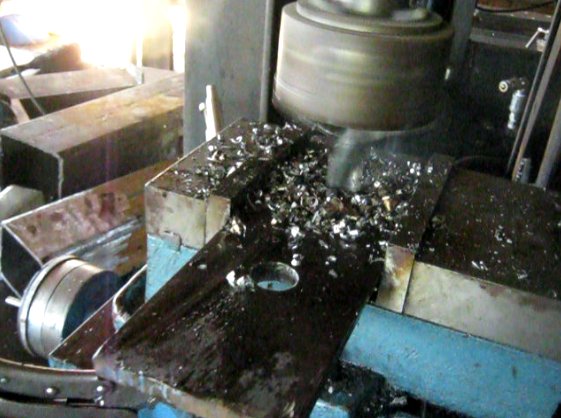
9. Prepare bottom mount plates for loader arms.
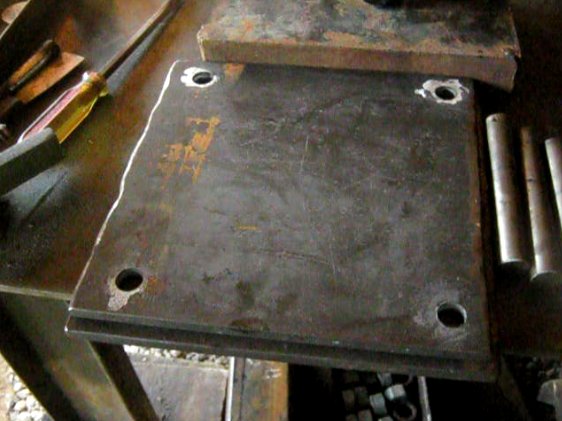
11. Mark arm locations on frame.
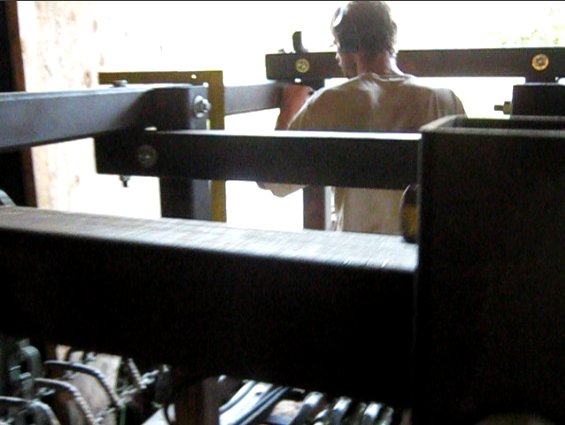
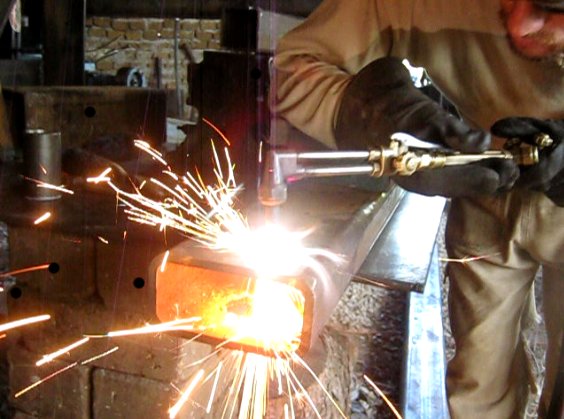
14. Torch out holes in frame for loader arms.
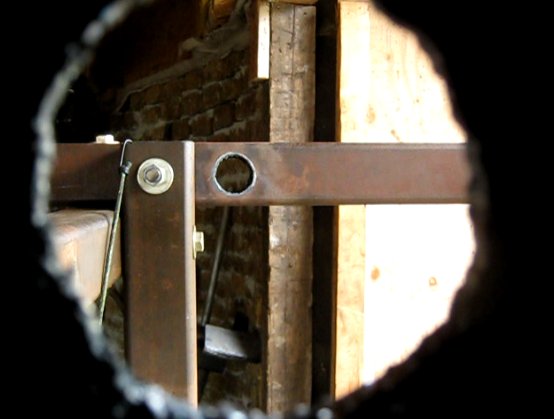
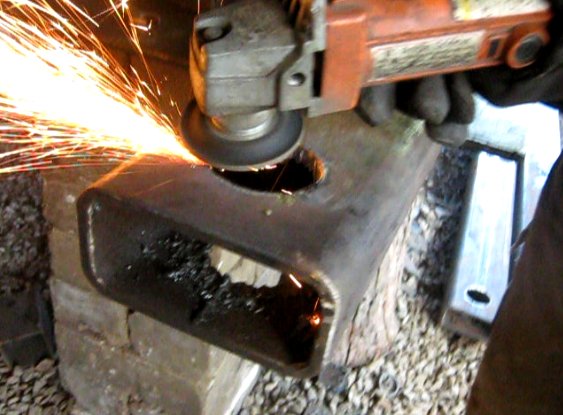
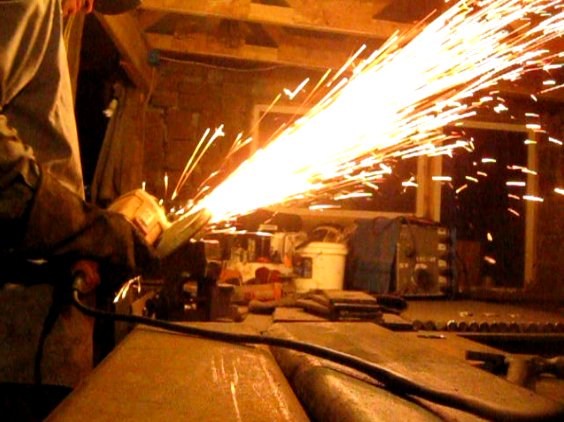
15. Smooth out holes for loader arms.
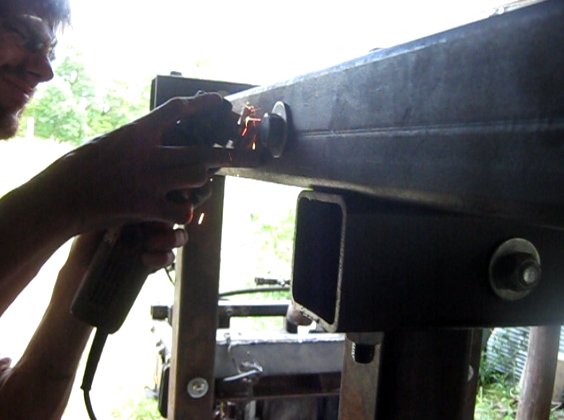
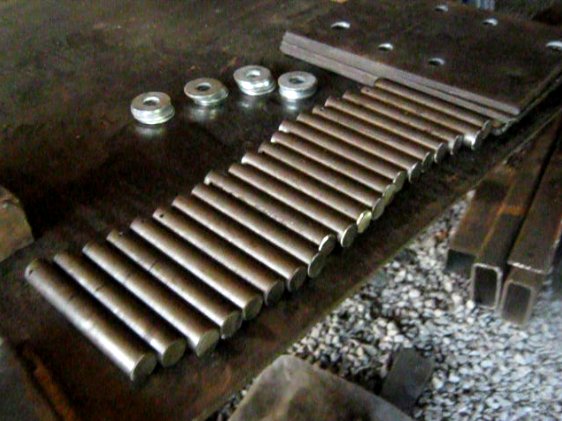
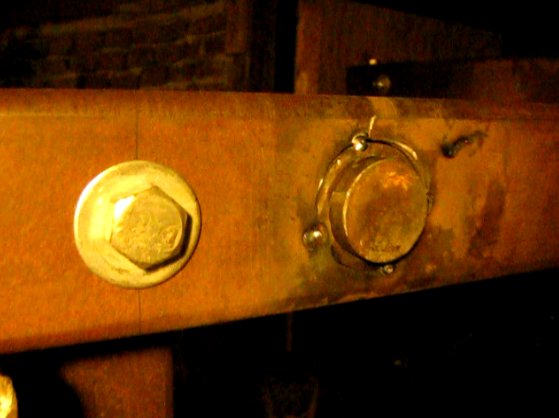
17. Fit shafts and DOM bushing for laoder arms.
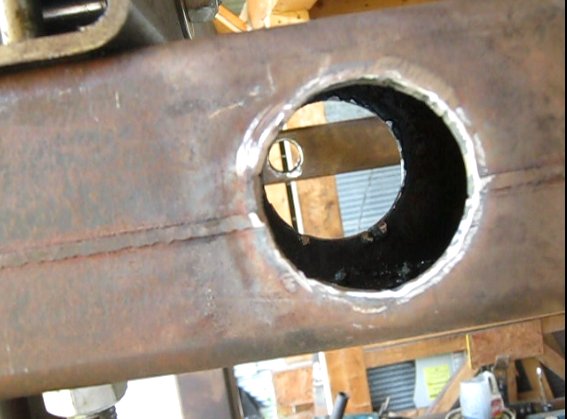
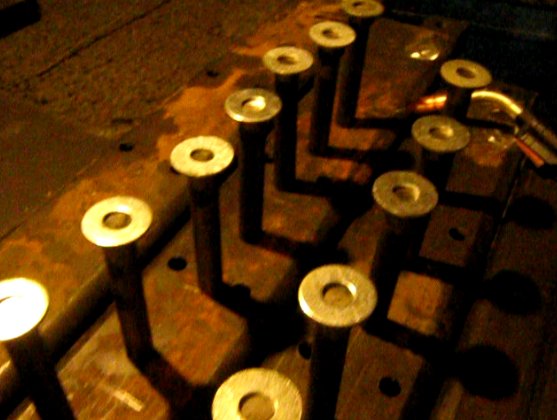
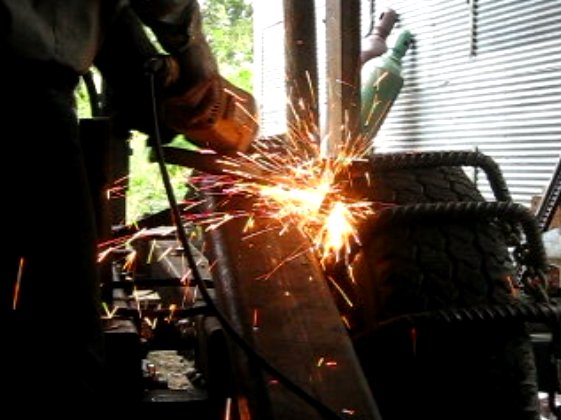
20. Mark loader arms for insert plug welds.
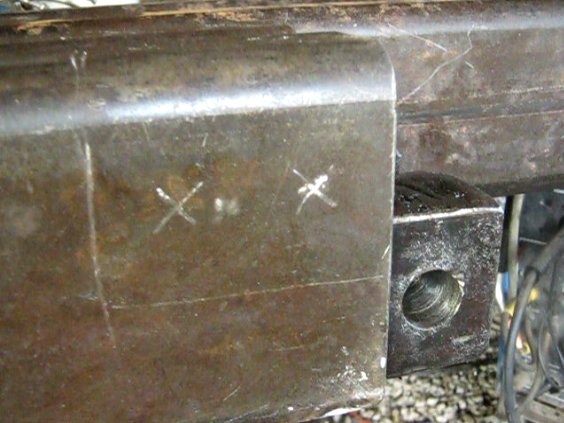
21. Torch out plug weld holes.
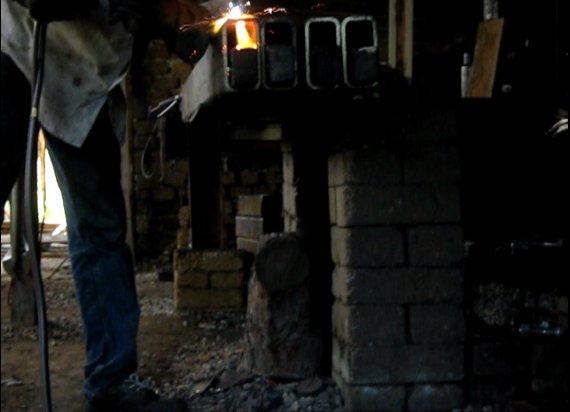
23. Line up plug inserts for welding.
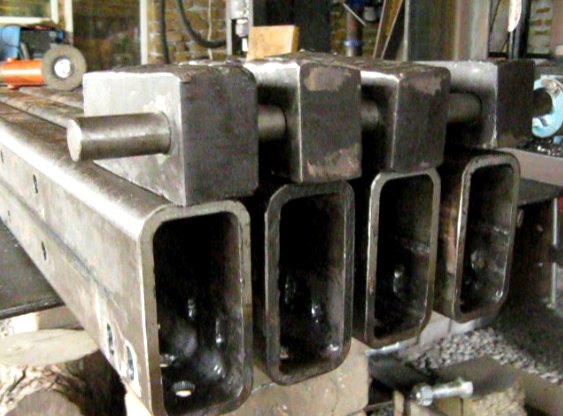
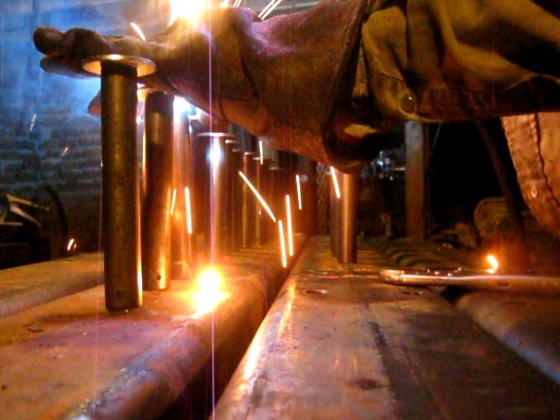
27. Weld arm gussets. File:LTfab27.jpg
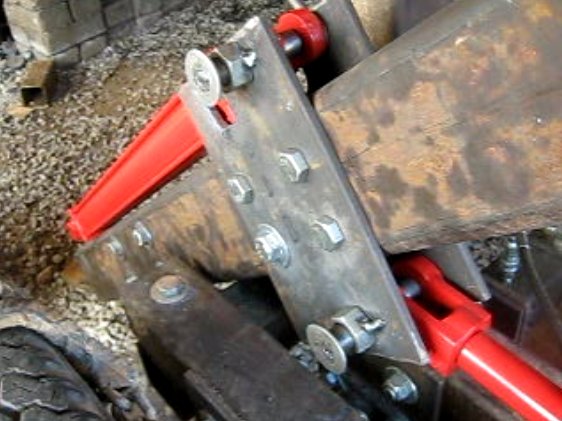
31. Mount cylinder base plates.
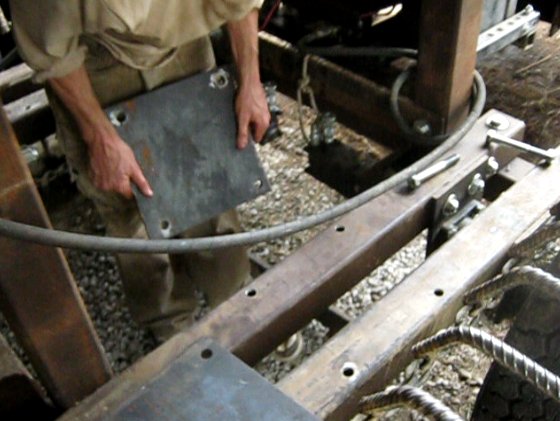
32. Mount cylinder plates to arms.
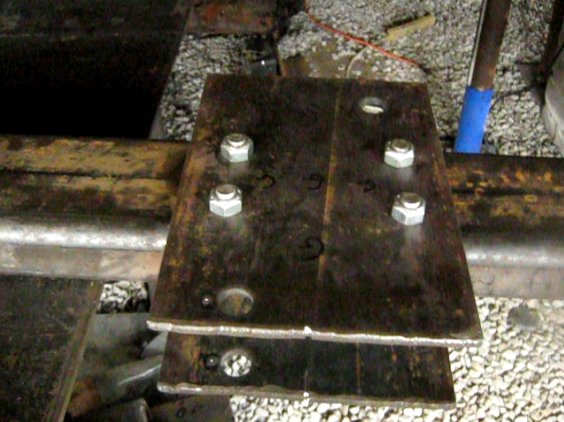
33. Mount cylinder cross support.
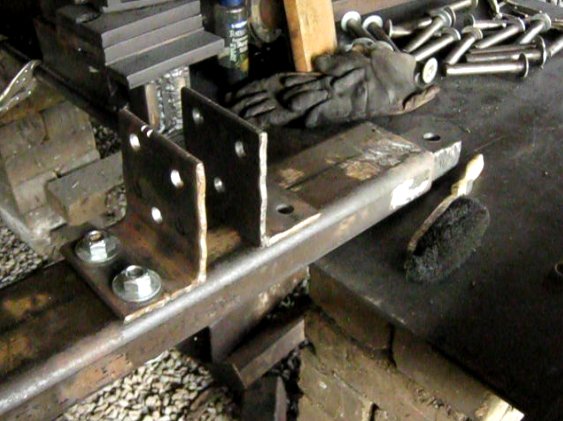
34. Mount cylinder arms on frame.
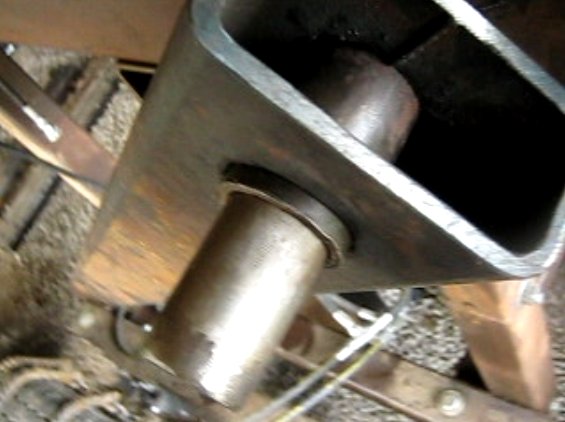
36. Put on real loader arms. File:LTfab36.jpg
41. Finish attaching cross supports.
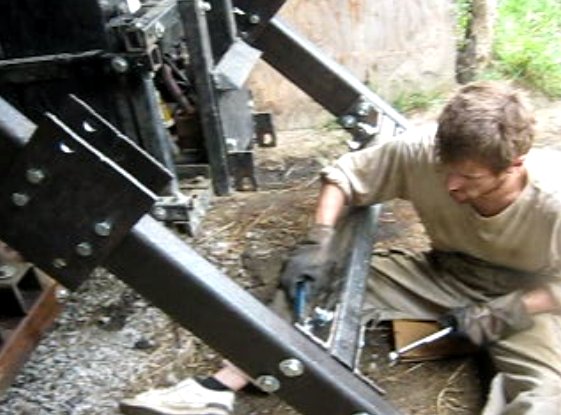
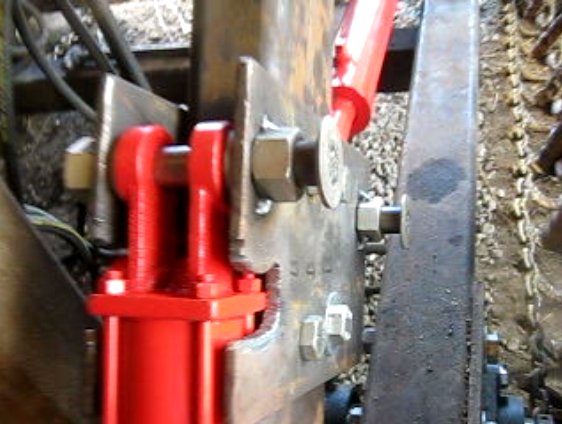
43. Bolt cylinder attach plates.
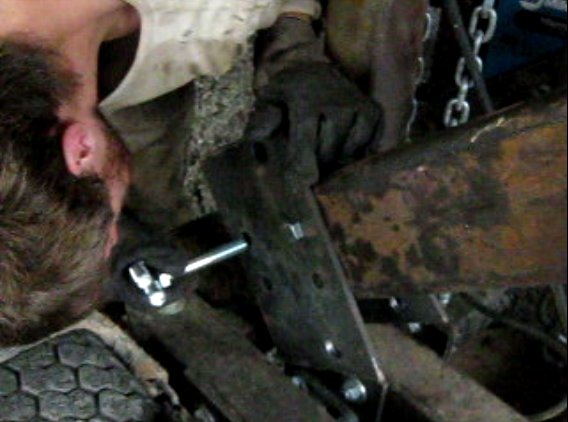
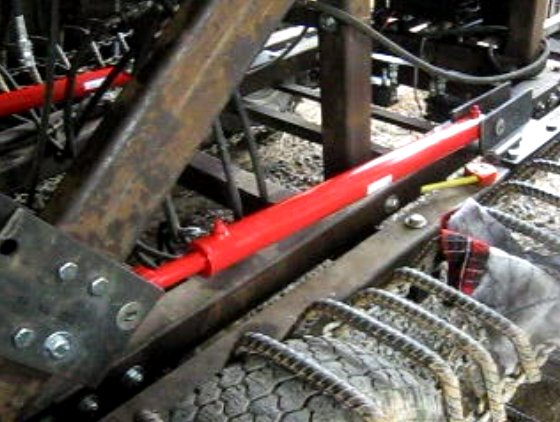
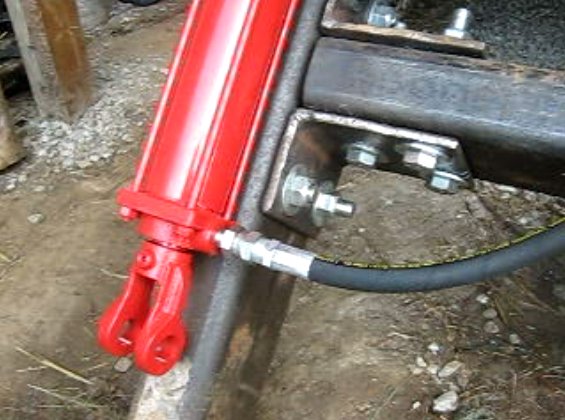
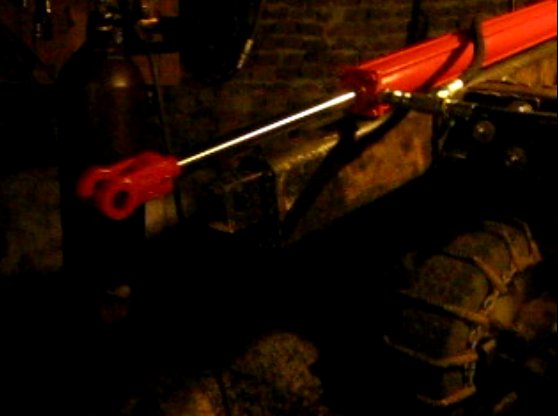
45. Mount quick attach (QA) plate cylinders.
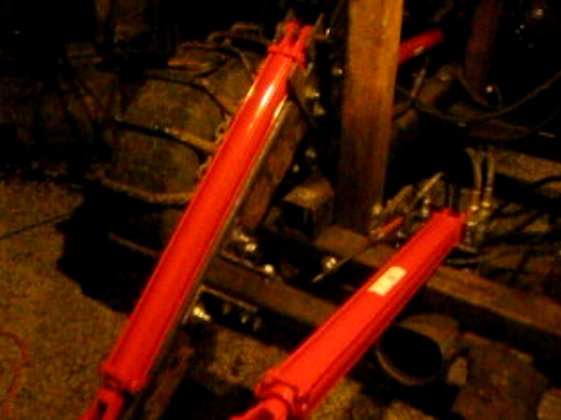
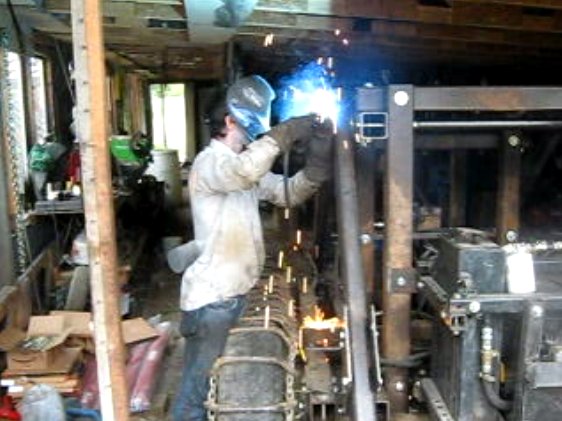
49. Tack weld bottom cylinder support nuts.
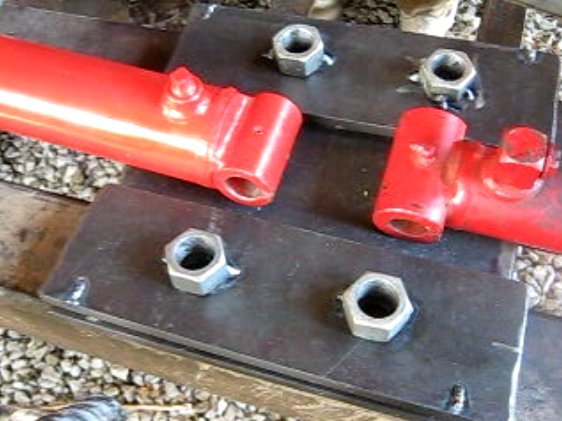
50. Complete bottom cylinder gusset welds.
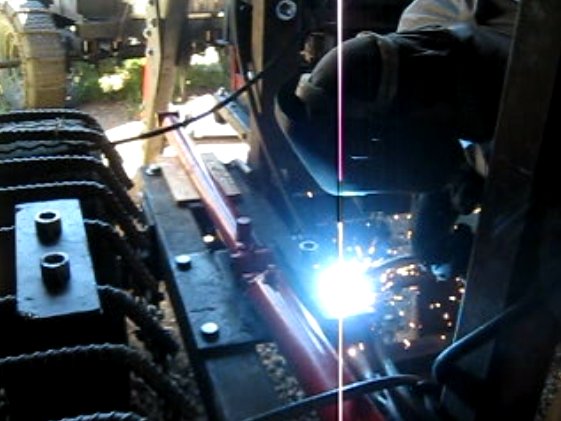
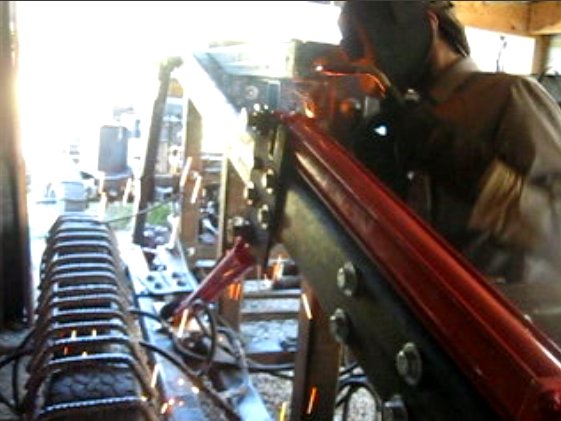
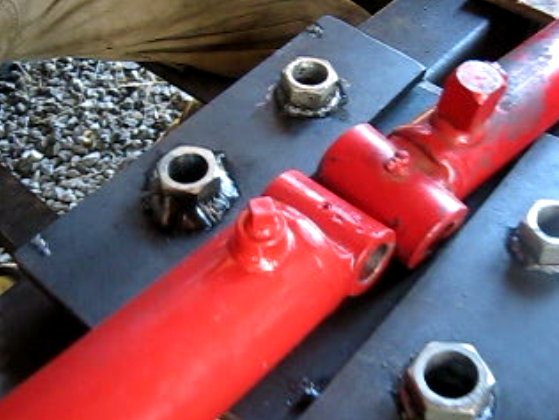
51. Botom cylinder gusset nuts welded.
Quick Attach Plate
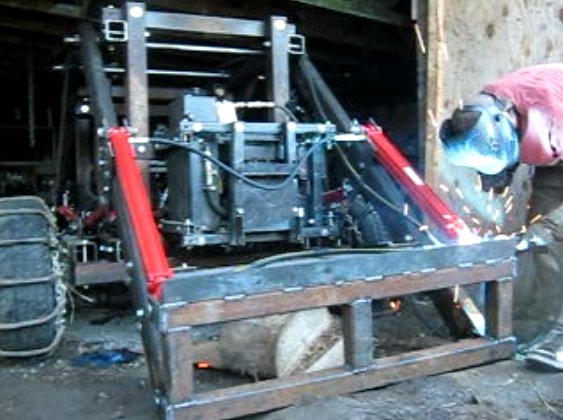
64. Mark hole locations for all pieces. File:LTfab64.jpg
66. Prepare QA plates for welding.
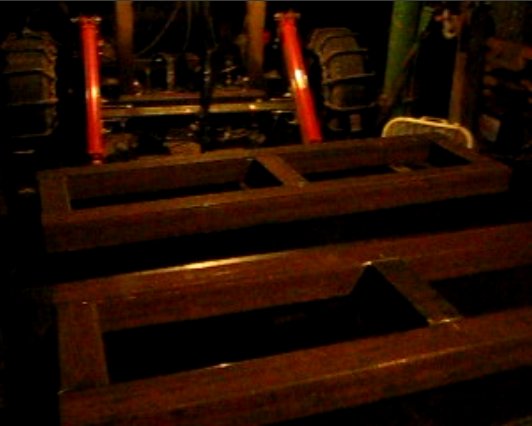
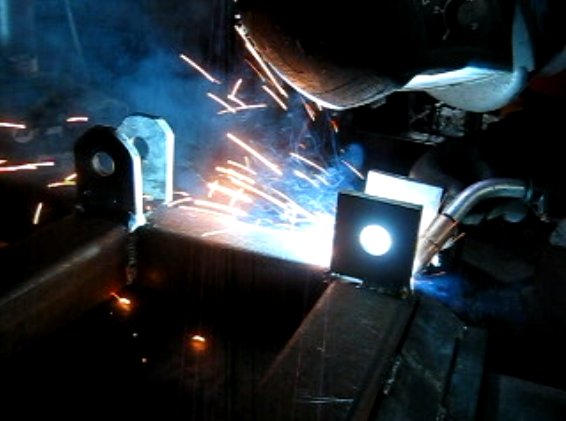
75. Finish weld eyes in place.
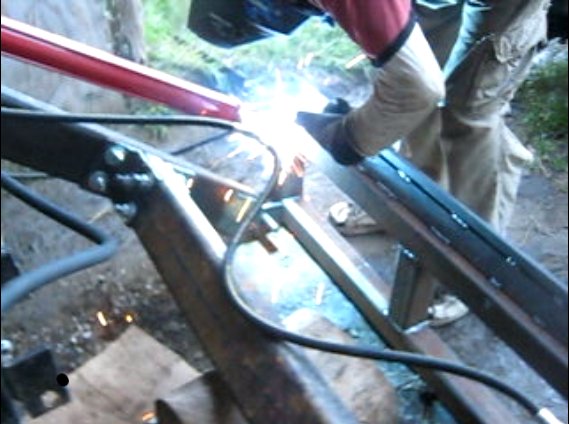
80. Mount QA plate on arms. File:LTfab80.jpg
82. Weld pin pushing mechanism.
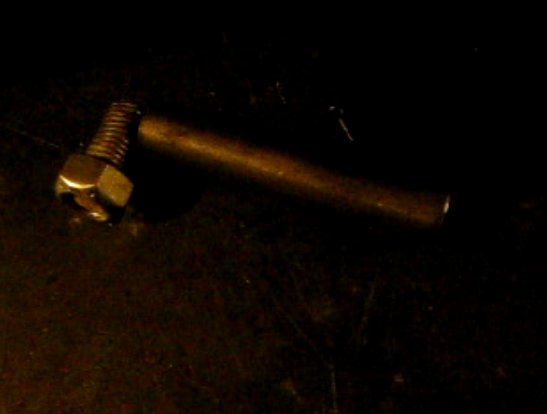
83. Weld handle to rotation pin.
84. Mark rotation pin location.
85. Mount handle and push pin and bolt down.
86. Put on stops and set screws.
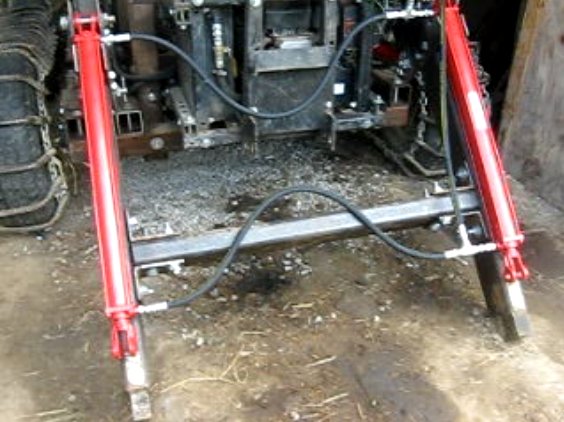
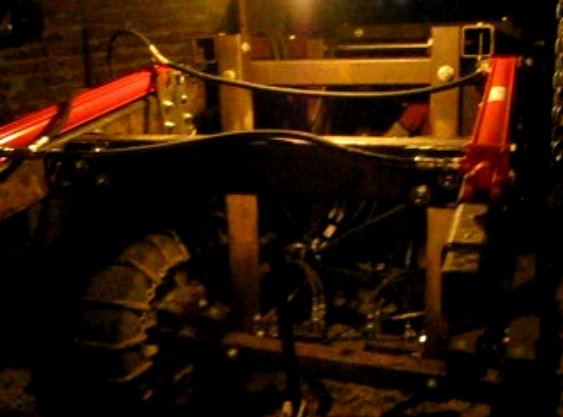
87. Do same for second set of loader arms - and LifeTrac II with front and rear loaders is ready for testing.
Now take tractor for a test drive:
LifeTrac Prototype II Completed from Marcin Jakubowski on Vimeo.
See corresponding blog post - http://openfarmtech.org/weblog/2010/09/lifetrac-prototype-ii-completed/
