D3D @ Fontys Sittard: Difference between revisions
No edit summary |
No edit summary |
||
| Line 49: | Line 49: | ||
<br clear=all> | <br clear=all> | ||
== Cura == | == Cura == | ||
We are based in a school that obliges the use of MS Windows, so we are using the windows version of Cura. Here it is impossible to import the [[D3D_Lulzbot_Cura|configuration profile]]. | We are based in a school that obliges the use of MS Windows, so we are using the windows version of Cura. Here it is impossible to import the [[D3D_Lulzbot_Cura|configuration profile]]. But that's nothing a little tweaking can't help. | ||
Revision as of 13:17, 29 May 2019
![]() Hint: Have you seen 3D Printer Manual? That should be the authoritative guide. Please add notes there on what is missing.
Hint: Have you seen 3D Printer Manual? That should be the authoritative guide. Please add notes there on what is missing.
This edition of the D3D was made in the town of Sittard, the Netherlands in a pilot project for a course for STEAM teachers. We intend to spread OSE as an educational context to schools in the region, starting with this printer. Everybody who graduates as a STEAM teacher will be able to build one. While building this printer we found that the notes on the D3D_Australia were very useful, so we will make a similar log here, hoping to be of use to other people trying to build this printer.
Frame
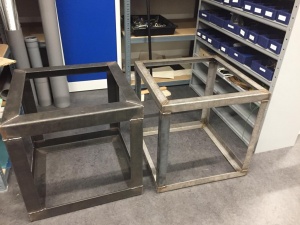
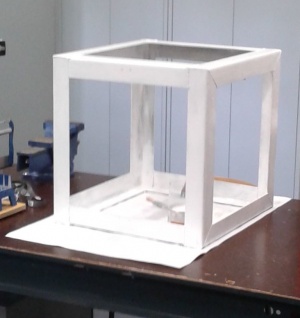
The frame was made using cold rolled steel L-profile instead of sheet metal. We had them made in metal workshop of a school we know and they had these profiles lying around. We somehow missed the exact dimensions of the frame, so our frames are (quite) a bit bigger. Fortunately the design is scaleable. For now we are sticking to one axis in the Z direction, but we are hoping to extend to two once we have the printer working.
The paint was chosen by students. Maybe I will add a few silver swirls or a zebra print to it later.
Wiring Issues
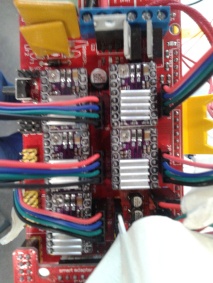
At first none of the axes worked. We found it is quite easy to troubleshoot if you just connect a loose stepper to the relevant driver and see if you can get it moving through pronterface. The D3D Controller page says it is essential to rewire the stepper cables. For us this somehow didn't work, so we had to rewire the cables back to their original configuration. Steppers are stepping now, though sometimes in the wrong direction. Hoping to fix that in the firmware.
LCD Issues
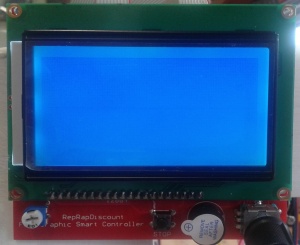
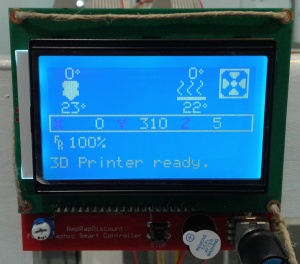
The LCD-display didn't work at first. At first we thought the LCD display didn't work because it is a cheap chinese clone. Turned oud that there is a difference between the Reprap discount smart controller and the reprap discount full graphic smart controller. Took us two weeks before we found it.
Z axis crash
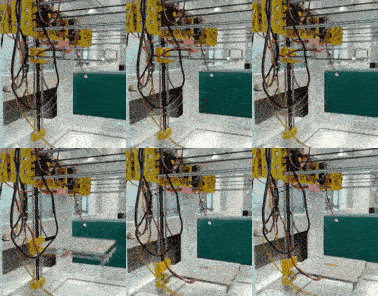
At random occasions the printbed just crashes down. Somehow the Z-stepper switches off. It's pretty unsettling, because the bed banging down might generate some pretty nasty induction currents to the driver.
We considered it being the stepper driver overheating, but the temperature isn't that high. We can even touch the heatsinks on the drivers and they are just comfortably warm.
In Marlin "#define DISABLE_Z" is set to false. So that can't be it either.
After weeks of firmware tweaking, measuring temperatures on heatsinks and current through steppers, I discovered the pulley wasn't properly attached. I can't think of anything lamer that might halt the construction of a machine, but things never hang on anything sophisticated. I don't think it is possible to come up with a build instruction that can take this kind of thing into account. I would think OSE can achieve viral replicability with an elaborate video of the build process. So just some thing in the order of 6 hours of footage of somebody building the D3D with only the coffee breaks cut out. People building the D3D can just skip to the part of the video that is relevant to them.
Improvised bed holder
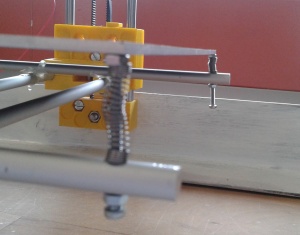
Since we are hoping to build a second z-axis and maybe replace the bed with something larger, we didn't feel like gluing the heated bed to some rods. So we improvised the following bed holder with some M3 bolts an nuts, aluminium rods and springs from ballpoint pens that you find lying around classrooms at the end of the day. We expect heat loss to be a lot less than in the original design. Oh, and we can level the bed to compensate for bending rods under the weight of the bed. Just turn the bolts.
Cura
We are based in a school that obliges the use of MS Windows, so we are using the windows version of Cura. Here it is impossible to import the configuration profile. But that's nothing a little tweaking can't help.
