Exploded Part Diagram: Difference between revisions
Jump to navigation
Jump to search
No edit summary |
No edit summary |
||
| Line 1: | Line 1: | ||
=Protocol= | =Protocol= | ||
#Start a wiki page called ModuleName_Exploded_Part_Diagram if the page doesn't exist yet | #Start a wiki page called ModuleName_Exploded_Part_Diagram if the page doesn't exist yet | ||
#Explode the entire module in FreeCAD | #Explode the entire module in FreeCAD in 3D using the Exploded Part Animation workbench, select them all and use Part > Make compound. Now place the compound into a Fabrication Drawing using the [[Fabrication Drawing Workbench]]. | ||
#Start a presentation using the [[Presentation Template]] | #Start a presentation using the [[Presentation Template]] | ||
#Explode the machine into parts and label them with numbers and legend for numbers below - or label all parts with arrows and names | #Explode the machine into parts and label them with numbers and legend for numbers below - or label all parts with arrows and names | ||
Revision as of 01:26, 27 September 2019
Protocol
- Start a wiki page called ModuleName_Exploded_Part_Diagram if the page doesn't exist yet
- Explode the entire module in FreeCAD in 3D using the Exploded Part Animation workbench, select them all and use Part > Make compound. Now place the compound into a Fabrication Drawing using the Fabrication Drawing Workbench.
- Start a presentation using the Presentation Template
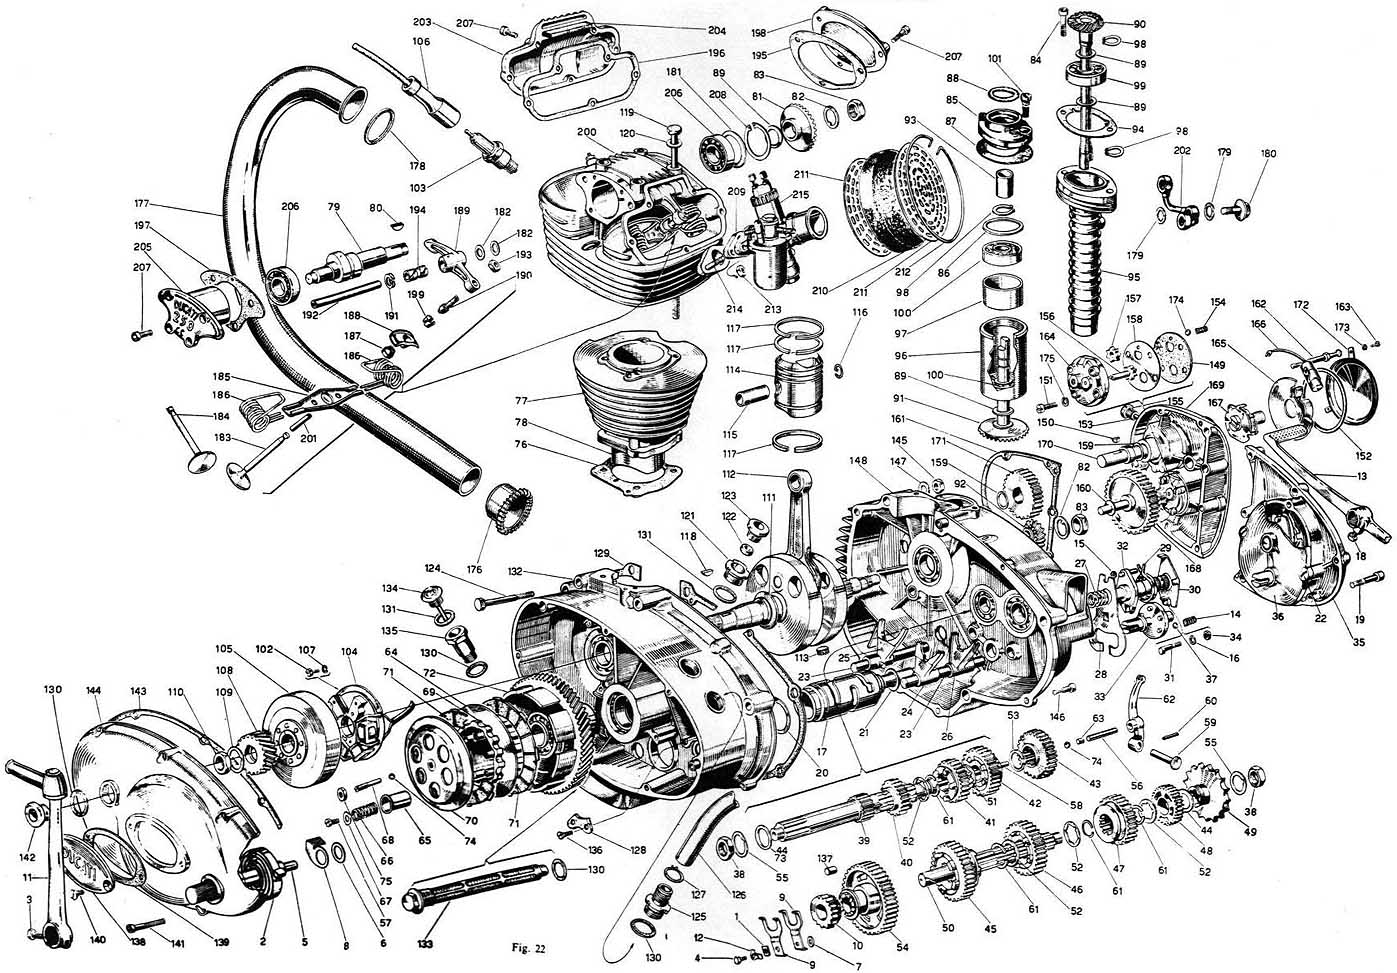
- Explode the machine into parts and label them with numbers and legend for numbers below - or label all parts with arrows and names
- Alternatively, use a professional CAD package and generate an exploded parts diagram automatically
- Start a wiki page called Machine/ModuleName Exploded Parts Diagram
- Embed your Google Drawing there. See Embedding Google Drawings.
Example of a complicated diagram:
