D3D frame built with epoxy
This page will document OSE's attempts to build the metal frame for the D3D without welding or cnc. Instead, we try to use metal strips glued together with epoxy.
Benefits
If someone building a D3D printer can make the frame with epoxy, then they won't need a cnc machine or welder. That makes the machine much more accessible to a wider audience, further spreading the distributive economy enabled by this machine.
2018-05 Attempts
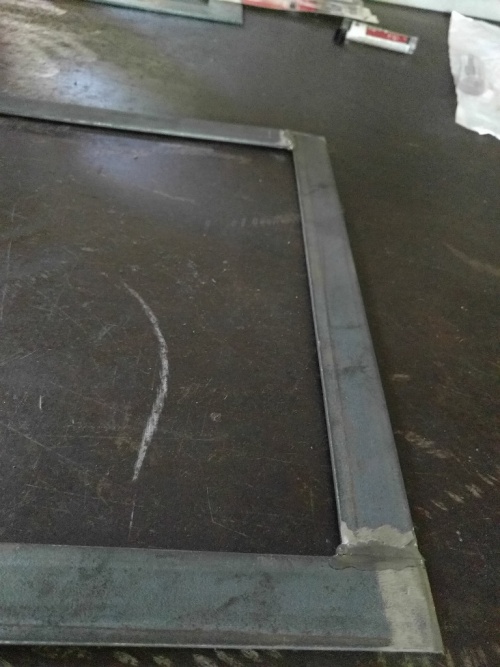
In May 2018, User:Maltfield attempted to build one side of the d3d frame's cube (just a square) by cutting strips of metal and bonding them together with quick-set epoxy.
Process
- Using a cnc'd square as a model, measure the length of the strip to be cut from the outside of the square to the inside on the other end
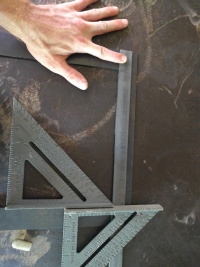
- If the width of the strip is different than that of the cnc'd square, then you'll need to add that difference to the mark above
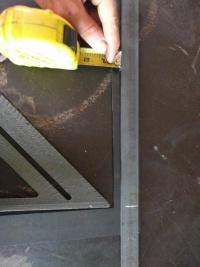
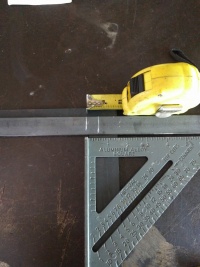
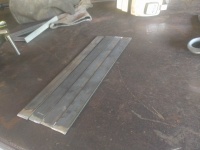
- Cut 4 lengths of the strip to the size measured and grind down the ends. Make sure they're all the same length
- Prepare a form for the new square. This is essential so that we can epoxy the first side, then immediately flip the form+square upside-down in order to epoxy the opposite side. The form prevents the square from shifting when we flip it. From bottom-up, the form is: a cnc'd square, a piece of plastic, our square-of-strips-to-epoxy, magnets, and another cnc'd square rotated 45 degrees.
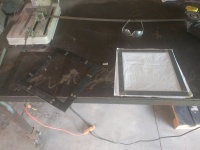
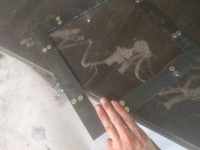
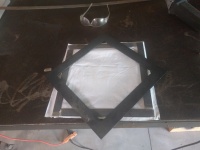
- Carefully align the strips so that they are all 90 degrees & butted-up flush with one another. Use the cnc'd square on the bottom of the form as a guide. The plastic obscures the view, but you can still align it by feel.
- Follow the instructions on the epoxy, and put a quick bead on the 4 joints
- Carefully flip the form. Since there are no magnets between what was the bottom-most cnc'd square, the plastic, and our new square, it should be easy to slide off the square+plastic that's now (after flipping) on top--without shifting the square's joints.
- Apply another bead of epoxy on all 4 joints on this side. You will probably have to change the tips on your epoxy syringe.
- Wait 1 hour or however long your epoxy says it takes to fully cure.
Issues
The quick-set epoxy that we used (60-second handling time) was supposed to set in 5 minutes and be fully hardened within 1 hour.
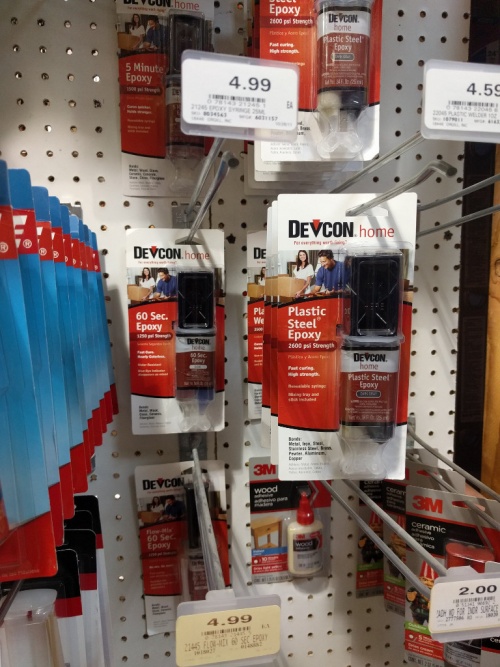
After 1 hour, however, Marcin pointed out that the epoxy was still relatively soft. It could be the brand that we used. We simply went to the local hardware store and bought the only quick-set epoxy that came with two tips. It was a brand called "Devcon home." Perhaps we would have had a better experience with jbweld. And User:Abe pointed out that a marine epoxy may work better too.
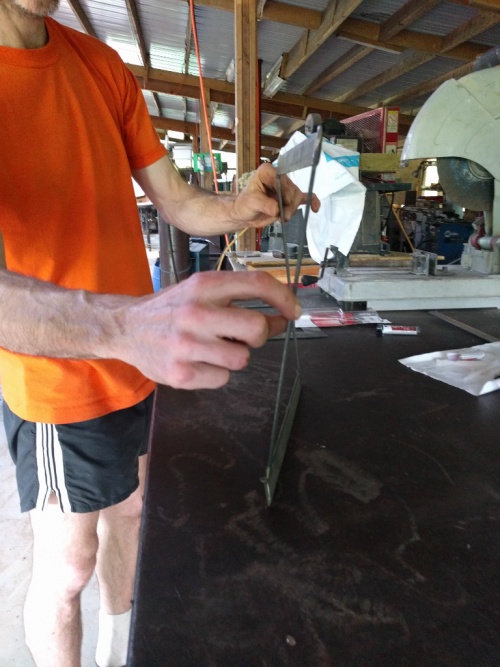
When we removed the frame from the form (after waiting 1 hour), the joints were flimsy. This may or may not build a structually stable cube (when supported by the other squares). In any case, it would make the assembly of the cube from the squares extremely difficult as things flop out-of-place while trying to line everything up.
