CEB Press/Manufacturing Instructions/Controller Mount
Jump to navigation
Jump to search
Main > Housing and construction > CEB Press > CEB press building instructions
| |||||||||||||||||||||||||
The controller mount attaches the controller box to the primary arms.
Tools Required
- Hole punch with 13/16" die.
- Drill press with 1/4" or larger bit.
- Welder
Materials Required
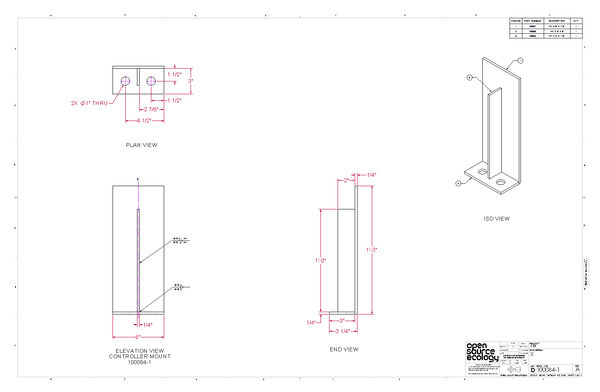
- 1/4" x 6" flatbar: 15"
- 1/4" x 2" flatbar: 12"
- Controller Box
Diagrams
Fabrication instructions
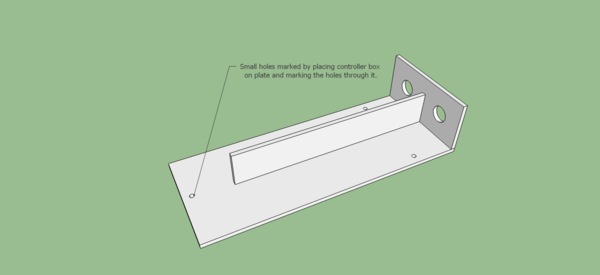
- Find your controller box and locate its mounting holes on the back. Use spray paint to spray a nice wet coating over the hole locations, then press your 6x15 plate to it, square and so that the top hole is about a 1/2" away from the top, to mark the hole locations. Center punch them.
- Drill the 1/4" holes for the controller box. You can drill them a little bigger (up to 5/16") if you'd like, as it's difficult to get the holes perfectly aligned.
- Punch 13/16" holes as shown at the bottom of the plate.
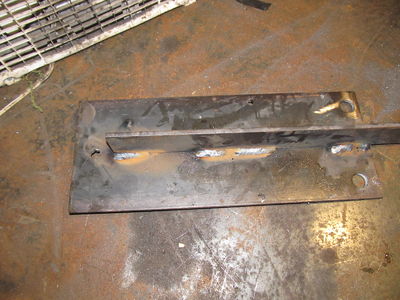
- Weld the 2" flatbar perpendicularly to the plate on the back. The bottom should be flush with it, so the top hole for the controller is still accessible. You only need to weld it in a few spots. (see photo)


