CEB Press/Manufacturing Instructions/Grate mounts: Difference between revisions
Jump to navigation
Jump to search
(+warning) |
No edit summary |
||
| Line 3: | Line 3: | ||
[[Image:grate-mounts.jpg|thumb| Grate mounts.]] | [[Image:grate-mounts.jpg|thumb| Grate mounts.]] | ||
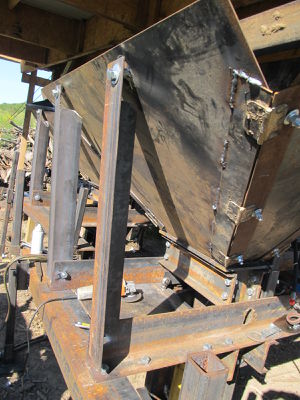
The grate mounts attach to the primary arms and to a nut welded to the grate. | |||
== Tools Required == | == Tools Required == | ||
*Torch | |||
*Punch with 13/16" Dies | |||
* | |||
* | |||
== Materials Required == | == Materials Required == | ||
*4"x4"x1/2" angle: 36" (2) | |||
* | |||
== Diagrams == | == Diagrams == | ||
{{Wanted|Better diagrams, showing where hole placement is}} | |||
[[Image:gratemountsskup.jpg|thumb|200px|The grate mounts.]] | |||
== Fabrication Steps == | == Fabrication Steps == | ||
#Punch the hole on the bottom of the supports for each. This should be 1" up and centered on the proper side. | |||
1. | #Torch away a 4" section on the top of each grate to make it like the model shown. Remember that the two are mirrored. Cut away the corner so the hopper wont hit it, about a 1" 45 degree triangle. | ||
#Torch a slot for a 3/4" bolt at the top of the mount, centered, on the long side. The top of this should be 3/4" away from the top of the angle, and it should be at least 1.5" long. | |||
#Grind away all the slag. | |||
Revision as of 04:53, 29 September 2011
| |||||||||||||||||||||||||
![]() Warning: The documentation for the CEB Press is undergoing a thorough overhaul. CAD models and written directions are presently obsolete. For more information, see Talk:CEB_Press#Documentation_overhaul_in_progress. When the models, specifications and text on this article have been thoroughly reviewed, updated when necessary, and confirmed as whole and accurate, this warning may be removed.
Warning: The documentation for the CEB Press is undergoing a thorough overhaul. CAD models and written directions are presently obsolete. For more information, see Talk:CEB_Press#Documentation_overhaul_in_progress. When the models, specifications and text on this article have been thoroughly reviewed, updated when necessary, and confirmed as whole and accurate, this warning may be removed.
The grate mounts attach to the primary arms and to a nut welded to the grate.
Tools Required
- Torch
- Punch with 13/16" Dies
Materials Required
- 4"x4"x1/2" angle: 36" (2)
Diagrams
Wanted: Better diagrams, showing where hole placement is
Fabrication Steps
- Punch the hole on the bottom of the supports for each. This should be 1" up and centered on the proper side.
- Torch away a 4" section on the top of each grate to make it like the model shown. Remember that the two are mirrored. Cut away the corner so the hopper wont hit it, about a 1" 45 degree triangle.
- Torch a slot for a 3/4" bolt at the top of the mount, centered, on the long side. The top of this should be 3/4" away from the top of the angle, and it should be at least 1.5" long.
- Grind away all the slag.

