D3D v20.04
Summary
D3D printer with 12", insulated heatbed. This is the next to last iteration of build prior to upgrading to the single-piece 3D printed axis pieces.
Developent Template
Working Doc
3D CAD


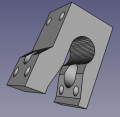
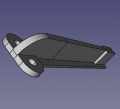
New idler mount - FreeCAD -File:Newidlermount.fcstd
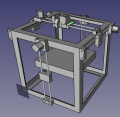
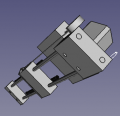
D3D v2004 Assembly - FreeCAD -File:D3d v2004.fcstd
Auto parallel piece. Can be used on Y for auto parallel, Z for equal bottoming. File: File:Autoparallel.fcstd File:Autoparallel.stl
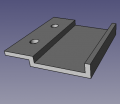
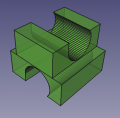
New bed holder. File: File:Newbedholder.fcstd File:Newbedholder.stl
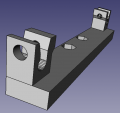
Panel holder. File: File:Panelholder.fcstd File:Panelholder.stl
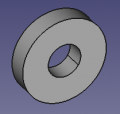
Bed spacer. File: File:Bedspacer.fcstd File:Bedspacer.stl
Transverse bed holder. File: File:Transversebedholder.fcstd File:Transversebedholder.stl
Counterweight. File: File:Counterweightconcept.fcstd File:Counterweightconcept.stl
Cut List
Using 3D Printer Workbench 2020:
- X - [2] 22”
- Y - [4] 21”
- Z, bed, spool holder - [9] 17”
Heater Element Wrapping Procedure
- Cut 14' of ga 24 nichrome
- Cut 5' of tight 2 mm fiberglass sleeve
- start the wrap of nichrome on one end of sleeve
- Attach other end of sleeve to a free-spinning rotor
- Once enough to go inside a cordless drill chuck - grab the nichrome wrap and turn on the drill in reverse to start wrapping. Tension the sleeve against the rotor
- Wrap away! A person should be able to wrap 4 feet long just by holding a cordless drill
Questions
-Back to working some on PVC 12" - was there enough torque to lift that bed with 2 Z steppers? I don't seem to have enough with properly tightened axis.